
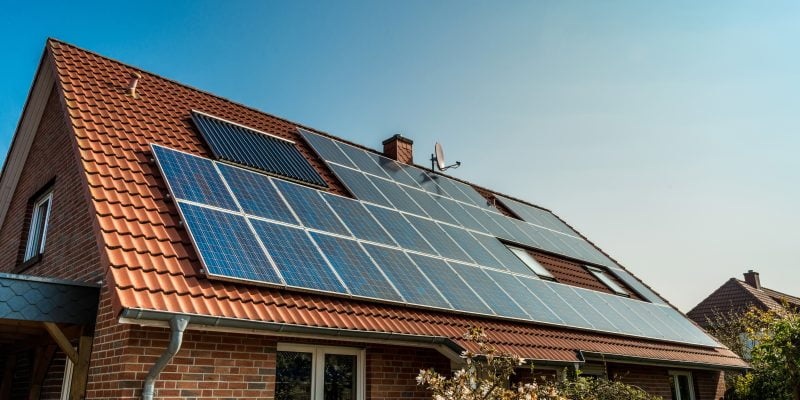
Switching to a more sustainable way of living includes installing solar panels at home. Depending on your requirements and local regulations, you can either do it yourself or with the help of government and private contractors.
Mounting solar panels and connecting your home to them is not only a cost-efficient option. It can significantly help the environment by reducing carbon footprint and dialing down energy requirements as well.
If you’re planning to have this renewable energy source in your home, check out this guide to learn the basics of solar panel installation.
1. Check Regulations In Your Area
Various regulations cover the installation, use, and management of alternative home power systems in every state. Before laying the groundwork for solar panel installation, make sure to contact local authorities to see whether you need to secure permits and other licenses. Once given the green light to have the solar panels installed in your home, start by determining the best system based on your requirements.
2. Proper Planning Is Key
Your system will depend on the objectives you have in installing a solar energy system. For instance, if you want to be off-grid, your installation methods and the materials you’ll need will vary in comparison to staying on the grid.
- Discover Your Area’s Peak Sun Hours: There’s no use in buying high-capacity solar panels if you can’t leverage the sun’s energy. For this, you need to consider the climate of your area and if it could provide enough sunshine. You may check out reputable online resources to help you out.
- Calculate Your Electricity Requirements: Solar panels are measured based on the amount of energy they can take in. So, it’s crucial to check your current power consumption and decide how much you need to take off before buying one.
Determine your daily consumption and divide by the number of peak sun hours to be able to choose the solar panel capacity you ought to purchase. A study discovered that having neighbors with solar panels encourages homeowners to have one too. So, if possible, ask a solar power homeowner next door for some tips and referrals while playing frisbee or just ringing the doorbell.
3. Choose The Materials
Seek the help of an electrician or a contractor to choose suitable materials. If you prefer to do it on your own, consider the following:
- Solar Panels: Crystalline and thin-film panels have pros and cons, so take a look at them before choosing. The former may need a more complex racking and support structure, while the latter is less efficient.
- Battery: A battery is necessary for power back up, especially if the sun isn’t out. Most homeowners require 12-volt solar batteries, but there are 24-volt batteries for set-ups that require higher capacities.
- Charge Controller: Divide the solar wattage by the battery voltage to determine the appropriate size for your controller. Also called battery regulator, this helps limit the rate at which the current is passed on or sourced from batteries.
- Inverter: To determine the adequate size of your inverter, decide how much power you need at any given time. Add some buffer so you won’t have shortage issues.
9 Steps In Installing Your Solar Home System
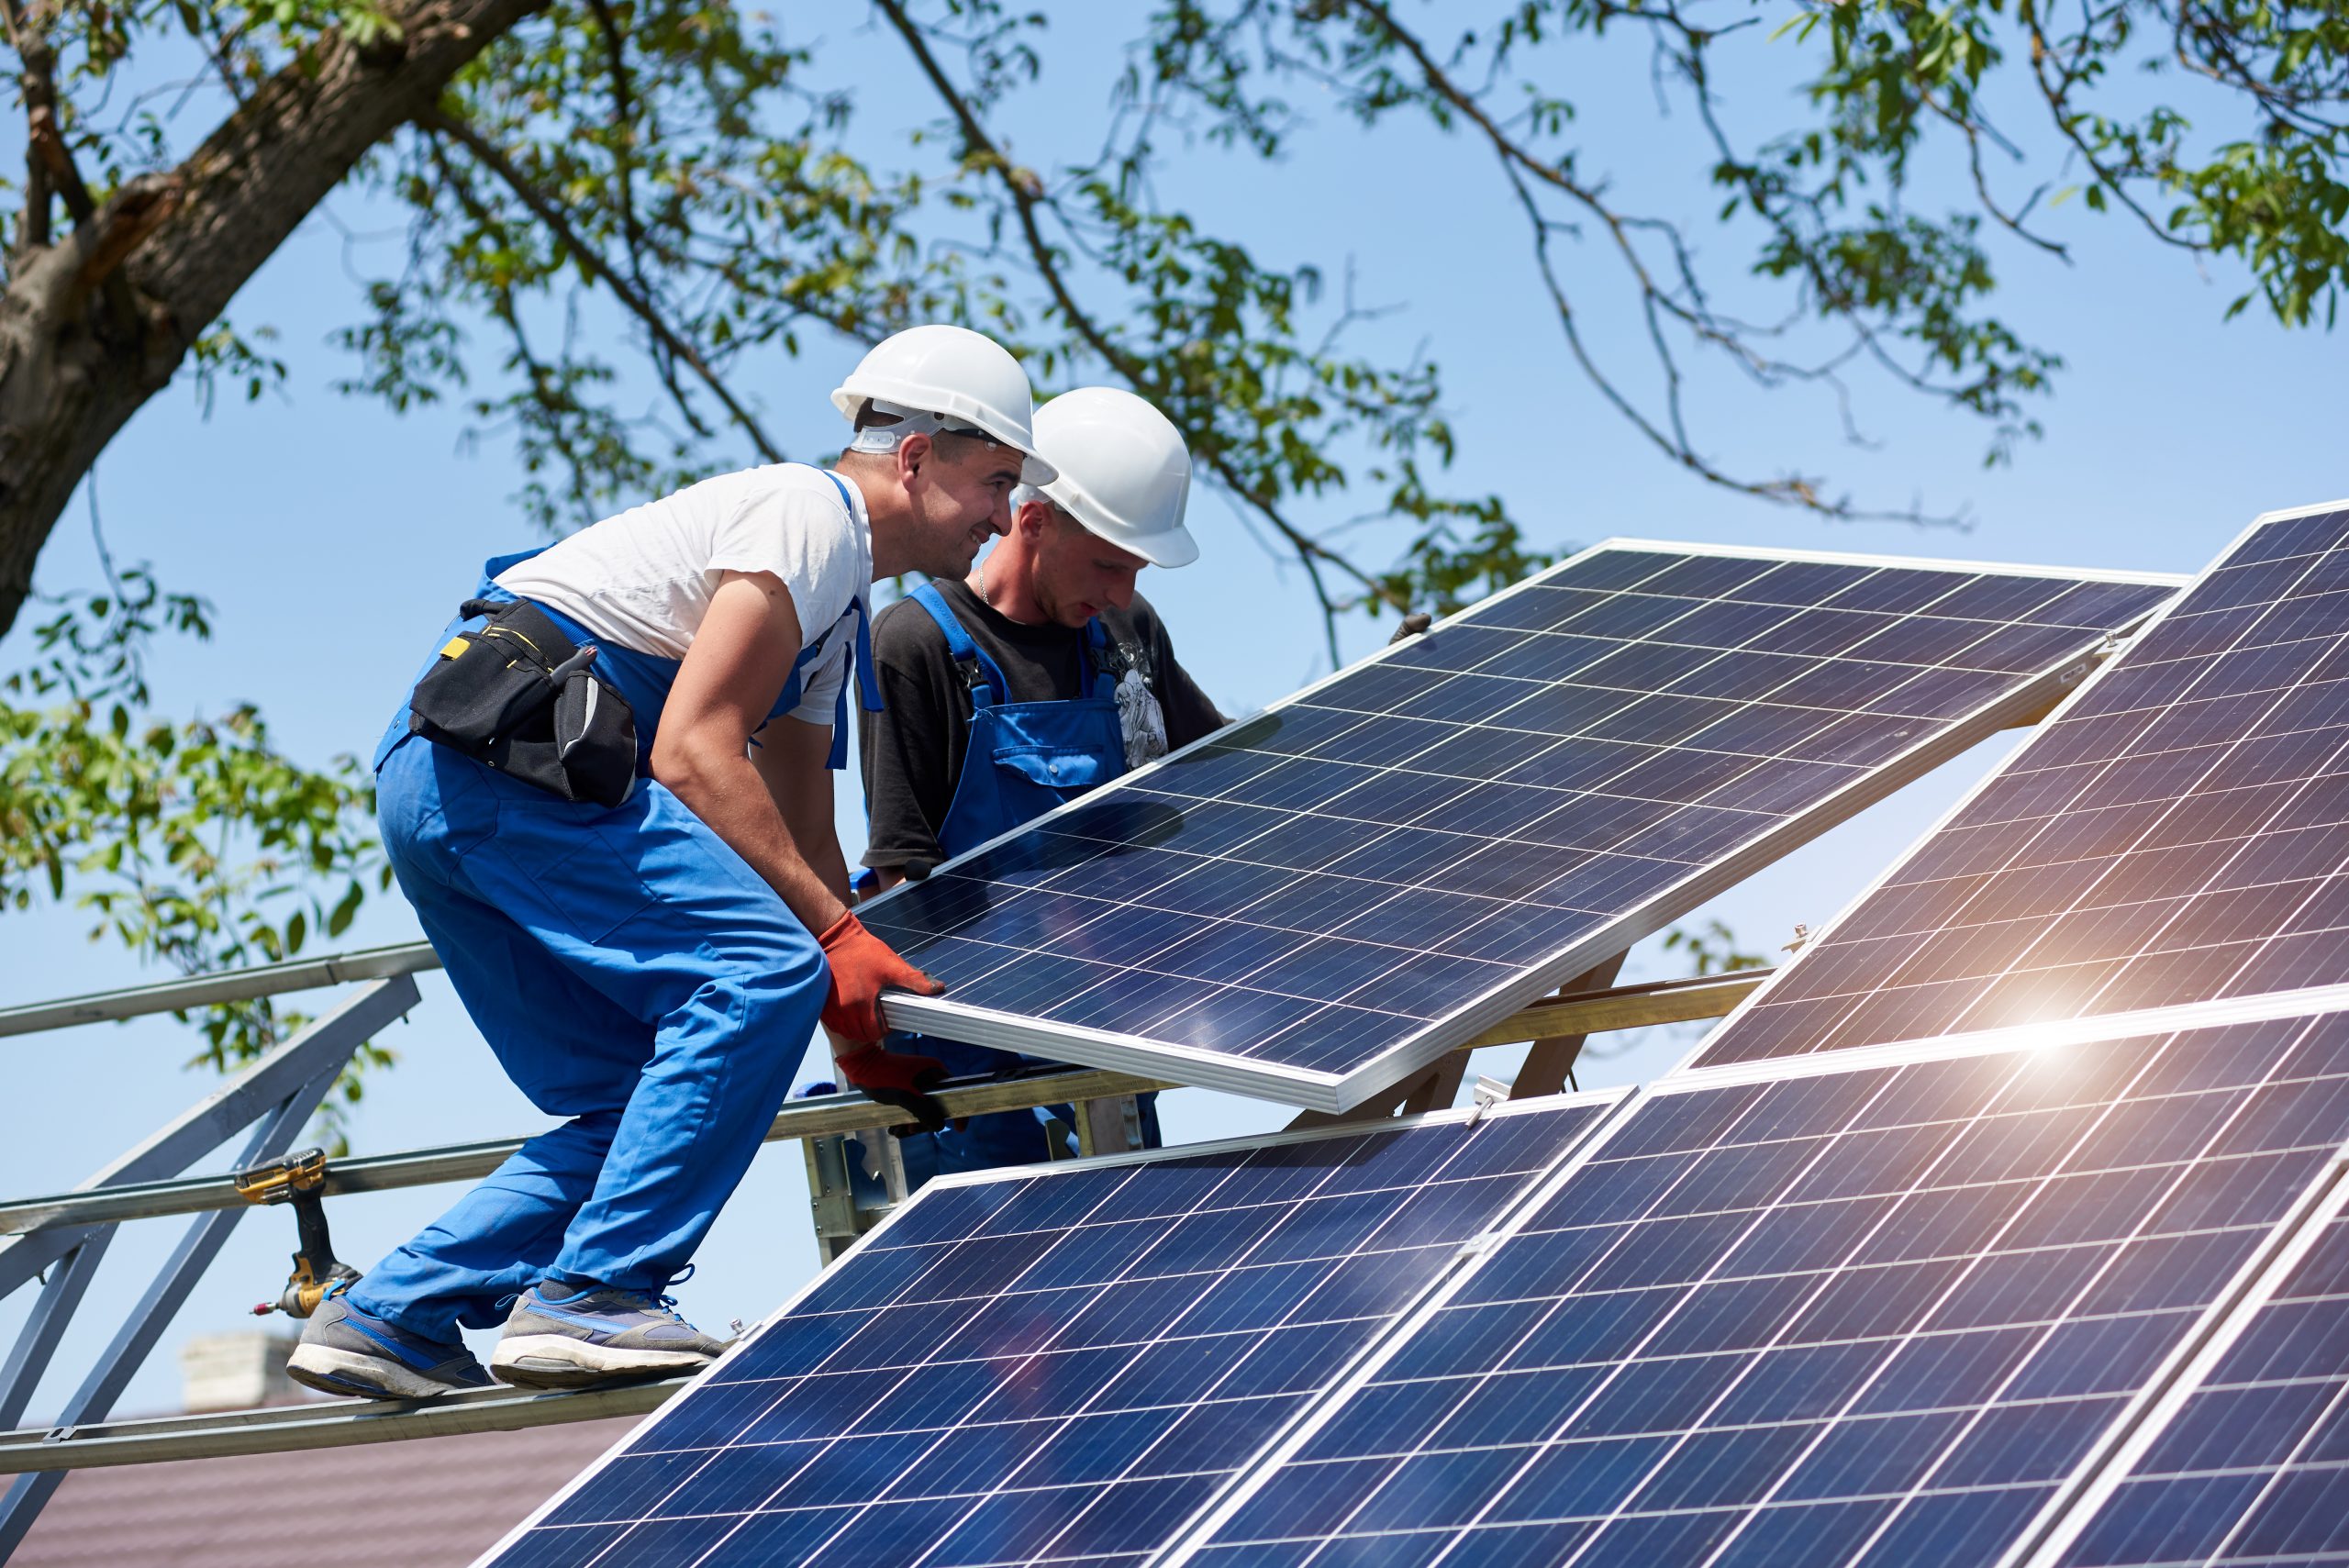
Two young technicians installing heavy solar photo voltaic panel on tall steel platform on green tree background. Exterior solar panel voltaic system installation, dangerous job concept.
After gathering the materials, you’re now ready to install your home’s solar power system.
- Check Your Roof: Before mounting the system on top of your home, ensure that your roof is strong enough to carry the additional load.
- Choose The Most Appropriate Location: Place or position those residential solar panels in places where they’re going to get as much sunlight as possible.
- Set Up Roof Mounts: Roof mounts support the solar panel base. It should be angled to optimize sunlight exposure and absorption. For ground installations, consider the sun and wind directions, as well as soil conditions.
- Install Solar Panels: Place them on the mount and ensure they’re secured and won’t budge.
- Place Wirings: Connect electrical wirings on your solar panel. Turn off your main power supply before doing this.
- Install Inverter: Choose a cool location for your inverter. At the same time, you shouldn’t keep it too far away from the main panels. Consider placing it inside the garage.
- Connect Solar Inverter And Battery: The battery ensures you have enough reserves even when it’s cloudy outside. An inverter turns solar energy, a direct current, to alternating current so your appliances can start using it.
- Link The Inverter To The Consumer Unit: Connecting the inverter to a unit is necessary to generate power.
- Place The Electric Meter: Once this is in place, you can check how much electricity your solar power system generates. This allows you to manage power usage more efficiently.
Once these steps are done, you can switch on the solar system power and use a few appliances linked to it to check that it’s working.
The Bottom Line
Skilled homeowners can do residential solar panel installations on their own. However, due diligence should be done in choosing the best materials and the most suitable location for your solar home system. In some instances, it may be best to seek the assistance of professionals in each or all stages of the planning and installation.


Comments