
![How to Build Rock Gardens [In-Depth Guide]](https://www.organizewithsandy.com/wp-content/uploads/2020/11/How-to-Build-Rock-Gardens-In-Depth-Guide-800x398.jpg)
The usual garden spaces can be tedious and dull. You can surely spice it up a little with some great ideas like rock gardens. Rock gardens are the most innovative way to use up the extra available space and make it beautiful.
When we think about our gardens, it is just about flowers, trees, and butterflies, but we ignore the rocks. But the most important fact is that rocks can significantly change your entire garden. Just like plants and flowers, rocks also come in different shapes and sizes.
We will discuss how you can use this advantage and create a rock garden all by yourself with the least effort. Let us check out the ways on how to make a rock garden.
What is the Rock Garden?
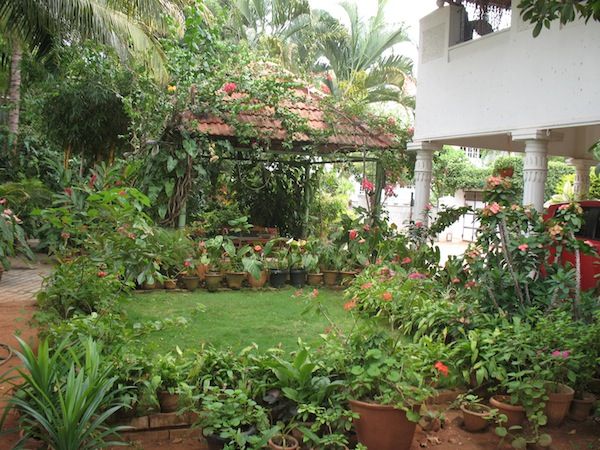
To be precise, a rock garden is not always about rocks. There is always more to that. It is a small section of the area with a unique arrangement of rocks concerning the size, shape, and color, which makes the entire scenery quite mesmerizing.
This can be a great addition to your garden and can give it a completely different vibe. It is preferably a sunnier and springier vibe with colorful flowers and pretty stones laid in innovative designs.
This is quite popular among modern homes since this is the most affordable option to transform your garden space.
What is the Equipment Required While Making Your Rock Garden?
Creating a rock garden does not require much equipment. The standard equipment that is required is:
- Stones
- Soil
- Plants
- Wheelbarrow
You can choose this option from amazon for under $50.
What are The Steps on How to Make a Rock Garden?
No, when we have the basics clear, let us jump on to the complete process. The process is immensely simple and easy and will not require more than a few hours. Let us get started on how to make a rock garden.
Step 1: Clear a Section of the Land
This is the first step towards your dream garden. You need to make some space in your garden. Try laying a course of rocks and soil, which will have an elevated space read for you.
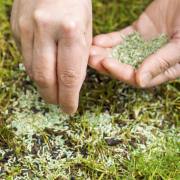
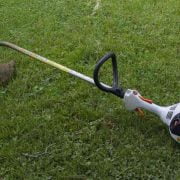
If you have some extra weeds and grass, trim them down and make a clear path for your garden wall. This is because you need the place wholly tidy and clean to start with the process.
Furthermore, you can also add some stray papers in the area that will help with the soil drainage and add a layer of weed resistant fabric if you have weeds or stray grasses in that area.
Try choosing the area which has good sunlight since that is quite important for the plants. Try avoiding shady areas.
Step 2: Make a Design Blueprint

It would help if you had dot to have a full-fledged plan before starting. A blueprint of your garden will enable you to plan things out properly regarding the stones and rocks’ placement. This is undoubtedly one of the most impactful steps in our journey of making a rock garden. You cannot afford to neglect this. Try being creative with the arrangement since this can make your rock garden much more unique.
A blueprint will consist of the color combinations you will implement in the rock garden, the rock arrangement, and the shapes and sizes. You need to check the entire surroundings as well while making the blueprint if it matches that as well or not.
You do not want to make some awkward rock garden that does not look good right in the middle of your garden. Therefore, keep the background in check before proceeding with the next steps.
Alternatively, if you are not sure regarding the blueprint, you can always ask a professional for help. They have a better understanding of color coordination and other aspects.
Step3: Start with the First Layer
Now when we have a complete plan in our mind and a clean canvas, let us start with the first layer of rocks. You can choose rocks based on the availability and the type of look you want to go for.
There are numerous types of rocks available online, as well as ay neighboring local stores. You can try purchasing a few of these from amazon, which is quite affordable.
[amazon box=”B07TMKK83G”]If you are finally ready with the choice of stones, you can start by laying down the first layer into the soil gradually. This will help you to create an elevated bed for your rock garden.
Carve out a circle or any preferred shape in the perimeter with the help of the rocks. Keep the dimensions of the perimeter accurate since this will help you in further processes.
Tip: Have you gathered some unattractive rocks and do not know what to do with them? Worry not. If you have some unattractive and heavy rocks in the lot, try including them in the first layer itself. This is because the first layer is rarely visible.
You can keep the prettier ones for the upper layers. Furthermore, the more massive rocks will be tough to pick up and easily dragged at the lowest level. Therefore, keeping the most massive rocks at the first level itself.
Step 4: Add the Soil
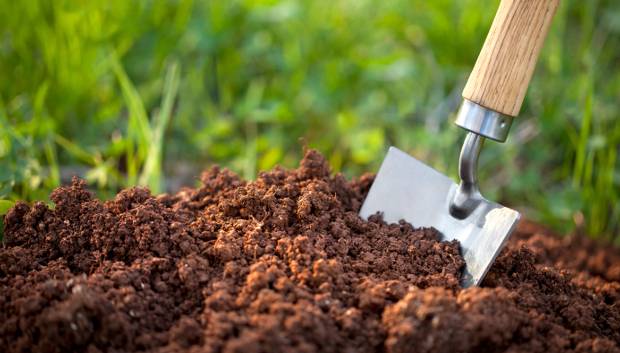
After the placement of the rocks in the first player, cover them with soil. Gradually fill it up to a certain extent.
Use the barrow that we had on our equipment list for better convenience. This will help you to carry the soil and save that energy for later.
You might be thinking about what type of soil is optimum for the rock garden. To be precise, you should use a sandy or clay type of soil. This many advantages but the most important benefits are that it will provide good drainage for your plants.
Shovel the soil into the bed that you have created with the rocks arranged in shape. You can try walking on the land of soil so that it can settle and pack down the entire set up.
Step 5: Lay Down the Second Layer of Rocks
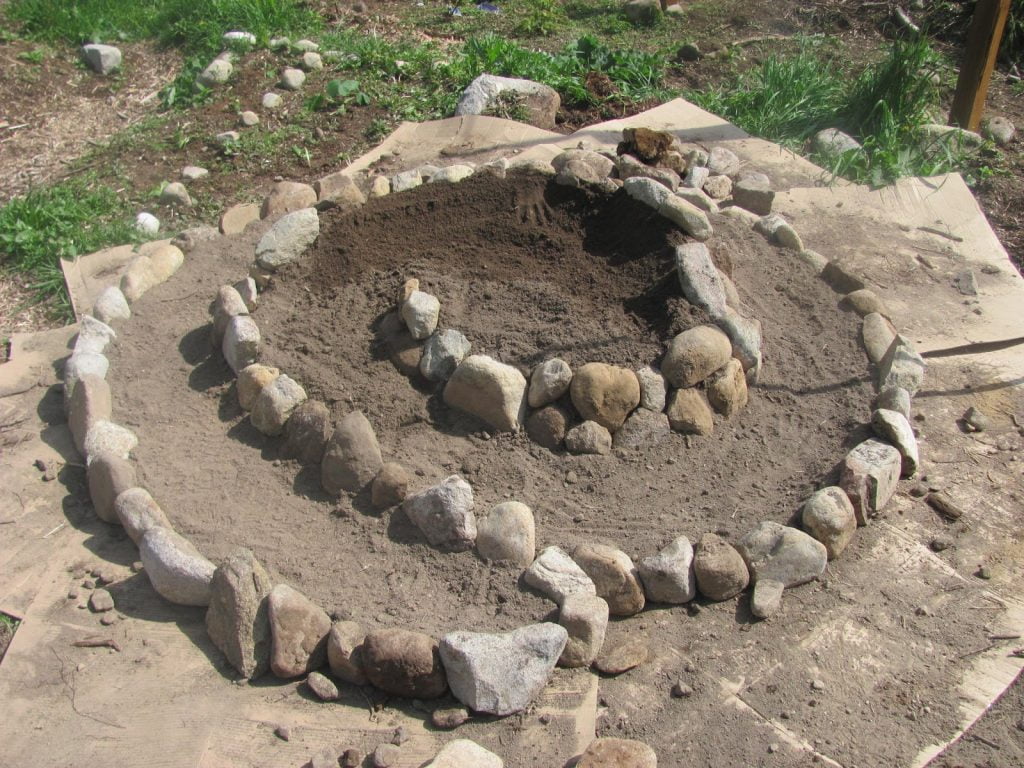
Let us proceed with the second layer now. Opt for a smaller shape in comparison to the previous one. If you chose a circle, then it would be a circle on a circle.
Try including stones with some earthy and pastel tone to them. You can also try including some quirky color stones as well if you have light-colored flowers. This will complement the flowers greatly and will give a nice overall look.
Keep in mind that the shape is of adequate diameter so that it leaves enough space from the first shape. This is another crucial point in the entire process of how to make a rock garden. You need to add plants in between the space.
The size and shape play a significant role here. If you do not follow the space allotment properly, you might have a hassle later while plating the plants since the planning would require a fair amount of space.
Now gradually use the lighter stones to form the second layer. Start with the prettier stones that look eye-catching exceptionally.
Step 6: Plant the Plants
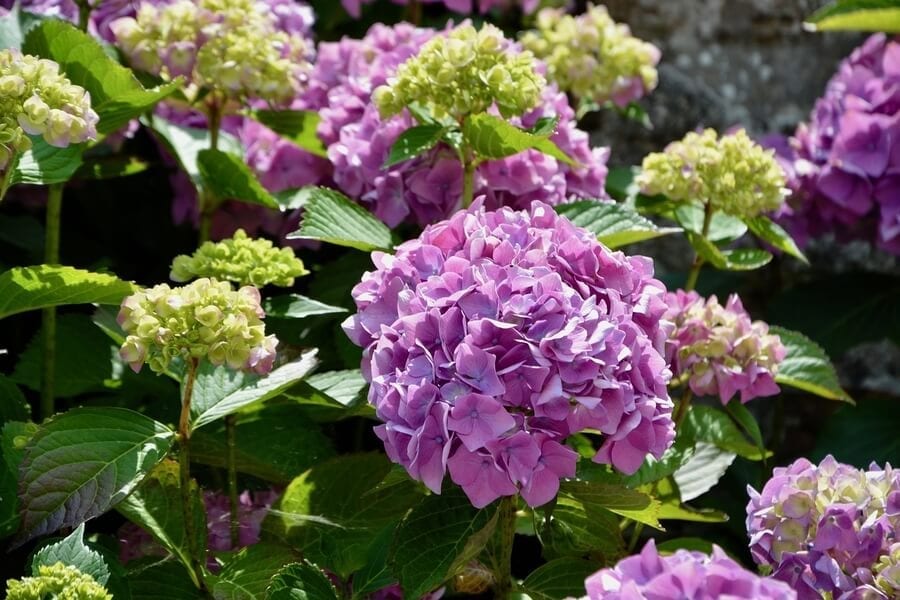
When we are finally done with the steps mentioned above, let us start planting the plants. The plants’ selection should focus on the color schemes and the longevity of the plants. You need to check which color contrasts with the other. You can form various color combinations as well according to your preference.
Ensure the plants you choose will stay alive and healthy since that will be the first spot when somebody visits your garden.
Furthermore, take the drainage aspect in mind as well. Choose plants that are more compatible with growing when water drips through the soil.
Choose plants of the same type together. This will help help you to fulfill their requirements quickly.
Keep the leaf texture, plant height, size, and other essential factors in mind while choosing your rock garden plants. Look for something that looks visually satisfying. Try opting for softer colors to be soothing to the eyes and contrasts with the background grass.
These are some more crucial aspects of how to make a rock garden. These should have already been in your blueprint, but make sure that you implement them correctly to make the most out of the design that you have curated.
Final Thoughts
Rock Gardens can transform the entire look of your garden. It can give life and love to the entire space. Best part? The entire process is relatively easy and effortless, and all the stuff is quite readily available nearby and inexpensive.
Therefore, building a rock garden is the best thing you can do in your garden this year. We hope that this comprehensive yet accessible guide helped you to get an insight regarding the entire process of how to make a rock garden. Do not wait any further. Gear up and get started with your first rock garden!


Comments