
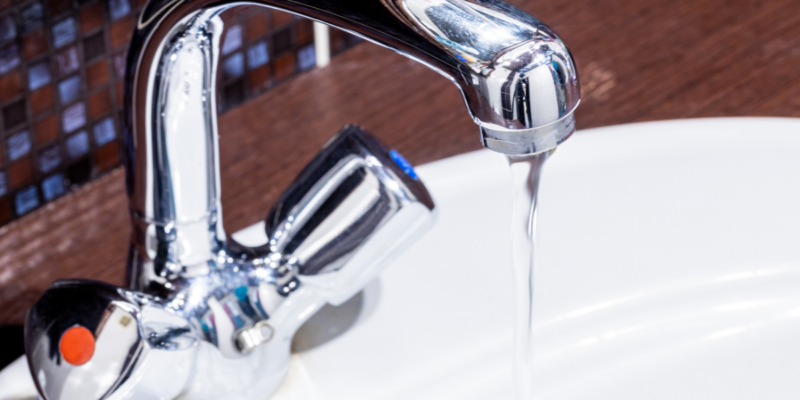
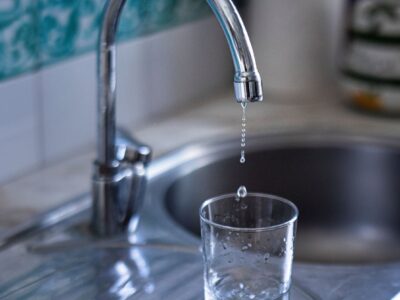
Dripping taps are one of the most common and wasteful problems around the home. A leaky tap could waste as much as 20,000 litres of water per year. If your taps are leaking, you could call an emergency plumber Brisbane, or you could fix the problem yourself.
Repairing leaky taps is a relatively simple task. It’s also a great life skill that can save you hundreds in plumbers’ fees! In this article we’ll show you how to fix a dripping tap to help keep your water bills under control.
What You’ll Need
Fixing a leaking tap is one of the simplest plumbing tasks you can tackle. You’ll only need a few common tools to get the job done:
- Adjustable spanner
- Long nose pliers
- Flathead screwdriver
- Plumbing grease
- Tap repair kit
Tap repair kits can be purchased from any hardware store. Your kit should include new o-rings, washers and jumper valves in a variety of sizes. Since taps are produced in a handful of standard sizes, repair kits should be suitable for most types of tapware.
How to Fix Your Leaking Tap
1. Turn Off the Water Supply
Before anything else, you need to turn off the water supply to the sink you’re working on. This can be done in one of two ways:
- Modern sinks typically have an isolation valve located in the cabinet under the sink. Turn off the isolation valve on the taps you’ll be repairing.
- All homes have a main water valve located at the front of the property. Your valve can be found in a plastic box that’s partially buried in the ground. Open the box and turn off the valve that’s found inside. If you live in an apartment, the mains water valve can be found in a utility cupboard, typically located near your front door.
With the water supply switched off, turn on the tap you’ll be repairing to release any remaining water and pressure from the system. It’s normal for a small amount of water to come out. It should stop running after a few seconds.
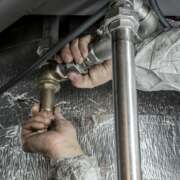
2. Unscrew the Tap from the Sink
Once the water supply is off we can remove the tap from the sink. This is done by unscrewing the cap that holds the handle onto the tap body. The cap is usually the piece that includes the Hot and Cold labels.
Unscrew the cap and then lift the handle off the tap spindle. You can now unscrew the tap cover plate. This should only be done up hand tight.
Removing the cover plate exposes the spindle and the body of the tapware. Pay attention to the condition of the spindle. If it’s wet, grimy or showing signs of calcium build up, this is an indicator that the o-rings are leaking and need to be replaced.
3. Separate the Body and Spindle
Unscrew the body of the tap from the sink. You’ll find the jumper valve located under the body. The jumper valve is the most common source of a leaky tap. You should be able to lift the jumper valve and its nylon washer out of the sink. The washer may be stuck in the sink, in which case you’ll need to use your pliers to peel it out.
You can now take the body of the tap and wind the spindle clockwise to separate the two pieces. The spindle will have one or two o-rings around it. Remove these using a flathead screwdriver (or a utility knife, if they’re especially stubborn).
At this point it’s a good idea to use steel wool to scrub the spindle clean. This improves seal between the spindle and the o-ring and will prevent future leaks.
4. Replace the O-Rings
Roll the new o-rings onto the spindle and check that they fit snugly into their grooves. The fit should be tight but not stretched.
Take a very small amount of plumbing grease and wipe it around the outside of the o-rings. This will improve the seal and make it easier to operate the tap.
With that done, you can screw the spindle back into the tap body (anti-clockwise). Wind it all the way in, but don’t over tighten it.
5. Reassemble the Tap
Take a new jumper valve and place it in the hole in the sink.
Screw the tap body back onto its fitting. Use your spanner to tighten the tap body until it is snugly in place. Avoid over tightening the tap body, as this can strip the threads and make it difficult to remove in future.
Wind the cover plate back into place, and replace the tap handle.
6. Turn the Water Supply Back On
Finally, you can turn the water supply back on and test your new tap. Turn it on and off a few times to see whether anything leaks (don’t forget to look inside the sink cabinet to make sure the underside isn’t leaking) and if the dripping is fixed.


Comments