
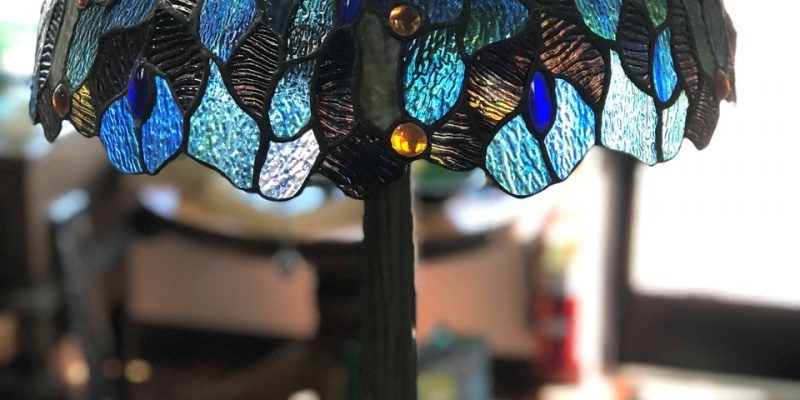
Stained glass is used for a variety of decor elements. From doors to windows to suncatchers, it is incredibly versatile. Colored glass can make your home look unique and even magical! Tiffany lamps are expensive, but you can craft your own stained glass lampshade with some patience and basic soldering skills.
Equipment and Materials
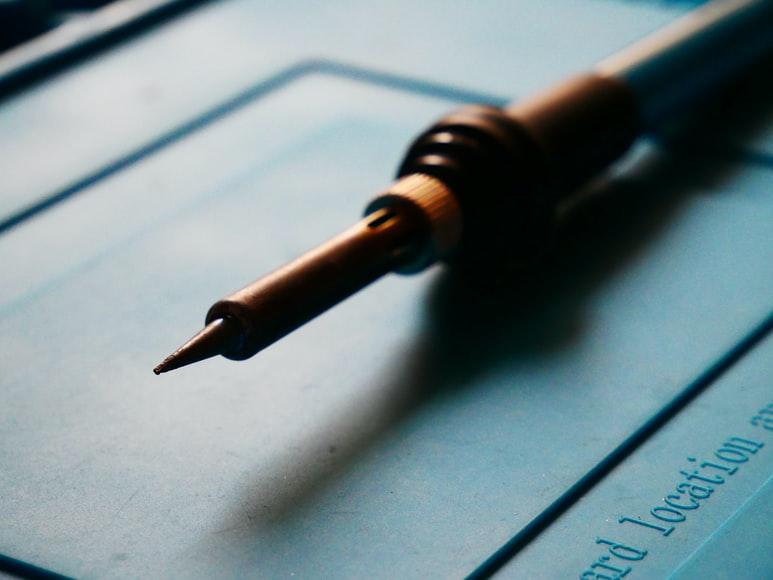
In addition to general stationery like a pencil, pen, and eraser, you will need a soldering iron, a jig system, and glass-cutting equipment. Get some tinned copper wire and some Scotch tape (or another type of stretchy masking tape).
Prepare the Pattern
- Check that your pattern is perfectly symmetrical.
- Trace it onto a piece of cardboard using carbon paper and a ballpoint pen.
- Number all the elements.
- Cut out the pieces using scissors or pattern shears.
- Lay them back on the pattern to check accuracy.
Make a Jig
Lay out your pattern on a workboard and secure it in place with Scotch tape. Along all four sides, nail strips of wood and make sure the top and bottom are parallel. Install the jig system (for example, Morton Layout Block system). Make sure there are no gaps between the jig and the outside pieces of the glass.
Cut and Assemble
Cut the glass carefully panel by panel. Foil and tack solder all the elements, then solder them front and back. Wash in warm water with soap and dry.
Tape and Lift Into Shape
- Arrange the pieces according to the pattern front side up and tape them together at the top and bottom. Leave a hanging tail on one end on both sides.
- Lift the panels into shape using two hands. Connect the ends and hold the lampshade together using the tape tails.
- Turn the lampshade upside down.
Tack Solder
- Tack solder every intersection: first at the bottom, then at the top.
- Tack solder the middle of every seam between the panels.
- Pull off the masking tape gently in a downward movement.
- Solder a tin wire around the top, moving slowly.
Put On a Tinned Vase Cap
Solder the cap in place carefully, ensuring levelness. Begin by tack soldering a few points where the seams touch it and connect the rest.
Final Soldering
- Lay your creation on the side to solder all the internal seams. Tin the bottom edge on the inside.
- Solder all external seams. Tin the outside bottom edge.
- Turn the lampshade upside down and solder a copper wire to the bottom.
Washing
Now, all that’s left is to wash the lampshade carefully. Carnauba-based wax or an ammonia-based cleaner will do the job. Clean every seam with a toothbrush, arrange the lampshade and dry it. Put it on its stand and impress your guests!


Comments