
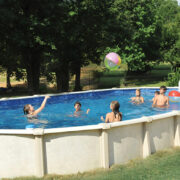
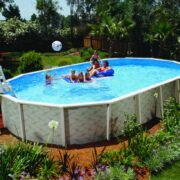
One of the most amazing parts of the world of swimming pools is an above-ground pool that provides the affordability and creativity of an above-ground pool with the structure and functionality of a pool set in the ground.
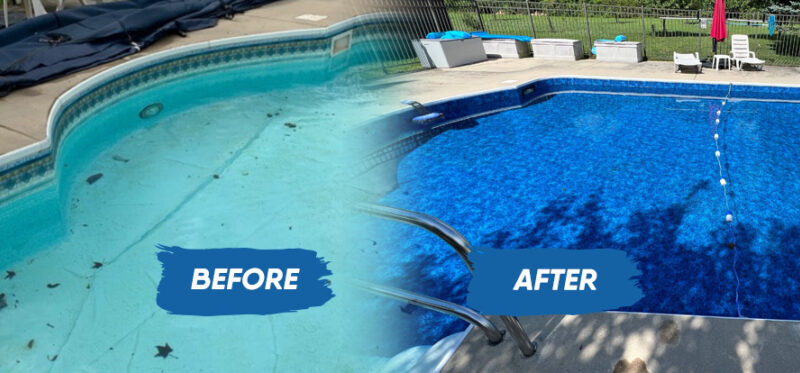
However, you may have to replace the liner due to wear and tear or wrinkles; it is important to know how to replace it in your above-ground pool.
In this guide, we will help you learn how to replace the liner of your pool in the ground. Whether you have just got your new pool made or have been using one for quite some time, this guide will provide you with the knowledge to keep your pool looking its best.
Process to Replace the Above Ground Pool Liner
1. Preparing for Replacement
Before starting on the journey to replace the liner in the above-ground pool, it is crucial to prepare beforehand. Assess the current condition of the liner, looking for signs of wear and tear or wrinkles making sure that replacement is necessary.
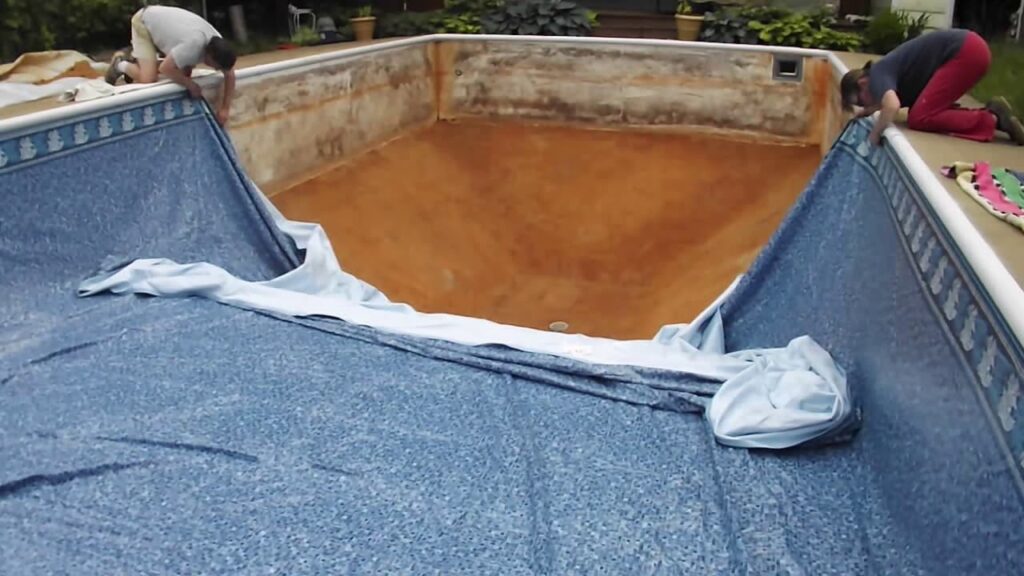
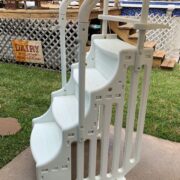
Gather the necessary tools such as coping strips, bead receivers, vacuum and weighted pool brush, and a liner that suits your preferences. Once the preparations are complete, start by draining the pool and removing the installed liner.
2. Choosing the Right Liner
Choosing the right liner for the above-ground pool is a crucial decision. Start by choosing the liner type, which includes beaded, overlapping, or J-hook liner, having its attachment method. Measure the pool to determine the liner size for a snug and accurate fit.
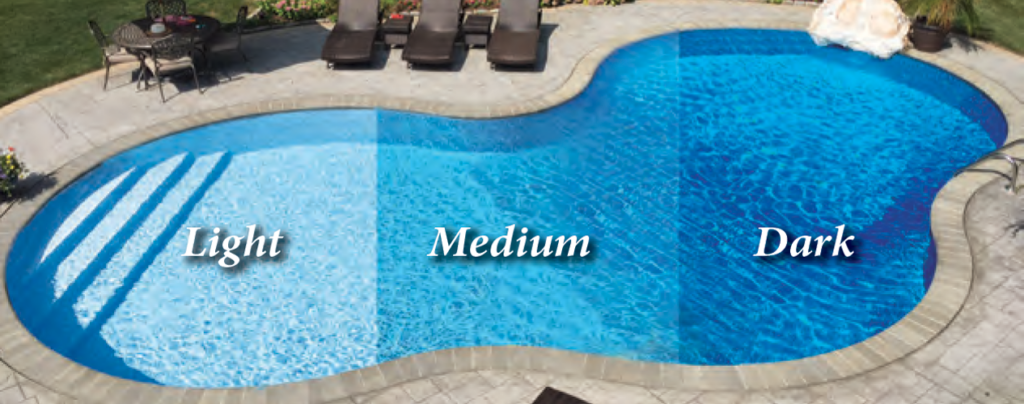
Considering the aesthetics, choosing the liner pattern should also be considered to match the surroundings and your preferences. The right liner will not only ensure that the fit is proper but also enhance the visual appeal of the pool.
3. Installing the New Liner
After successfully choosing the perfect liner for your above-ground pool, you can start the installation process. Begin by unfolding the liner at the pool’s center, ensuring it is free of wrinkles and creases. Secure it in place by using the coping strips or bead receivers, depending on the type of liner chosen.
Adjust the wrinkles and uneven areas while ensuring the edges fit perfectly. Proper installation is essential to ensure that the liner functions and looks fantastic.
4. Filling and Finishing
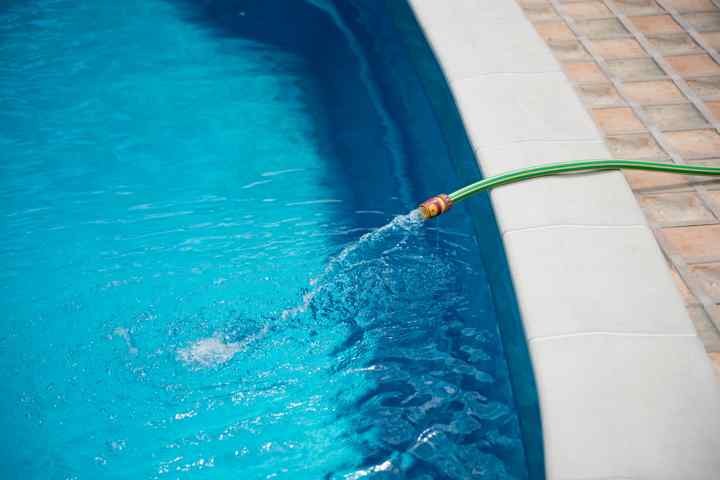
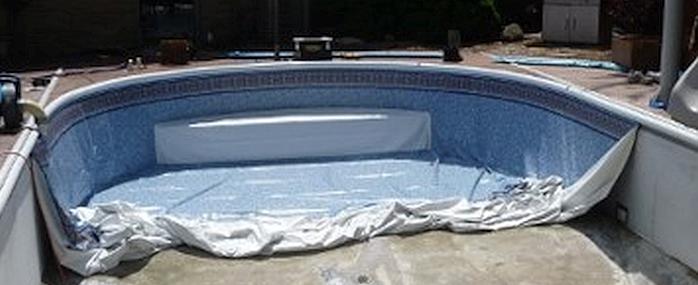
When you have successfully placed the liner in the pool, it is time to fill it and complete the above-ground pool liner replacement project. Start by filling the pool with water, making sure to add it evenly to avoid wrinkles, and making sure that the liner settles evenly and correctly.
Use a vacuum or weighted pool brush to help remove any wrinkles and air pockets. Trim any excess liner material and reattach the top rail. Complete the finishing touches to enhance its functionality.
5. Maintenance and Care
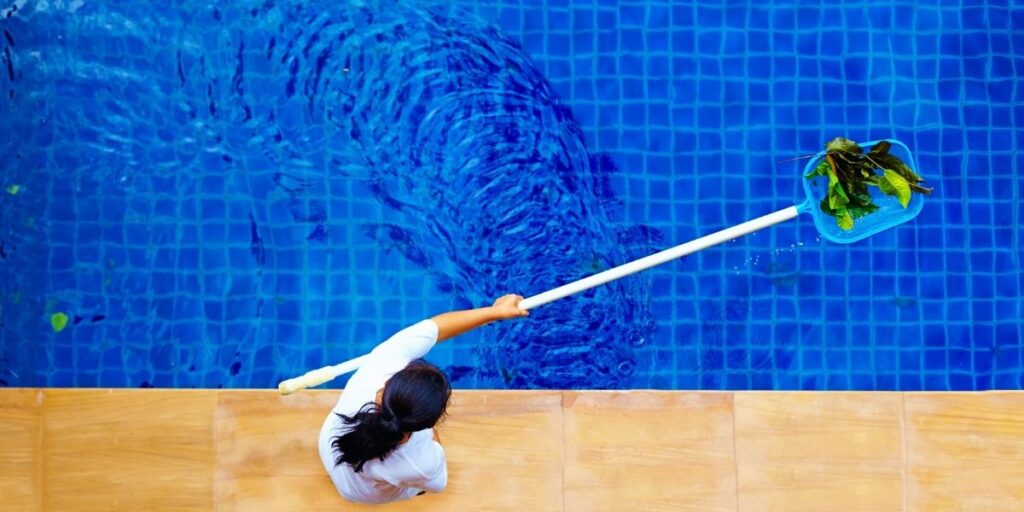
The liner enhances the beauty and functionality of the above-ground pool in the ground, and proper maintenance is essential to keep it in perfect condition. Inspect it for wear and tear regularly for damages and fix the issues immediately. To increase its lifespan, clean it routinely and perform chemical maintenance. Proper pool chemicals are required to minimize the chances of liner fading and degradation.
After the end of the swimming season, winterize the pool to protect the liner from harsh winter conditions. These steps ensure that the above-ground pool liner’s life is prolonged and fun. It is also important to protect the liner from prolonged sunlight exposure to minimize aging. You can use a pool cover to keep it protected against UV rays.
6. Troubleshooting Common Issues
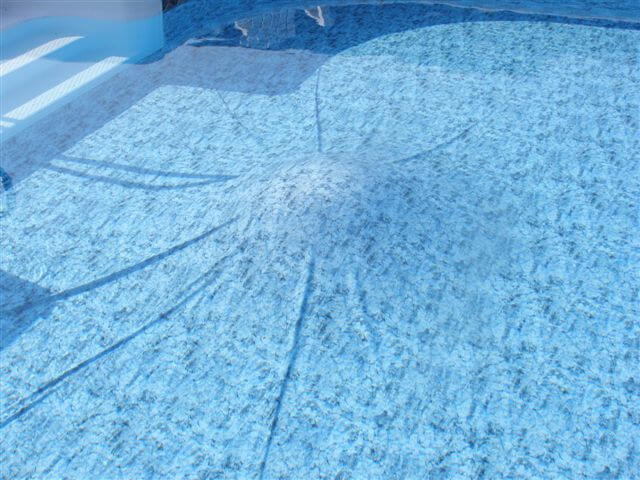
Even after caring for and maintaining the liner, you may face occasional issues with the above-ground pool liner. Common issues may include wrinkles, liner damage, and leaks. Wrinkles can be smoothed out while filling using a vacuum or weighted brush. To fix leaks, you must inspect the liner thoroughly and patch the holes or tears with a liner patch kit.
If there is substantial damage to the liner or it has worn out extensively, you may need to replace it completely. Monitor the condition regularly and fix the issues to extend its lifespan. It is important to maintain the water chemistry imbalance to prevent degradation. Test and maintain the water balance, including pH and chlorine levels, regularly. A well-balanced pool prevents the chances of premature wear.
Algae growth can also damage the liner’s surface if the water chemistry is wrong. Ensure the chemical levels are properly maintained and use algaecides if required.
Conclusion
After successfully replacing the liner of your above-ground pool using these steps, you have guaranteed that the pool will remain functional for years to come. It is important to remember that proper preparation, selection of the right liner, installation, and maintenance are crucial for a successful project.
Regular inspections and chemical balance are also a paramount part of extending its lifespan. Troubleshooting techniques are also provided in the blog to fix common problems. Cherish the refreshing moments and enjoy the satisfaction of a job well done.


Comments