
I love love love Red Velvet Cake! Red Velvet Cake takes me back to my childhood at my Grandma Maxine and Grandpa Ted’s house where we (aunts, uncles and cousins) regularly gathered on Sunday evenings for fun, games and just being together. Grandma always had cake, cookies and ice cream for us, but the best Sundays were the Sundays she made Red Velvet cake. I think it was the dark red color that as a child, I thought was pretty cool, but the rich full flavor had me at first bite!
When I heard that Cool Whip now has frosting, I had to try it! I went to Walmart and found what I was desperately wanting to try on my Red Velvet Cupcakes. Cool Whip Frosting with Cream Cheese!
The price of the frosting was $2.28 but I printed 2 Cool Whip Frosting coupons which made them only $1.53. Not bad, you know how much I like saving money!
But first, I needed to make the cupcakes. Here’s my recipe…
3/4 Cup (1 1/2 sticks) Butter, softened at room temperature
1 1/2 Cup Sugar
1 1/3 Cup Buttermilk, shaken well
2 Tablespoons White Vinegar
1 Teaspoon Vanilla
2 Large Eggs
2 1/4 Cups All Purpose Flour
1 1/2 Teaspoon Baking Soda
1/4 Teaspoon Salt
4 Tablespoons Unsweetened Cocoa Powder
1 One Ounce Bottle Red Food Coloring
1 Tablespoon Water
Preheat oven to 350 and line cupcake pans with liners. In a mixer, cream butter and sugar together, set on medium speed for 2-3 minutes until light in color and well blended.

While the butter and sugar are creaming together, combine your wet ingredients (Buttermilk, Vinegar, Vanilla and Eggs whisked together) and your dry ingredients (Flour, Baking Soda and Salt) into separate bowls so you have a “wet” bowl and a “dry” bowl. Next, in a small bowl combine the Cocoa Powder and entire bottle of Red Food Coloring. It will form into a dry paste. At this point, add the Tablespoon of water to give it a more workable consistency. This is what it should look like.
Now you are ready to make your batter. Turning the mixer onto low, alternately drop in 1/3 “dry” ingredients and “wet” ingredients going back and forth until it is all in the mixer. This gives a very consistent and smooth texture to your batter avoiding any lumps. Next, and very carefully I might add, spoon the red cocoa mixture into your batter while it is still on low. This is what your batter should look like when done. Isn’t it beautiful?
Load up your cupcake liners making sure you only fill them no more than 2/3 full so you don’t have overspill while they raise in the oven. You should get at least 32 cupcakes if not more. I got 36 exactly. (3 full pans).
Bake at 350 degrees for 18-20 minutes, until the cake bounces back when touched, or inserting a toothpick and it comes out clean. Do not over bake or you will have very dry cupcakes and it will make me sad. Let cool completely. I always just leave them in the pan and gently put clear plastic wrap over the top of the cupcakes after they’ve been out for about 5 minutes, just to seal in the moisture until they are cool enough to frost. Many times I’ve baked cupcakes the night before, left them in their pans, put plastic wrap on them and tossed them in the fridge overnight and frosted them the day after. I actually prefer doing this as the cupcakes seem to be more moist the next day.
I couldn’t wait to try the New Cool Whip Frosting with Cream Cheese on my cupcakes! I used a Wilton 4B tip to frost the cupcakes and tiny heart sprinkles for the Valentine Holiday that is coming up this month. Aren’t they cute?
My daughter and I split one (as I’m trying to watch the waistline) and BAM! I was hooked! I love the light fluffy, not too heavy texture and the flavor was amazing! Some cream cheese frosting is almost too sweet and rich, and half the time I scrape most of it off, but not this time! It was the perfect balance of lightly sweet and fluffy consistensy, that I actually had to eat a whole one later that evening, I couldn’t resist! Waistline? What? I didn’t hear you, I’m enjoying my cupcake!
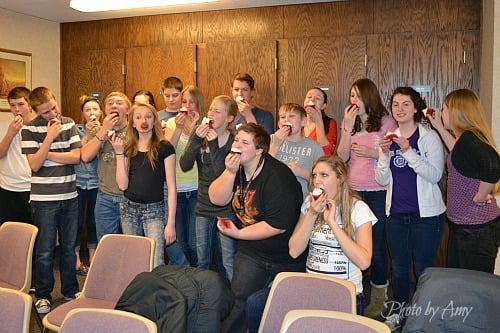
Just so I wouldn’t eat all 36 myself, I took them to our youth group activity night (that my teenage son and daughter belong to) at our church. They were MORE than willing to try them out for me! I can safely say they were gone in a matter of minutes and were thoroughly enjoyed by all!
Find more about Cool Whip on Facebook or Twitter at #CoolWhipFrosting and don’t forget to grab a coupon too! Coupon Printing Help MAC users, please use browser other than Chrome.


Comments