
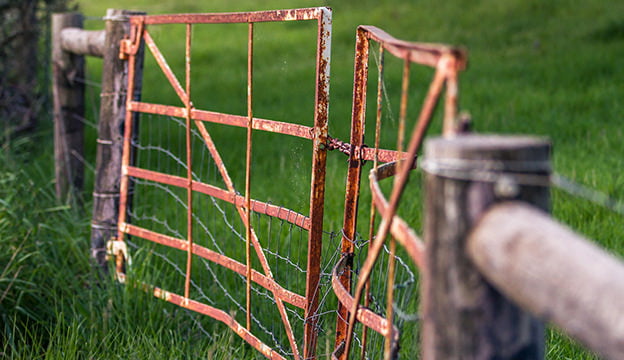
A sagging gate is where the Gate no longer lines up perfectly with the fence, causing an appearance of its sagging downwards.
The reason is that the hinges that hold the Gate in place wear out, causing the Gate to shift its position.
What Equipment’s You Will Need
- Drills
- Screwdriver Set
- Pliers
- Shovel
- Sledgehammer
To Replace a Gate Post, Keep These Thoughts in Mind
- If damage exists, remove the old gate post, and dig a new post hole at least 3 feet Deep.
- Once the hole is dug, set the post in concrete.
- If signs of extensive deterioration exist, replace it with a new gate post-treated with preservative.
- A wire and turnbuckle assembly are another technique to prevent sagging. The turnbuckle kit consists of a cable with corner mounting brackets and a turnbuckle.
Some Best Methods to Fix the Sagging Gate
1. Tightening the Hinges on the Gate
Tightening the hinges of the fence gate can be very helpful in fixing the sagging Gate. After prolonged usage, these screws start to loosen their grip, making the fence gate saggy.
You need to remove the hinges from the Gate first, and then you must drill the bolt holes. After drilling the bolt holes, you must put the bolt on the hinges from the outside of the Gate, and then you must reinstall the Gate in the appropriate position, and then hinge the gate posts with the help of bolts.
2. Square Up a Sagging Wood Gate
Squaring up a fence gate with the help of an anti-sag gate kit will help fix the sagging Gate.
You must install the anti-sag gate kit in the low corner and toward the upper hinge of the Gate so that it will hang straight.
The anti-sag gate kit consists of metal corner brackets, cable fittings, and a turnbuckle. Firstly, you must install the two corner brackets inside the gate frame, using the screws.
Then, you must fully extend the turnbuckle and fix it in the upper corner bracket. You must remove the slack from the cable as much as possible.
Then, you must tighten the cable and pull the Gate using an adjustable wrench or pliers. It would help if you tightened the cables until the Gate closes appropriately.
3. Replace the Wooden Post
If the methods mentioned above failed to work, you must replace the wooden post with a new one. This process requires removing the fence gate and then installing the same post in fresh concrete.
Firstly, you must remove the Gate from the post and keep it aside. Then, you must remove the post by digging up the soil around it. You can also use a shovel to remove the soil. Then, you must pull out the post from the ground.
Then, you must enlarge the post hole, and you can use a post-hole digger for enlarging the hole as much as you need. In the next step, you must add the gravel and the post to the hole.
You can brave the post using two perpendicular braces for better support. You must add a mixture of concrete and water to the hole and let it dry for at least four hours.
Now, you can remove the braces and reinstall the fence panel and Gate into the post.
Final Words
A fence may shrink so much in hot, dry weather that the gate latch does not catch at all. In that case, relocate the latch or replace it with a stronger one.
I hope you find this tutorial useful, and If you did, then do not forget to share it once, and if you have any doubts/questions regarding the topic, do not forget to paste them in the comment section below.
We will try our best to solve all your queries.


Comments