
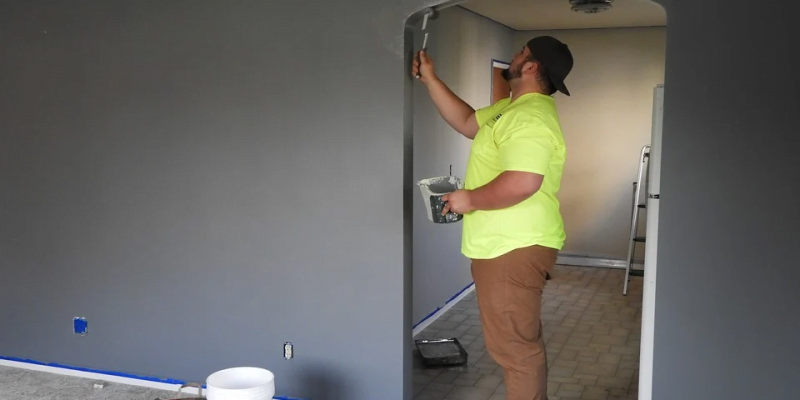
Renovating an apartment is a serious, troublesome but also pleasant business. The expectation that everything will change, become beautiful and comfortable, gives strength. And now the repair is almost finished, but there is no feeling of happiness. Because cleaning after the repair is awaiting you. Let’s face it, dust and dirt, construction waste, paint residues, mortars, mixtures — all this must be taken out of the apartment, removed, and thoroughly cleaned. And it is not an easy task.
If you do not want to do all this yourself, then order one-time cleaning from professionals. The company will make your home clean and shining in a few hours. Also, you will not have to worry about the disposal of all the garbage. Employees of the company will pick it up and take it out.
However, if the amount of work that has been done is big enough, then you will part with a decent amount from your own wallet. Therefore, many people decide to clean the apartment themselves after repair. As mentioned, this process is difficult and painstaking. The degree of dirtiness in different places of the apartment will be different: dust, paint stains, drops of glue, etc.
Therefore, for each type of contamination, you will have to select the relevant detergent, this must be done carefully. If you make a mistake with the choice, you will damage the surface. For example, you can remove paint or ruin wallpapers.
Stages of Complex Cleaning
Cleaning after the repair is divided into several stages:
- First, you will need to remove the garbage and building materials for hot tub and patios.
- Further, deep cleaning of surfaces consisting of solid materials is carried out.
- Finally, windows and doors are cleaned.
So, we begin to clean up the garbage after the repair. First, take into account that when carrying out this type of work, it is necessary to follow the rules and safety requirements. Be sure to wear protective gloves on your hands and reliable shoes on your feet. Among the garbage, there will definitely be sharp and cutting objects. Put all trash in bags, and be sure to sort it. It may turn out that it contains the necessary instruments or tools.
The garbage from repair should be disposed of according to the local regulation in force. You can’t just leave it in the trash cans, you will get an impressive fine. And if there is a lot of garbage, then you will have to rent a truck or take it to the disposal area with your own car.
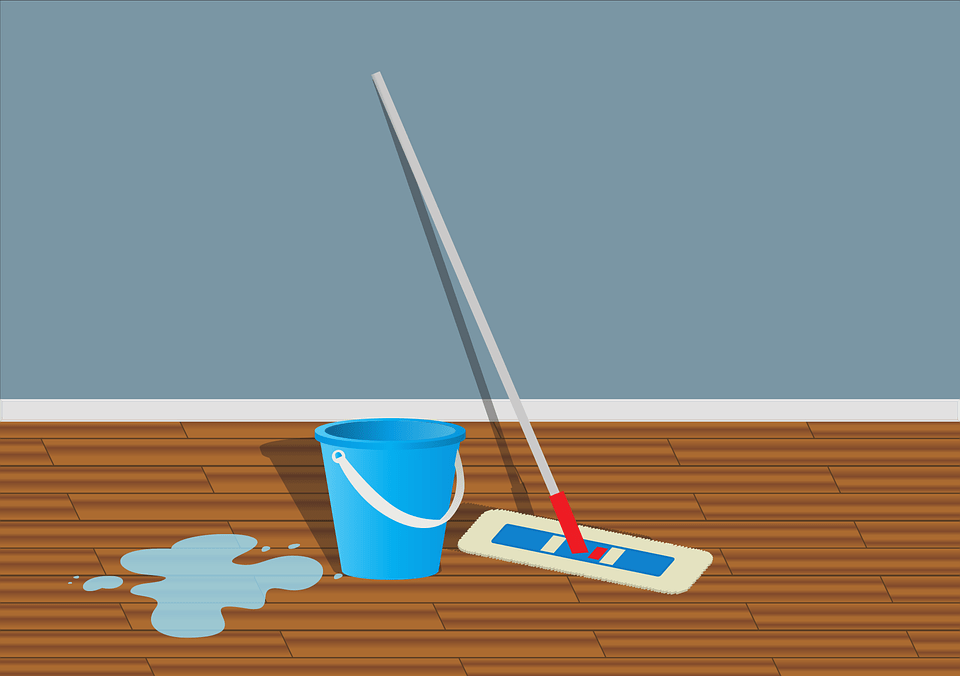
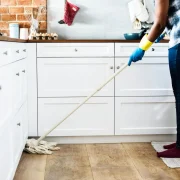
The second step is to clean hard surfaces. These are the floor, shelves, and furniture tops. Please note that you can face some problems with floor materials. For example, laminate and linoleum cannot be subjected to mechanical stress. So, you need to keep this in mind while choosing tools for cleaning, as well as while moving the furniture and wheelbarrow storage.
But at the very beginning, you need to collect the dust. It is the most difficult-to-remove contamination after repair. Therefore, it must be disposed of by all available means. The best option is to use a vacuum cleaner. But if the dust in the rooms is in large quantities, then you might even spoil this piece of equipment.
It is necessary to moisten the floor with water (there should be little water so that stains do not form), then use a broom to collect the dust into lumps that are easy to collect. After that, you need to give time for the surface to dry, then you can clean it with a vacuum cleaner. Dust on the walls is collected only by the appliance. Particular attention must be paid to corners, crevices. For them, it is best to use a flat nozzle.
Then, pass to the third stage. The complexity of cleaning and washing windows lies in the fact that it is not always possible to clean them on your own from the outside. If your apartment, for example, is located on the 13th floor or higher, then doing all these operations will not be safe. So, in this case, the services of a cleaning company will have to be used. But from the inside, it is not difficult to clean and wash windows and sills after repair. To do this, use glass cleaners. Instructions for use can be found on the label.
With doors, everything is the same. Here it is important to wipe the dust and clean the dirt with detergents. As practice shows, an ordinary soap solution is sufficient for these purposes.
Finishing Moves
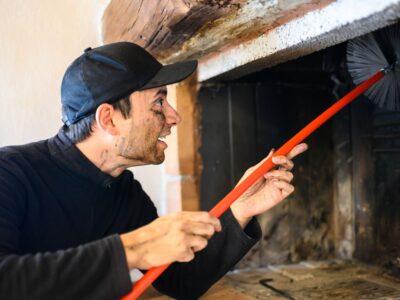
It would seem that the cleaning after the repair is over. But you will have to wipe all surfaces again, removing dust. Here you can do without a vacuum cleaner. Use soft rags, fluffy brushes, the main thing is that you need tools that would not negatively affect objects, furniture, and surfaces. When removing dust, pay special attention to chandeliers, lamps, heating radiators, and their screens. Here you have to work hard because these objects have a complex shape, where dust clogs into all the cracks and nooks and crannies.


Comments