
A garden has always been a perfect place to relax, right? We all love to spend some time in our garden, doing nothing, just lying or sitting on a chair. Some of us admire nature, while some of us just get lost while daydreaming.
There is something strange about the garden, which makes us feel relax and calm as well. That is why we usually are very possessive of our garden, and we always do something for our garden time after time so that it does not lose its charm and aura.
But, when it comes to gardening tools or other equipment which we use to decorate or normalize our garden, we seem a bit careless. We all must agree that we sometimes leave our garden tools at the place of work, right?
Well, we all are doing this, and there is no shame in admitting it. As we all are human beings, and we made mistakes for sure, but if we are doing it again and again, this is not so humane.
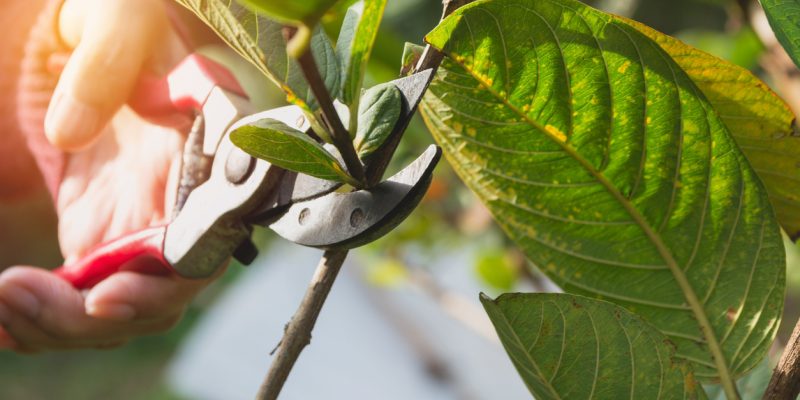
This carelessness of ours leads to our gardening tools’ rusting, and what we use most are pruning shears. They are the ones that get rusty very easily and quickly, even after having a rustproof coating. That is why we are here with some great and easy guide on clean rusty garden tools, especially the pruning shears.
In this guide about how to clean rusty garden tools, we have taken pruning shears and have described a step-by-step explanation of how to make it clean and new again. So, go and grab your gardening tools and make them like it was when they were first made by following this quick and easy guide on how to clean rusty garden tools. Let us begin now.
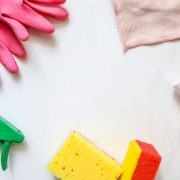
Materials Required
We believe in a systematic way of working. Irrespective of the type of work you are doing, it is necessary to do it systematically.
This helps you save time and reduces the chances of skipping steps and chances of error as well. Therefore, we would like to list all the things we will require to achieve our goal of cleaning rusty garden tools.
So, go through these things and then see how many of them you have, and we are sure that you will have all of them with you.
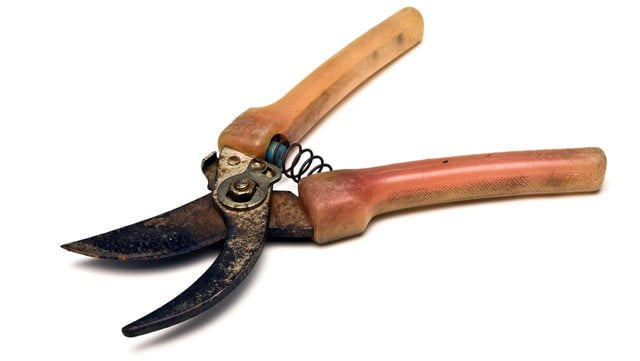
- Pruning shears: – We have taken pruning shears as a mark, and in this guide, you will know about this only. But if you want to clean other rusty garden tools, then you also can.
- A small bucket full of water and a jug
- Steel scrubber or pad
- Sandpaper
- Clean wiping cloths
- Nail polish remover
- Vinegar
- Lubricating oil
- A knife sharpener or metal file
All of the materials mentioned above are common in every house, and you will also have all of these, but if you lack some of them, then go and get those to clean your rusty garden tools quickly and effectively.
Cleaning Part
We have divided our guide on how to clean rusty garden tools into parts to become easy to do and easy to understand.
Step 1: – Remove Dirt and Debris
First, take a clean wiping cloth and rinse the pruning shear gently. Use your fingers to remove the bug clumps, and if required, then rinse it roughly.
Step 2: – Clean it with Warm Water and Nail Polish Remover
After removing the dirt and debris from your pruning shear, it is time to wash it with warm water. You cannot remove all dirt and debris with just a piece of cloth as some dirt and debris got stuck to the tool very hard. Therefore, here warm water will help to soak up the remaining dirt and debris and help loosen it.
Now, spray some nail polish remover on it, or you can apply it on the pruning shear or any tool you are cleaning. Using a nail polish remover is not a must as if warm water has been enough, there is no need for nail polish remover. But if you are willing to clean your rusty garden tool correctly, then you can use it.
Step 3: – Clean it Dry
Take a wiping cloth and clean your pruning shear from it and make sure that it is dry. Till now, you have done half of the task, and you will see the difference.
Rust Removal
After taking off dirt and debris from your pruning shear, it is time to work on rust. Rust is nothing but a layer of oxidized metal of which your tool is made up. So, we must remove this layer, and then you will be able to see the real luster and shine of your tool’s metal.
Step 1: – Use Sandpaper
Take a small piece of sandpaper and rinse the blade of your pruning shear with some pressure. Please give it a toe and for movement and make sure that you cover all parts of the blade. Now, use a wiping cloth to wipe off the removed rust to see your work result.
Step 2: – Let it Soak in Vinegar
This step is the primary step in the removal of rust. In almost every guide on clean rusty garden tools, you will see this step for sure.
Take a jug, a small one, pour vinegar in it. Pour it enough such that your pruning shears blade gets submerged in it. Now, you must leave it for some time, and the time depends on the concentration of the vinegar used.
We would suggest you get cheap white distilled vinegar for this. If your pruning shear is not much rusty, leave it overnight but, if you have heavy rusty tools, leave it for 24 hours.
Tip: – if you want to clean some more giant blades, you should use 3% citric acid solution to soak them. By this, you can make up the desired volume of the solution.
Step 3: – Rinse it With Steel Scrubber or Pad
After the soaking is done, rinse it with a steel pad by exerting some gentle pressure on it. If the soaking has done enough work, then be a bit gentle while scrubbing. But if rusts are still there, then do a bit of hard scrubbing.
Make sure that you do not end up scratching the metal and making it look not very interesting. Therefore, apply pressure accordingly. If you think that another soaking procedure is required, then go for it. You can also rinse it with vinegar as well while scrubbing with a steel scrubber or pad.
Tip: – You can also use strong black tea or cola instead of vinegar. They are also quite impressive in removing rust. You will see this step-in as another guide for cleaning rusty garden tools, especially those who name it DIY.
In case you do not have a steel scrubber or pad, then take aluminum foil, tear some portion of it, give it a shape that fits into your hand, and then use it as a scrubber.
Step 4: – Wipe it
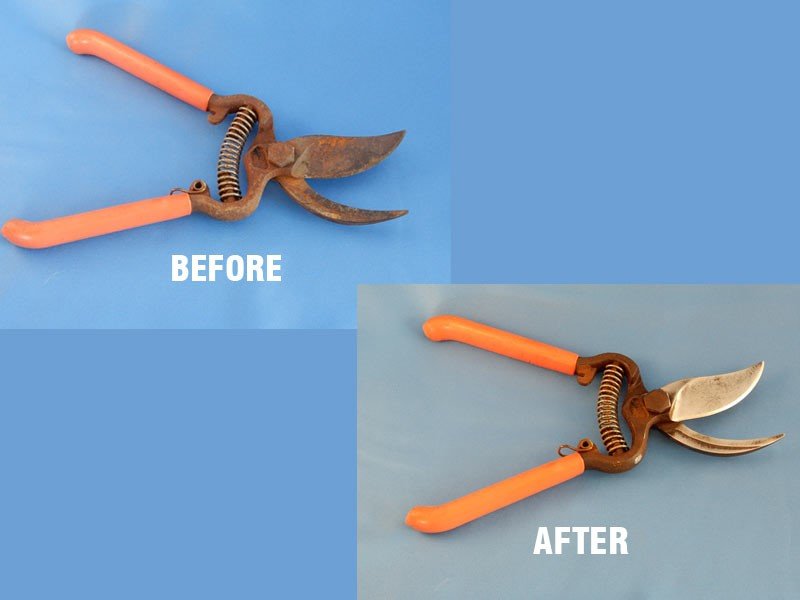
After the scrubbing tasks, use a clean wiping cloth and wipe it gently and clean it till dry. Once you are done, you will have a rust-free and luster garden tool.
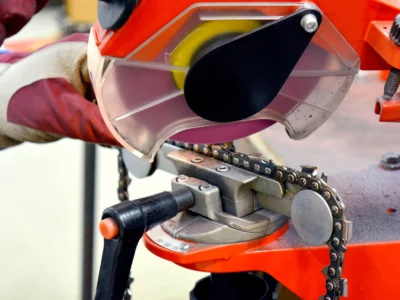
Sharpening of Blade
After going through so much scrubbing, soaking, and cleaning processes, the blade of your pruning shear or any other gardening tool will become a bit blunt for sure. You can use any tool to sharpen your blades like the whetstone, flat file, or sharpening tool.
Step 1: – Sharpen your Blade
If you are using a whetstone, then pour some water on it before sharpening the blade. You can also use oil instead of water to keep your whetstone wet. Pour more oil or water if the whetstone becomes dry after some time. Whetstone is something that requires experience and a bit of technique as well. If you are new to this, we will not recommend this; a flat-file will be best for you.
Step 2: – Check Sharpness
After sharpening the blade, check its sharpness on some shrubs (not on your finger). Once you are satisfied with the results, you have done a great job but, if the results are not so well, then sharp your blade again, and this time makes sure that you do it another way.
If you are satisfied with the results and the blade is quite sharp, put some oil on the blade and store it carefully.
Tip:- To get to know if you are doing it right or not, place your fingertip on the side of the edge, and if you feel a little bend at the edge, then it conveys that you are doing it in the right way.
Conclusion
So, that was our quick guide on how to clean rusty garden tools. We hope that you have liked it. Gardening tools are something that is used very often. So, rather than buying the new ones, it is better to fix the old ones.
But the best thing is to maintain the originality of your gardening tools and maintain it like it was when bought.
We care about our tools, but only when they look new and when they become even a little bit of old, we stop their maintenance, which is when the problem arises.
If we take care of our gardening tools, store them correctly in a suitable environment, there is no chance of getting rust. Therefore, how you store your gardening tools matters a lot.


Comments