
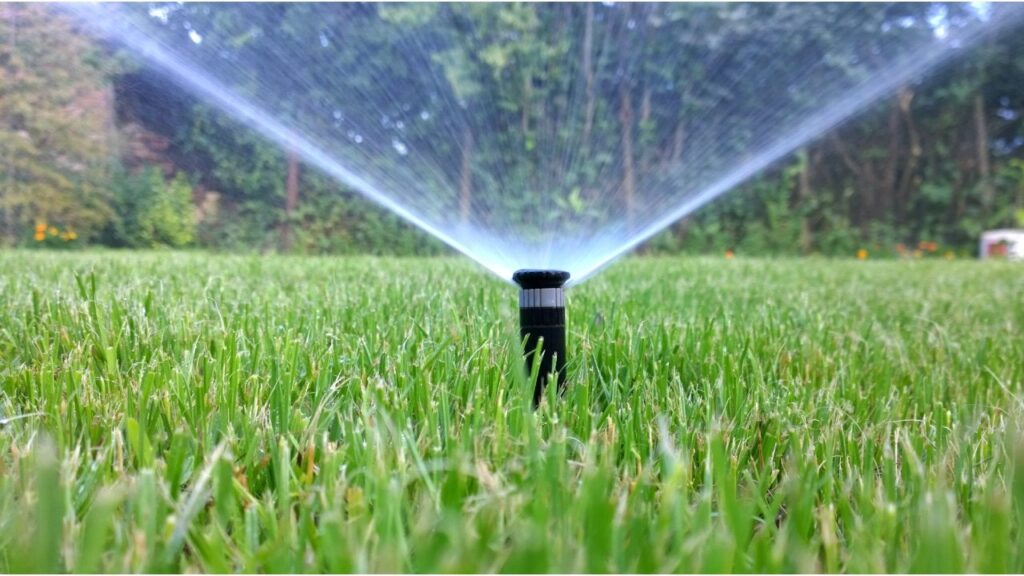
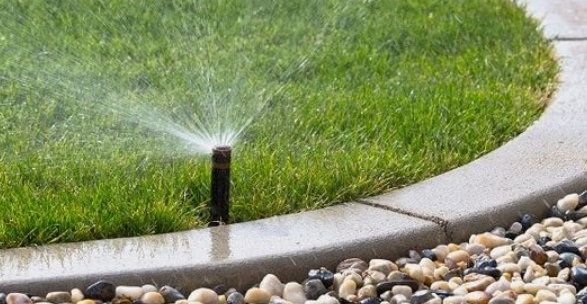
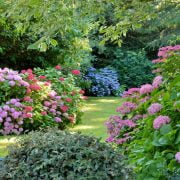
With a good sprinkler system on your lawn, your outdoor landscape transforms into a lavish oasis.
As a seasoned gardener or a novice, if you are looking to amplify your landscape, then you must know how to install and adjust sprinklers.
Our step-by-step guide will help you achieve that thriving garden that you always wished for.
Before we dive deep into the tutorial on creating a successful sprinkler system, there are a few additional tips you must know to have seamless sprinkler installation.
Tips to Consider Before Installing a Sprinkler System
- One of the first tips that needs your attention is water conversation. Always opt for a sprinkler system that offers drip irrigation. This means water will reach the roots directly, and no wastage will be provided
- The sprinkler system should have pressure control. Too much water to the roots may damage the plant, while too little water would hamper the plant’s growth. Thus, a pressure regulator should always be used with sprinkler installation
- During the rainy season, there is a chance that there will be excess water that might harm the conditions of your plant. To avoid this, use a rain sensor that would tell you about the rainfall and save your water consumption
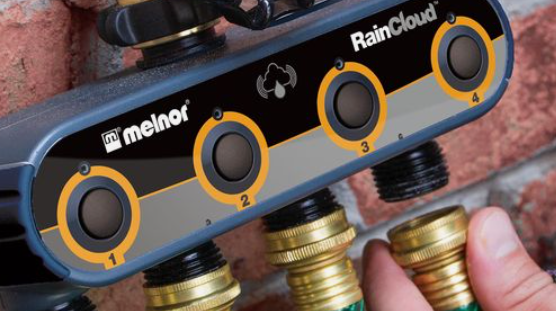
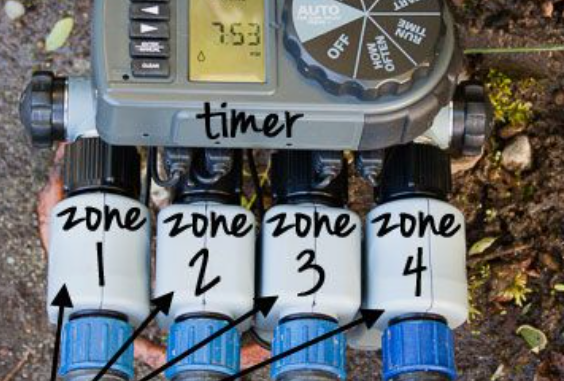
- The sprinkler heads need to spread to everyone in the garden so that each zone of your garden gets an adequate water supply. Adding a timer or a controller would ensure that every plant in your garden gets water at their respective times.
- Like any other system, it will need regular maintenance as the sprinkler system does not fall under any exception. Regular maintenance would ensure that the system is free of leaks and clogs, making it run smoothly for a longer period.
How to Install a Sprinkler System
Step 1: Planning
Even before you first teach, it is essential that you consider your garden layout, water sources, sprinkler types, and zones. Let us explain each one in detail so that you get a clear picture.
- Water Source: Find the water source that is nearest to your garden. Most sprinkler systems run on home water supplies; hence, it’s important that you locate a water outlet that is nearest to you.
- Zones: Every plant present in your garden has different watering needs. Hence, irrigation zones need to be selected very carefully. This step is crucial because it will help all your plants get enough water without any underwatering.
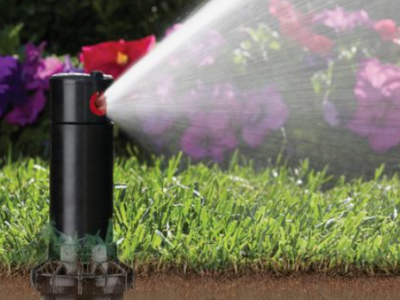
- Sprinkler Types: The most common types of sprinklers that are present today are oscillating, pop-up, stationary, and drip irrigation systems. Choose an irrigation system that sits well with your garden size.
- Garden Layout: The garden layout becomes a crucial factor because it helps you identify trees, stones, and flower beds that might affect the placement of the installation. Knowing these obstacles would ensure that your system is placed correctly.
Step 2: Tools
There are certain tools that you need to gather for proper installation. The list is as follows:
- Shovel
- Pipe wrench
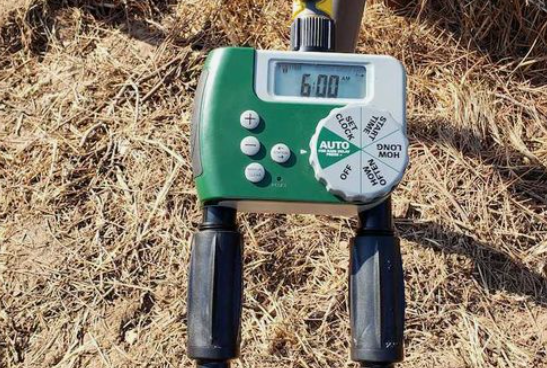
- Timer
- Wire and connectors
- Pipes made of PVC
- Glue
- PVC connectors
- Hacksaw
- Measuring Tape
Step 3: Making the Placement
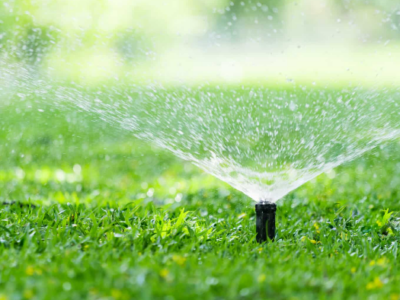
Once you have your garden layout in place and tools in order, it’s time that you consider sprinkler heads strategically. Mark up the locations where they need to be placed so that no water will be wasted. Follow grid sprinkler system for larger lawn.
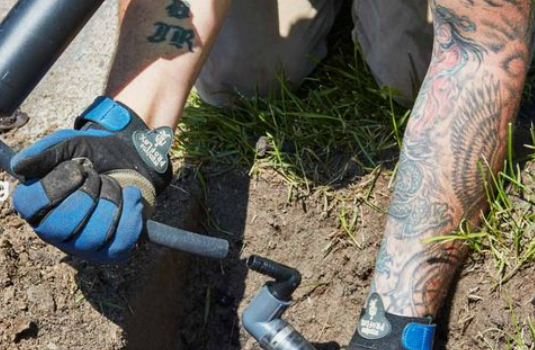
Step 4: Trenches
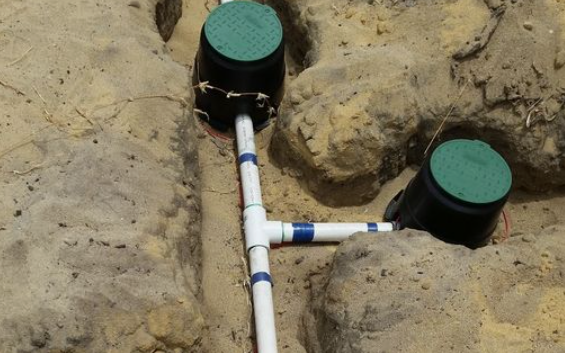
Trenches should be done for PVC pipes. Make sure that you dig a deep trench so that water flow remains stable. The common guideline for digging up your trench is 8 inches; you can go more if you have a larger garden.
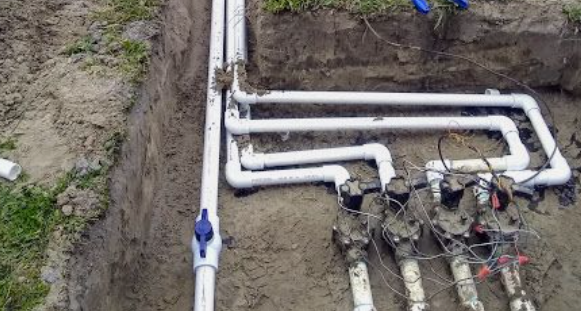
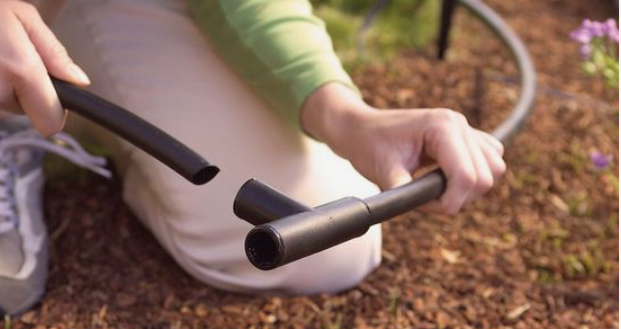
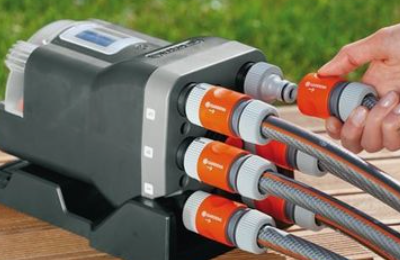
Step 5: PVC Pipes
Once you have dug your trench and ensured that you are placed properly, it’s time that you use the PVC connectors. These connectors will give your sprinkler system the proper angles and connections that will spread even water flow in your garden
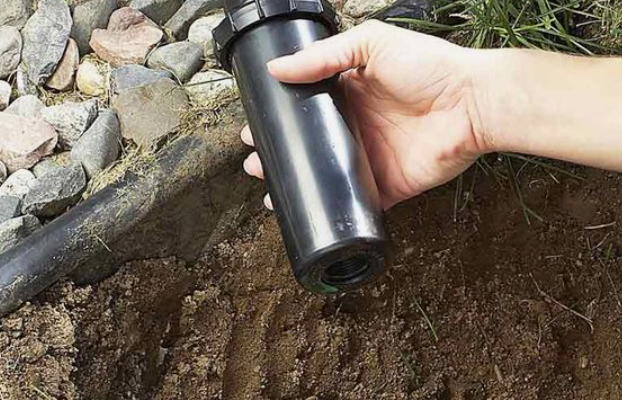
Step 6: Sprinkler Heads
Once the connectors have specific adjustments, ensure sprinkler heads are tightened with the pipes. The sprinkler heads should level with the ground so that any tipping hazards can be avoided. If pop sprinklers are used, make sure they have retracting characteristics.
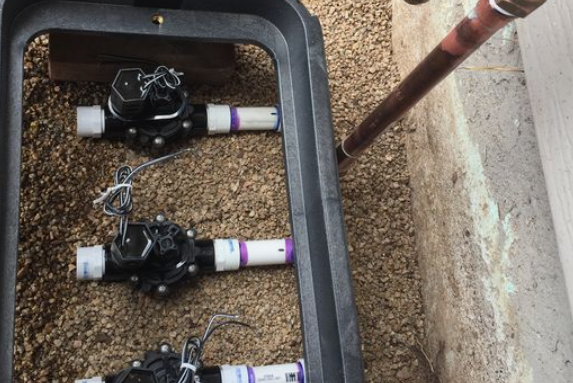
Step 7: Check the Water Controller
Once the leaks are adjusted, it means you have rectified any damage that might be harmful to your garden. Now it is time to track the water schedule to emit proper water during specific day hours.
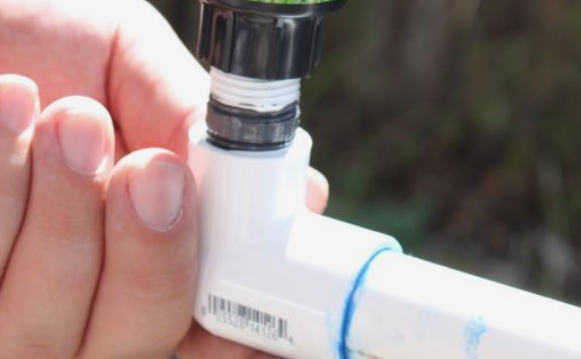
Step 8: Activate the Water Outlet
Before you cover up your trenches, make sure you check the water usage. Activate the water outlet that is connected to the system and analyze whether proper water flow is maintained. If you find any leaks, make the necessary adjustments,
Step 9: Filling the Trenches
Once the system is tested and you have seen the system is running smoothly, it is time that you cover the trench with the necessary soil. It’s advised that you mark the areas where installation has been done so that any accidental damage can be avoided.
Step 10: Monitor Your Garden
Changing seasons are hours that your sprinkler system needs to be adjusted. Hence, it’s very important that damaged components and leaks are checked by regularly monitoring the garden.
Final Takeaway
Installing a proper sprinkler system by following our guide would ensure that you have a thriving garden that looks nothing short of captivating heaven. When you have a sprinkler system, you can automate the hours and time when your plants get watered, ensuring that they don’t get damaged due to underwatering.
A sprinkler system is a must-have in your garden because it provides adequate water to all plants present in your garden. When plants receive proper water, their roots become strong, and they are not prone to illness.
So what are you waiting for? Go ahead with our guide and make your dream sprinkler system a reality.
Be sure to check out these other posts for more insights and tips:


Comments