
In the world of outdoor power tools, a chainsaw is a versatile tool that can make your toughest cutting tasks light and seamless. However, like any tool, it requires proper maintenance to function at its best. One crucial aspect of chainsaw care is knowing how to replace the chainsaw chain when it becomes worn or damaged.
Whether you are a seasoned cutting expert or a beginner, understanding this process is essential for safety and efficiency.
We will cover everything you need to know, from selecting the right replacement chain to safely disassembling and reassembling your chainsaw.
By the end of this article, you will have the knowledge and confidence to perform this essential maintenance task and ensure your chainsaw remains functioning for upcoming years. So, let’s dive in and learn to replace a chainsaw chain.
Safety Precautions Before Replacing Chainsaw Chain
Regarding replacing a chainsaw chain, safety should always be your top priority. Before you embark on this task, it’s crucial to take certain precautions to protect yourself and ensure a smooth operation. First and foremost, make sure you have the essential safety gear on hand.
This includes wearing a sturdy pair of safety goggles or a full face shield to protect your eyes from flying debris, as well as hearing protection to guard against the chainsaw’s loud noise. Don’t forget to don gloves to protect your hands from sharp edges and potential chain contact.
It is equally important to disconnect the chainsaw from any power sources. Ensure that the spark plug is disconnected or the battery is removed, depending on your chainsaw’s power source.
This step prevents accidental starts and ensures your safety throughout the chain replacement process. By adhering to these safety precautions, you will be better equipped to handle the task of replacing your chainsaw chain with confidence and minimal risk.
Tools and Materials for Replacing the Chainsaw Chain
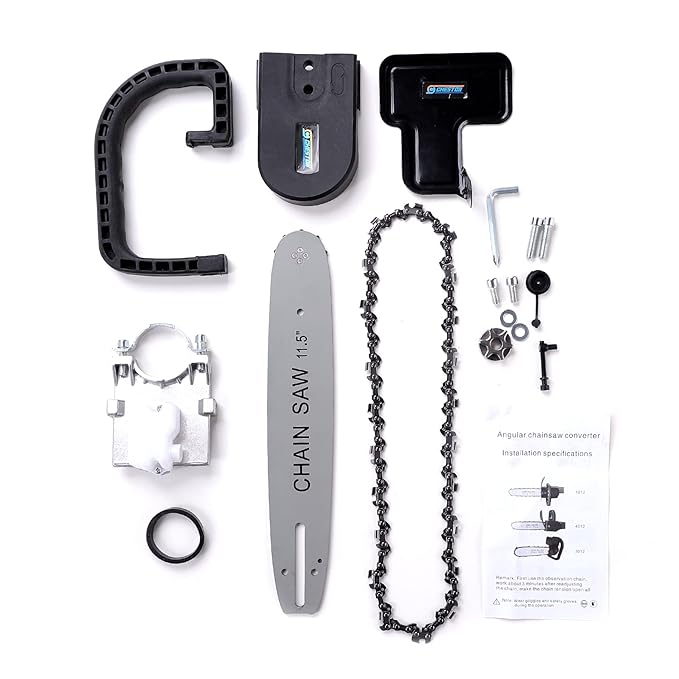
It is crucial to have the right tools and materials to replace chainsaw chains for the best results. Here is a list of required tools and materials for your reference:
- Wrench or socket set for bar nuts
- Screwdriver for chain tension adjustments
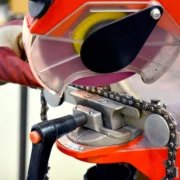
- Chainsaw file and guide for sharpening the chain
- Workbench
- New chainsaw chain
- Safety goggles or full face shield
- Hearing protection
- Gloves
- Lubricating oil for the chain
Having these tools and materials ready ensures a smoother chain replacement process and minimizes interruptions, allowing you to maintain your chainsaw efficiently and safely.
Guide for Chainsaw Chain Replacement
Replacing a chainsaw chain may seem daunting, but by following these step-by-step instructions, you can do it with confidence. Here is a detailed breakdown of each stage:
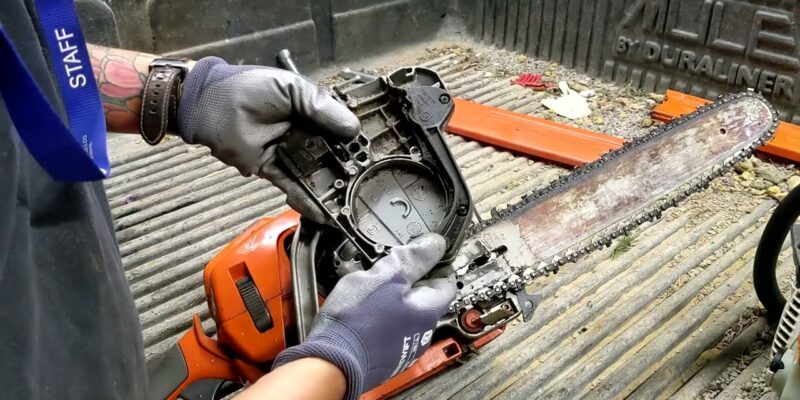
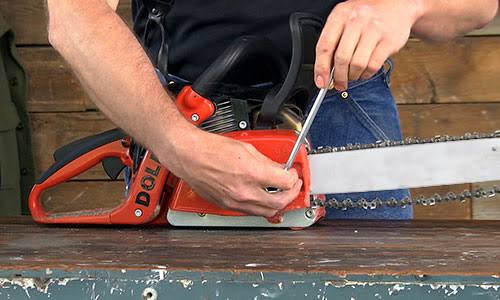
- Securing the Chainsaw: Begin by placing your chainsaw on a stable work surface or in a vice to prevent any accidental movement. Ensure it is completely powered off and the spark plug is disconnected.
- Loosening the Bar Nuts: Use a wrench or socket set to loosen the bar nuts that secure the chainsaw’s guide bar. These nuts hold the bar and chain in place, so they must be loose for chain removal.
- Removing the Old Chain: Carefully slide the old chain off the guide bar and sprocket. Pay attention to the chain’s orientation so that you can install the new one correctly.
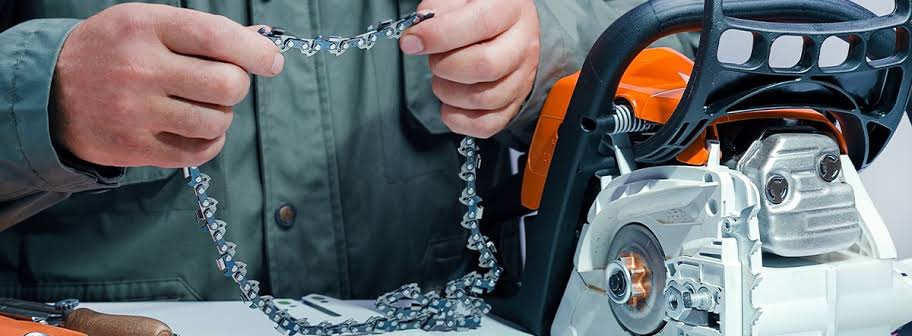
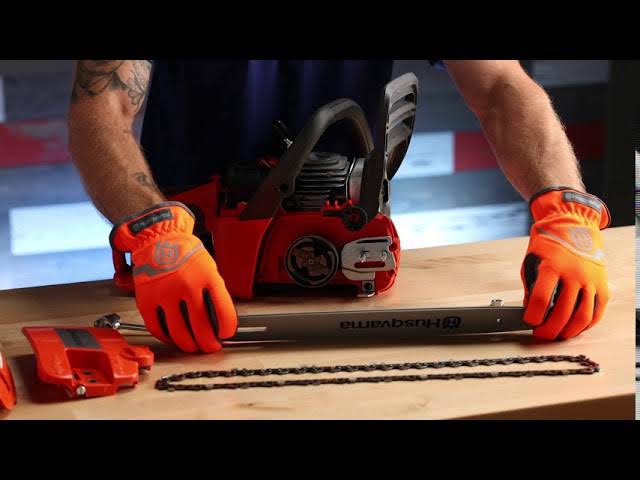
- Preparing the New Chain: Inspect the new chain for any defects or damage. Ensure it’s the correct size and type for your chainsaw model.
- Installing the New Chain: Thread the new chain onto the guide bar, ensuring it’s properly seated in the groove. Make sure the cutting teeth face forward and align with the sprocket.
- Adjusting the Chain Tension: Gradually tighten the chain tension by following the manufacturer’s instructions for your specific chainsaw model. Adequate tension is crucial for safe and efficient operation.
- Re-tightening the Bar Nuts: Once the chain is properly tensioned, secure the guide bar by tightening the bar nuts. Be sure not to overtighten them, leading to excess friction and premature wear and tear damage.
Chain Tension Testing and Fine-tuning
After installing a new chainsaw chain, it’s vital to verify and fine-tune its tension. To do this, manually check the chain tension by gently pulling it away from the guide bar. It should move smoothly with just a slight resistance.
Ensure that there is no sag or excessive tightness. You should refer to your chainsaw’s manual for the specific tension recommendations or refer to our guide on How to Tighten a Chainsaw Chain, as they vary by model. Proper tension is crucial for safe and efficient cutting. Therefore, carefully fine-tune the chain to your chainsaw’s specifications before putting it to work.
Conclusion
In concluding our guide on replacing a chainsaw chain, it’s crucial to recap the key steps to ensure your chainsaw remains working for a long time. Firstly, securing the chainsaw safely and disconnecting it from the power source is paramount. Then, follow the process of loosening the bar nuts, removing the old chain, and installing the new one with precision.
Proper chain tension adjustment is vital, and re-tightening the bar nuts ensures stability. Above all, remember that maintaining your chainsaw is not just about replacing the chain but safeguarding your safety and maximizing its efficiency.
Regular checks, sharpening, and timely chain replacements are the pillars of safe and efficient chainsaw operation.
Be sure to check out these other posts for more insights and tips on maintaining and using your chainsaw effectively:


Comments