
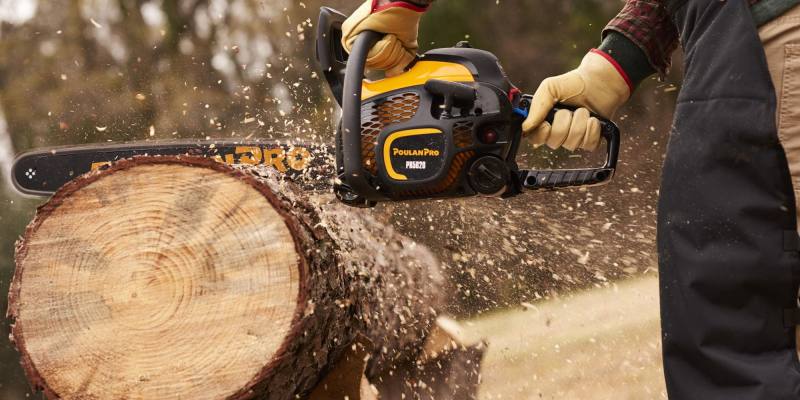
Chainsaws are a very important tool when it comes to woodworking. There are various powerful chainsaws available in the market. Poulan is one of the most famous brands when it comes to chainsaws. The Poulan Pro PR5020 is one of the best and affordable chainsaws created by the Poulan company.
In this guide, we will discuss in brief Poulan Pro PR5020 along with its working. We will also discuss the complete step-by-step instructions to replace the Ignition Coil of Poulan Pro 5020. If you are looking for a Poulan Pro 5020 guide, then this article is for you.
Poulan Pro PR5020
The two best reasons for purchasing this chainsaw are the power it provides and at an efficient cost. And it is a gas-powered chainsaw with an auto oil feature that makes it perfect for work. Most of the gas-powered chainsaws require heavy Maintenance, but that is not the case with this one. You only must pay a little attention to the tension of the chain, Ignition Coil, and Spark Plug connectivity.
Pros:
- Very Powerful and Durable
- Easy to Start.
- Idles nicely.
Cons:
- Non-Changeable Bar
- Ignition Module issues if not maintained properly.
Step by Step Guide to For Replacing the Ignition Coil
In a Chainsaw, the Ignition Coil is responsible for producing the electric current which is then used for combustion. But sometimes the Ignition Coil starts to show strange symptoms which result in the engine suddenly stopping. Then, you must replace the Ignition Coil with a new one.
Step by Step instruction to replace the ignition coil on a Poulan Pro PR5020 Chainsaw.
Step 1. Removing the Ignition Coil
- Firstly, you must remove the upper three screws of the chainsaw.
- Then, you must lift the top cover.
- Now, you must remove the starter assembly from the side.
- Then, you must disconnect the Ignition Coil.
- You can use long-nosed pliers to disconnect the wire connector from the ignition coil.
- Now, you must remove the harness clip from the engine.
- Now, lift the Ignition coil away from the engine.
Step 2. Installing a New Ignition Coil
- Now, you must tuck the wires of the wiring harness into the recess.
- Then, install the new Ignition Coil carefully
- Now, tuck the spark plug into the Ignition Coil.
- Set the required Ignition Gap carefully. It is recommended to use one or two thick business cards if you do not have an ignition gaping gauge.
- Now, secure the wires in the ignition harness.
- You must make sure that there are no slacks present in the coil.
- Secure the wire harness and the spark plug with a metal clip.
Step 3. Reassemble the Unit
- Now, install the starter assembly to the engine.
- Secure the starter assembly with all the given screws.
- Now, you must connect the spark plug boot into the spark plug.
- Then, reinstall the cover properly.
- Attach all the required screws to the cover.
If you follow all the steps carefully, you can replace the Ignition Coil on a Poulan Pro PR5020 easily.
Final Words
So, it is very easy to replace and change the Ignition Coil on a Poulan Pro PR5020. You just must make sure that you follow all the steps carefully. Before replacing the Ignition Coil, you must make sure that the Ignition Coil is seriously damaged or not.
Sometimes, the spark plug becomes loose which then results in not starting the engine. So, you must check all the other possibilities too before replacing the Ignition coil.
This is all about this guide, we hope you find this guide helpful. If you have any queries regarding the guide, you can directly ask us by commenting down below. We will be very happy to solve all your queries.


Comments