

Are you a pet lover, just like me?
Why not! Who does not love animals!
Everyone enjoys being around pets, playing with them, having a good time with them, and many more. But they do not know how to keep them neat and tidy to avoid bad odor, unhygienic areas and to keep them sweet and beautiful.
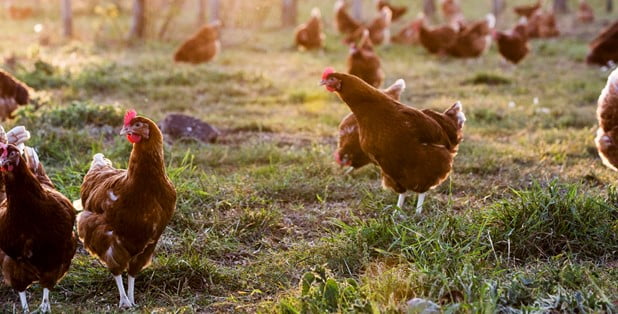
The same goes with hens/chickens. Many people love to pet chickens but do not know how to clean the chicken coop properly. So, we are here to give you the best solution to clean a chicken coop. Without wasting a minute, let us hop onto these perfect ways out.
Get started!
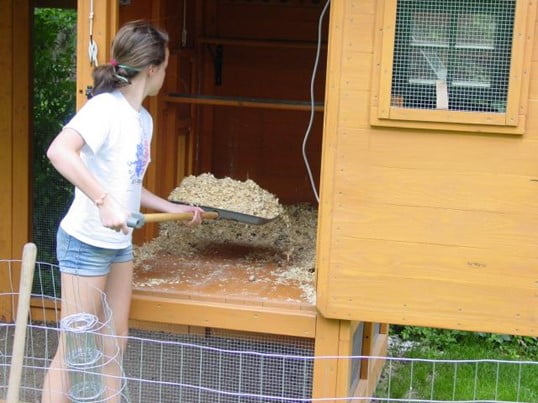
Take out the Belongings.
In the first and foremost step to clean a chicken coop, you need to take out all the belongings and vacant space properly. From seating to food/water, make sure nothing is left inside so that you can give a good wash up to the coop. Remove the old sheets, hay, pots, etc., to get new ones after renovation. So, at first, a deep cleaning is needed.
Assemble Your Equipment
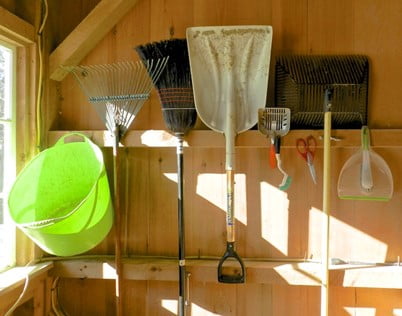
In the second step, you need to see what tools or equipment you will need. You may require a shovel or grub hook to extract all the waste and manure. It is unnecessary to take the mentioned tools; you can choose a piece of equipment according to your comfort and way of cleaning. Assembling all the supplies will reduce your time wastage and will keep your things handy.
Wipe Floors and Surroundings
When you are done collecting your tools in the second step, start sweeping the floor now. Take a broom brush or any other similar tool from which you can neatly remove even the smallest dirt heap. Now, when the floor is wiped off completely, clean up the surroundings like walls, edges, blocks, ceilings, corners, doors, knobs, etc. This way, you can give your coop an intense cleaning wash.
Spray the Solution.
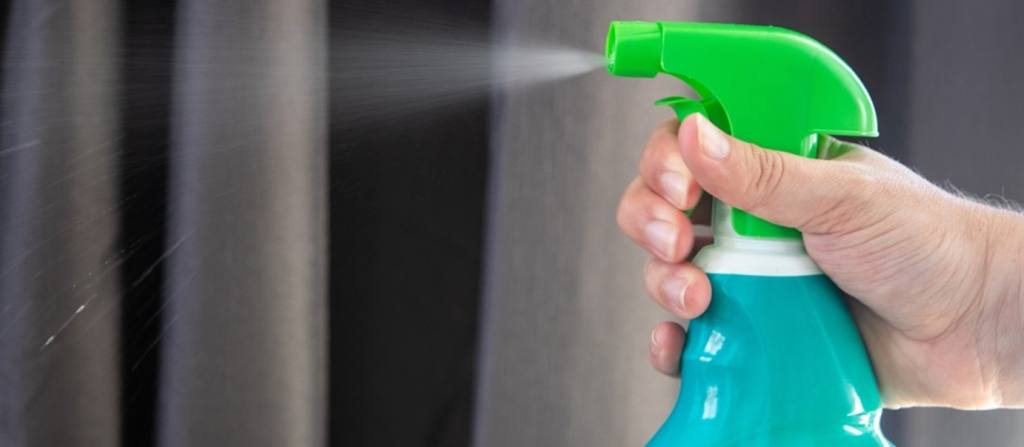
In this step, you need to sponge out all the bugs, insects, and other invisible bacteria. Now the question arises, HOW!!? So, to get rid of these germs, you can make a mixture of vinegar and water of equal amount, filter it properly and pour it into a spray bottle. Distribute the solution all over the coop and give it a bumper scrub thoroughly. In case, use lime in replacement of vinegar.
Rinse and Clean
After scrubbing properly, now it is time to rinse it off. For that, take a water pipe and start washing the entire coop to make sure that the solution does not stay anywhere. You can also use a disinfectant to remove the germs. After rinsing it fairly, wait for at least 15 to 20 minutes to let it dry properly. Try keeping it in the sun or use blowers to dry it off.
Clean the Outer Area

We are now done with the inner cleaning. What comes next is washing if the outer part of the coop. For that, start brushing the dust and dirt from the outer surface too; when you have dusted it appropriately, wash it either with the same water-vinegar solution or simply use clear water. The only purpose is to get it clean as the inner portion.
Make Sure of Doors
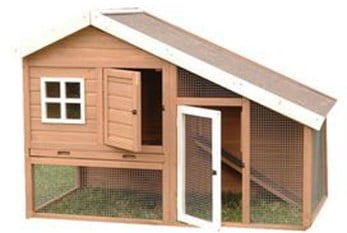
Check if the doors and their knobs are not squeaking harshly. Now, you would think why I am saying ‘DOORS’? Let us discuss it; do you know why do chicken coops have 2 doors? So, to answer this question, let me tell you that a coop has two doors, one for accessing the pets or birds to walk through and the other to either clean the coop or to collect the eggs.
Firm Beddings & Accessories
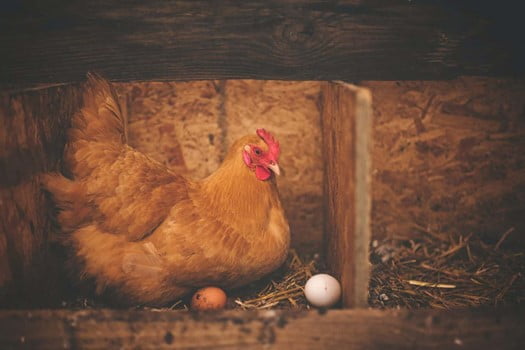
As all the things have been cleaned and took care of, now it is time to make small changes in the coop. Bring out the new sheets, hay to lay eggs, and other material which is now old. To make it even more decorative and attractive, you can hang some cute and tingling stuff for chickens to play with or just scan through some toys randomly in the coop to refresh their mood.
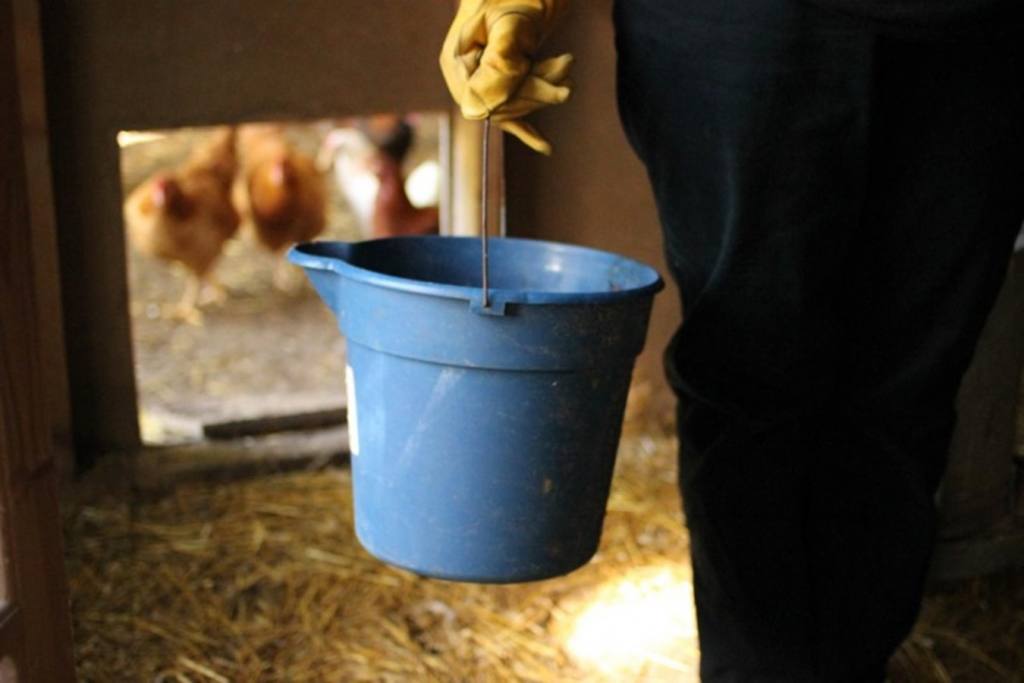
Food & Water
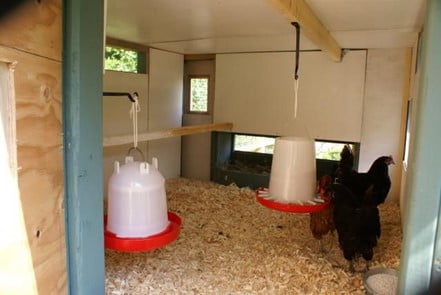
Fresh hay, beds, and toys are checked. Now let us have a look at their diet. Either clean or change the food and water bowls. Keep the food properly spread and fills the bowl with enough water to drink. If you want to upgrade the diet of your chickens, consult with a veterinarian emergency beforehand. They will advise you on the best quality of food for your pets.
Welcome Home
Last but not least, welcome your chickens to their brand-new home. Lift them carefully and place them one by one in the coop. Give them enough space to roam around or walk and enjoy the fresh vibes of their new home. Voilà! You are now done with the work of cleaning a coop. Let your chickens play in utter happiness, and you get some good rest!
Garden Grooming
If there is a separate area in your garden for chickens, clean it too. You can set them free for some time when they can roam around after coming out of the coop. Please make sure the grass and mud are equally rich for them to eat worms.
Final Words
Be it be anything, cleaning and mopping at regular intervals is necessary. Animals make a mess and live in their own way, just like humans. As they cannot wipe out their waste and mess themselves, we should help and assist them in every possible way. Chickens have the same living tendency.
So, we took few minutes from your schedule to tell you some new and upgraded secrets to clean a chicken coop effortlessly. On that note, we are signing off now. Try looking forward to this procedure, and do let us know in the comments if you liked it.
Adios!


Comments