After you get a plot property in your name, it is essential to fence it all over for its security and your ownership. Any property may be transformed by adding a fence with advantages ranging from improved security and privacy to delineating boundaries and enhancing grace.
A fence, however, is only as strong as the foundation it is constructed, and that foundation starts with the correct preparation of the land.
As you know, ground preparation is significant for the easiest fence to install yourself. It is time to learn the preparatory steps that will work well for this.
This detailed guide will provide the readers with the essential steps required to prepare the ground for fence installation. So gather all your tools and learn how to prepare the ground for a fence easily.
Fence Installation: A Detailed Guide on Ground Preparation
Here, you will receive the information required to start a successful fence project, from completing the site surveys to acquiring the required equipment and material and precisely locating posts. Understanding the value of ground preparation is the first step in building a safe and secure fence for your property’s protection.
1. Perform a Complete Site Survey
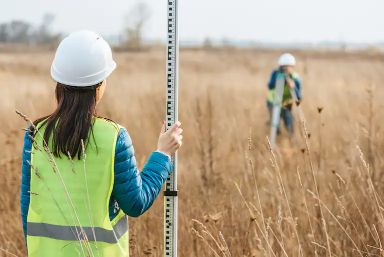
The installation location should be thoroughly surveyed before beginning the excavation. You must watch for any potential barriers, such as big boulders, tree roots, or even hidden utility cables. It is significant that you have a thorough grasp of the topography since it will affect the depth and placement of your fence.
2. Obtain the Required Permits and Research Local Laws
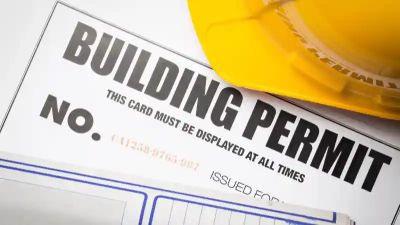
Fencing laws might differ significantly from one municipality to the next. To learn about any zonal restrictions and permission requirements, speak with the local officials or your homeowner’s association before you begin any work. Regarding fence height, kind, and location, certain places have special regulations. Following these rules will help you avoid any future legal issues.
3. Obtain the Required Equipment and Supplies
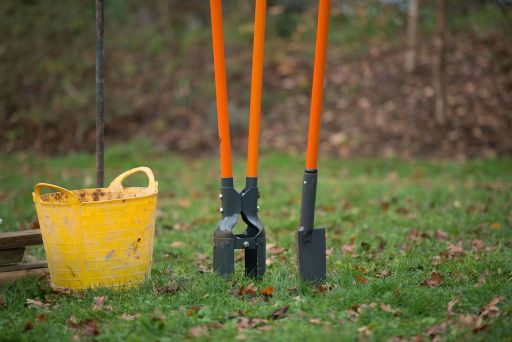
Before initiating a project, it is also important that you gather all the required equipment for a smooth workflow. You may need equipment like the fence post, gravel, level, measuring tape, wooden stakes, string line, panels or boards, shovel, concrete mix, and other necessary supplies. These items are very necessary for your fencing project, so you must have them ready.
4. Establish the Fence Line
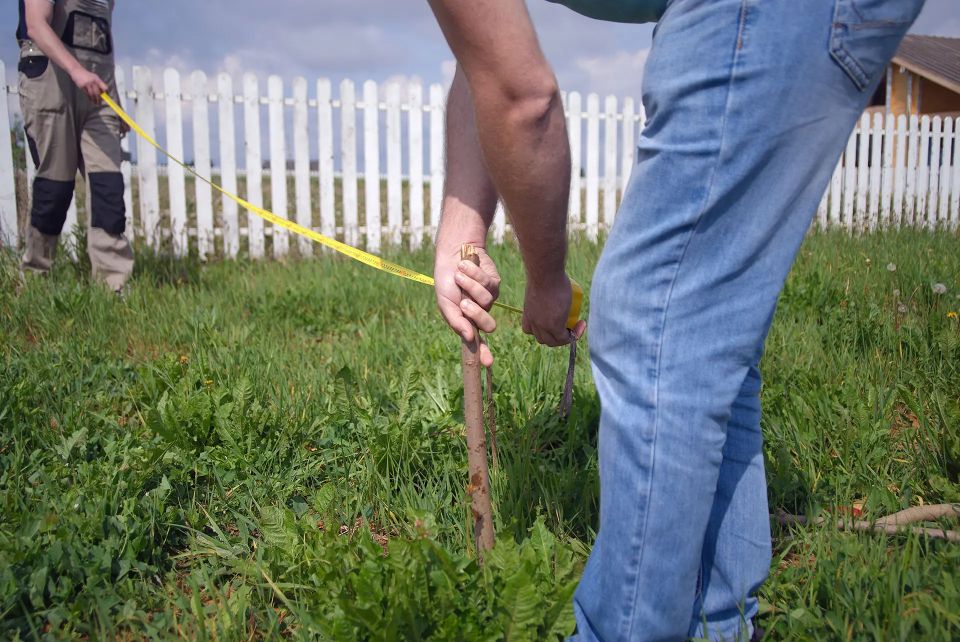
According to your initial survey, mark the fence line with a measuring tape and wooden posts. Run a string line parallel to the stakes to guarantee a straight and level border. This step is essential for keeping a uniform appearance and preventing any accidental changes in the fence’s location.
5. Create the Post Holes
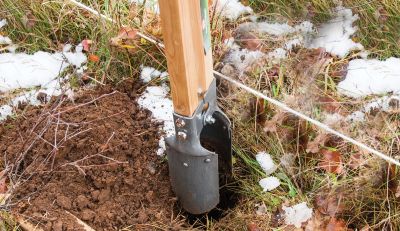
The post holes must be dug now that the fence line has been defined. Depending on the kind of fence you are placing, the hole’s depth and diameter will vary. Typically, holes should be between one-third and half the length of the post with extra depth for stability.
6. Boost the Drainage by Adding Gravel
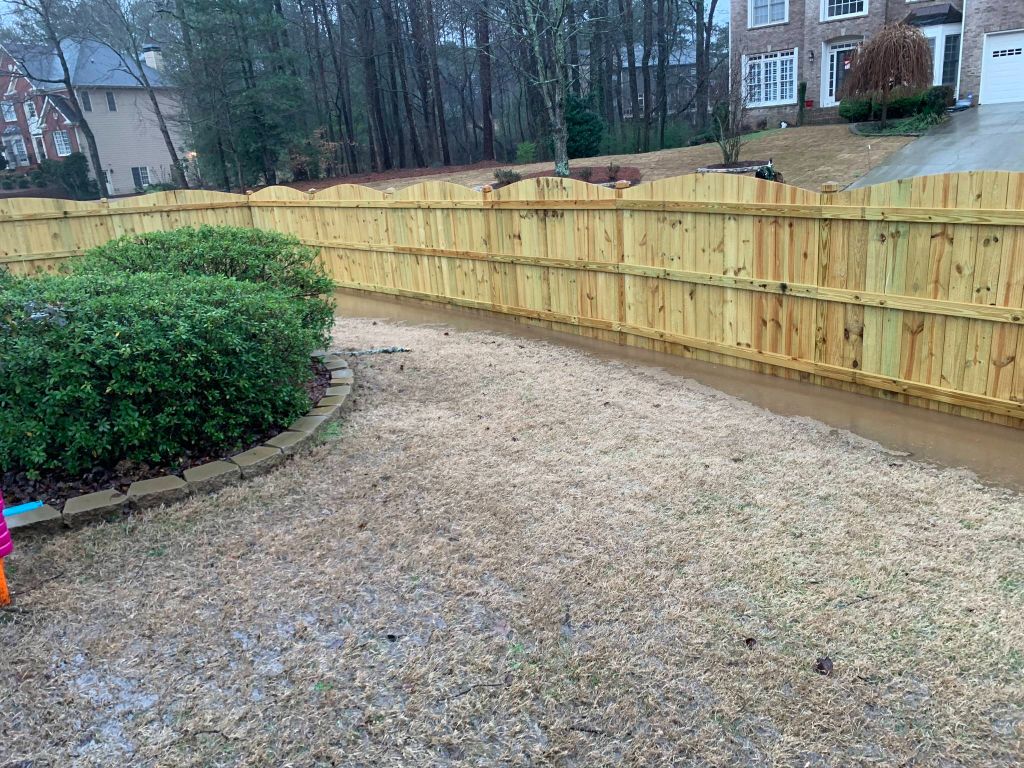
For your fence to last longer, proper drainage must be provided. Add a layer of gravel to the bottom of each hole you dug to stop water from collecting around the posts. This extends the fence’s lifespan by allowing excess water to drain away from the post and decreasing the possibility of decay.
7. Placement of The Posts
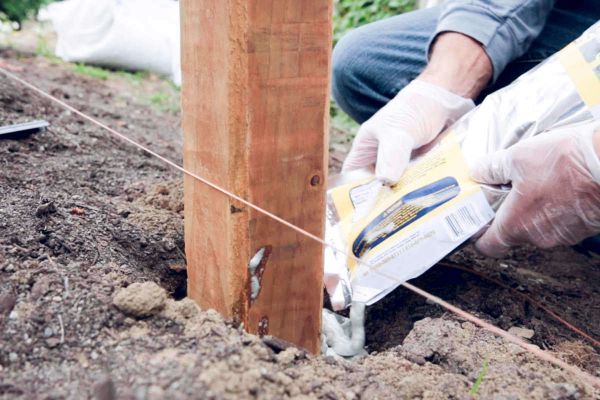
Ensure the fence posts are level and plumb before carefully inserting them into the holes. Pour the concrete into the holes surrounding the posts after mixing it with the manufacturer’s instructions. As the concrete hardens, use a level to ensure the posts stay straight. Before moving on, give the concrete enough time to cure.
8. Join the Boards and Panels of The Fence
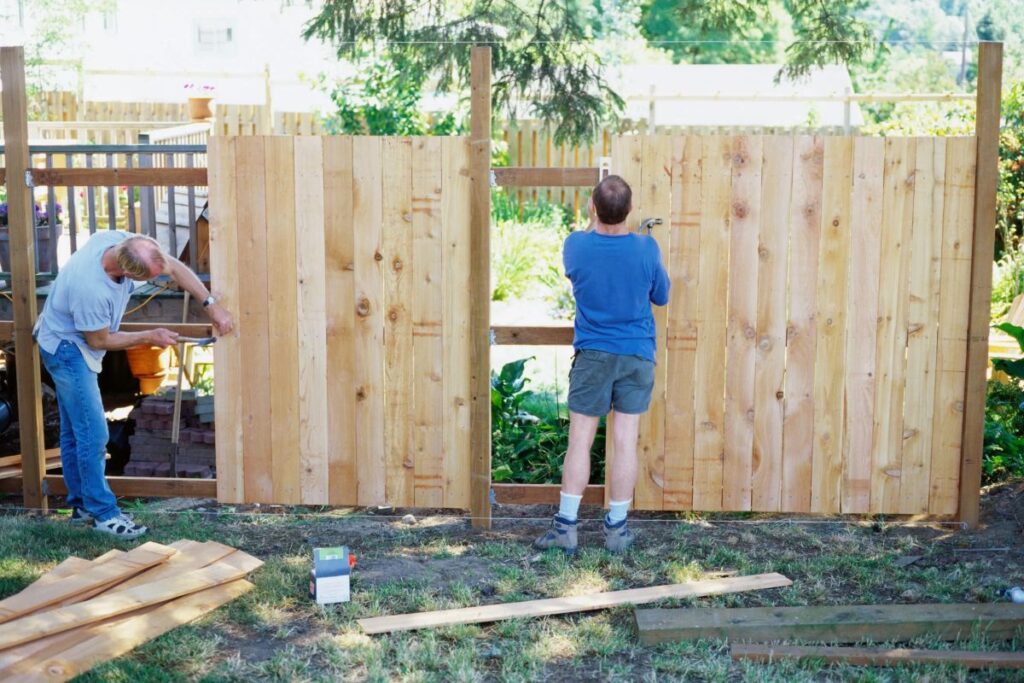
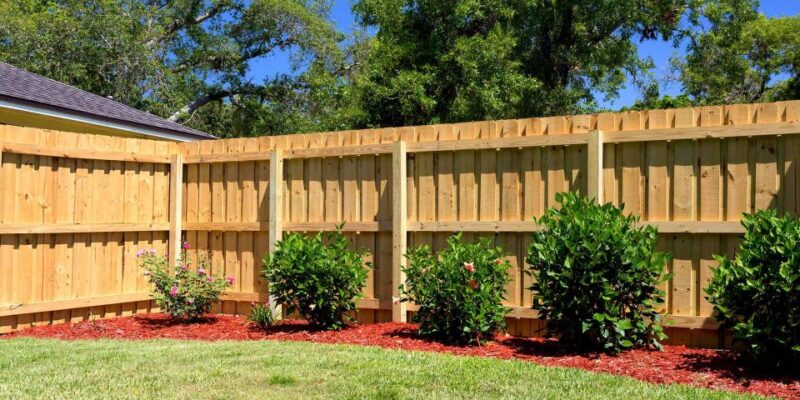
You may affix the fence boards or panels once the post has been firmly installed. Ensure that they are spaced equally and are level. To avoid corrosion and ensure a solid connection, use screws or nails made for outdoor usage. For a professional appearance, take extra care to ensure the panels are well aligned.
Spend some time walking around the fence once it is installed to check for any indications of unevenness or alignment problems. To maintain a consistent appearance, make any required modifications. Playing close attention to the little things now can help your fence last longer and look better overall.
Wrapping Up
The key to a successful fence construction endeavor is precise ground preparation. You may establish the groundwork for a fence that would be strong enough and remain intact for several years by doing an intensive site study, following the local requirements, and using the appropriate equipment and procedures.
In the long run, paying close attention to detail throughout the ground preparation phase is extremely significant. It reduces the possibility of future problems like sagging panels or leaning columns. If you follow the detailed steps discussed above, then this will ensure strong fencing, which would give an amazing and beautiful surrounding to your property, making it even more attractive.
Frequently Asked Questions
Do You Have to Level the Ground for a Fence?
It is highly recommended to level the ground before installing a fence there. The foundation must be level for proper alignment of the posts and panels. It is required to provide stability and a uniform appearance to the fencing.
Can You Build a Fence without Posts in The Ground?
You can, of course, build a fence without posts in the ground, which will require artificial support instead of the posts. You may get help from Metal T-posts, Pier Blocks, Surface-Mounted posts, and cable or wire fencing. These are all alternatives to the traditional method where posts were used, so you can choose any option you prefer.



Comments