
Installing a DIY underground/in-ground sprinkler system is not impossible but does require some skill and work. The best part is that it makes watering your yard very easy.
It is just as simple as turning on a switch. Also, a properly designed sprinkler system allows you to water the areas which would have been left dried out or even overwatered, which can leave a pool of water.
An underground/in-ground sprinkler system is hands down the easiest and most effective way to water your lawn.
The best part is that you can program the sprinkler system to water your yard or lawn at a specific time. This means that you do not have to bring out the hose and sprinkler every day.
Suppose one could set a precise time limit and a fixed amount of water. In that case, this sprinkler system makes watering much more comfortable by saving quality time, which would have wasted by conventional watering methods and, of course, save water.
So, let us get into the process of installation of the sprinkler system without any further ado!
Why Shouldn’t you Get Sprinkler System Fixed from Professionals?
Professionals can set up the sprinkler systems, and they are good at their work too, but there is always a catch. They are not cheap! For every acre of land, these professionals can take anywhere around $10,000-15,000!!
However, when you DIY sprinkler systems, it gives a sense of happiness that you have set up your sprinkler system. Moreover, it saves around 40-50% of the cost compared to the professional installation.
Check the Water Pressure and Flow Rate get Sprinkler System Layout from the Manufacturer: Another Potential Option
Before you start, it is essential to first check the water pressure before installing the sprinkler system. Use a simple pressure gauge for the same. Just connect it to any water nozzle or faucet and turn it on. Note the readings. The process is as follows:
Take a bucket (Choose anyone from 10-20 liters capacity) and measure the water’s capacity/volume in one minute (you can use any faucet to deliver the water). You will have to either send this detail to the sprinkler manufacturer or choose accordingly from the options provided by them.
If you are sending information to the manufacturer, do send them the details of the area you plan to install the sprinkler system.
Once you have chosen either one of the choices, you will get a manufacturer’s sprinkler system layout. Usually, in addition to the sprinkler system layout, they also send the list of supplies you would require for the sprinkler system.
Planning:
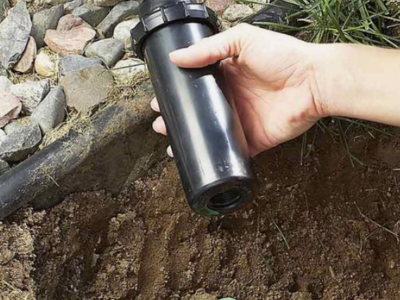
Sprinkler Heads:
Mark and decide your yard or lawn area in which you plan to set a sprinkler system. Then decide from the sprinkler head types, the most effective ones, or a bunch of few effective sprinkler types.
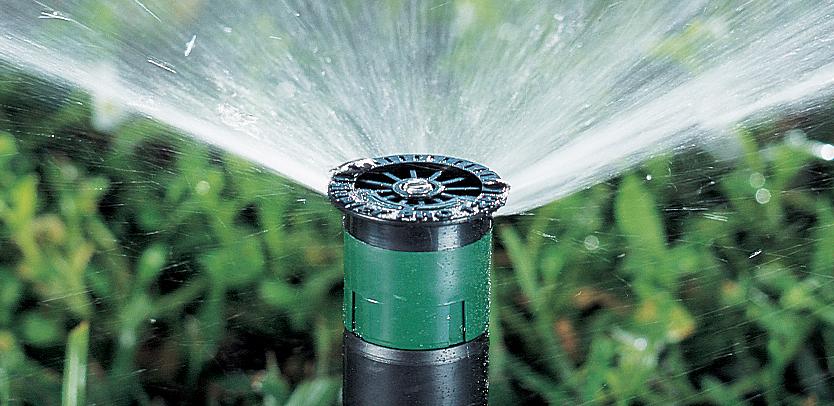
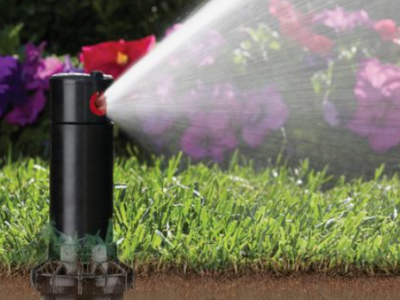
For more expansive areas: Use a gear-driven rotor sprinkler head for this purpose. They are the most used ones. They lift upwards when indicated by a timer and revolve 360° to cover a large area. Ensure the optimum distance between these heads. The distance can be anywhere between 3-20 meters.
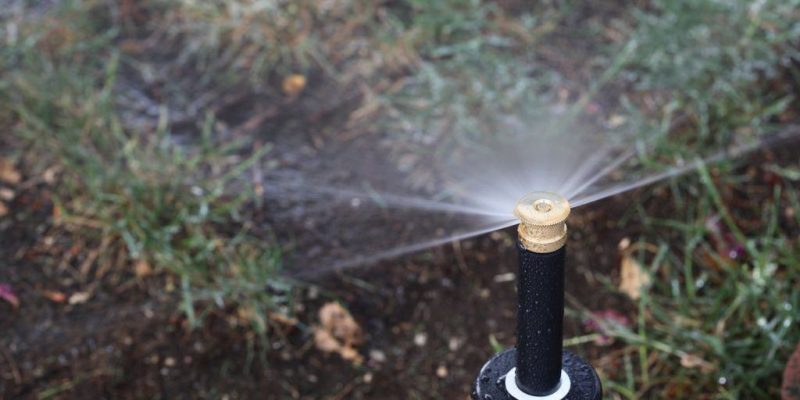
[amazon box=”B00MBNRXBI, B07D27DL1G”]For fewer areas: Use a shrub sprinkler head or bubbler. They do not elevate above the ground level and cover a minimum area of hardly 3 square feet. Do not install bubblers if you have slopes in your lawn or yard. Use bubblers only for flat lands else, and you will have a mini river of your own.
You can also use fixed pop-up heads that move in half circles.
Required Tools and Supplies:
Some essential tools and supplies are as follows:
- Timer
- Vibratory plow or pipe pulling machine (you can rent it as well)
- Poly Pipe Cutter
- Simple Pressure Gauge
- PVC or Polyethylene valves
- PVC or Polyethylene pipe (1 inch, ¾ inch, ½ inch)
- PVC or Polyethylene connectors, tees, elbows, and other attachments.
- Backflow preventers and Risers
- Different or single type(s) of sprinkler heads etc.
Note: You can also make use of polyethylene valves, pipes, and connectors, which are better in winters. They are suitable to resist freeze thaws and highly flexible. At the same time, PVC is the best in warmer conditions.
You will have to plan to dig the trenches accordingly. You can either do it manually or use machines or use some professional help, and anything goes for it.
Once you are done with the planning, then buy all the supplies required. These sprinkler system components are affordable, easy to assemble, and readily available at any nearby hardware store.
Sprinkler System Layout:

If you do not want any sprinkler system layout from the manufacturer, you can skip the part of checking the water pressure. There will be a separate water pressure step in this DIY sprinkler system layout.
Your complete DIY sprinkler system layout as follows: –
Draw a rough diagram of your lawn or yard in which you plan to install a sprinkler system. The diagram will include the area in which the sprinklers can water/irrigate. You will have to plan the installation of pipes and place the sprinkler heads accordingly.
Divide the area into rectangles or squares of 1000-1200 square feet (100-110 square meters). Try to make the areas according to the terrain in which, accordingly, different types of sprinkler heads can be installed. These areas are called zones, which should contain a zone valve.
Now, point to the location of each sprinkler head on the sprinkler system layout. The sprinkler heads should also be located at a distance from each other. Also, note the distance each sprinkler head will cover on your sprinkler system layout.
- The gear-driven rotor sprinkler head will cover 360° and about 3-20 meters. The distance between both these heads should be around 10-25 meters.
- Bubblers cover hardly 3 square feet. The distance between both these heads should be around 2-3 feet.
- Fixed pop-up heads cover about 3-4 meters. The distance between both these heads should be around 5-6 meters.
Draw the main water line on your sprinkler system layout. The mainline will start from the water source’s nozzle and will include zone valves, timer, and backflow preventer in its line. Use 1-inch pipes for the mainline.
Now, draw branch lines from the mainline to each sprinkler head. Heads are never directly attached to the mainline and always attached to the branch lines. Use ¾ inch pipes when connecting two heads for a single branch line and ½ inch pipes when connecting a single head.
Now, check the water pressure with a simple pressure gauge. Screw the pressure gauge on any water faucet or nozzle. Turn on the water and read the pressure reading on the gauge. Sprinkler systems usually require 200-210 kPa (30 PSI) pressure to function.
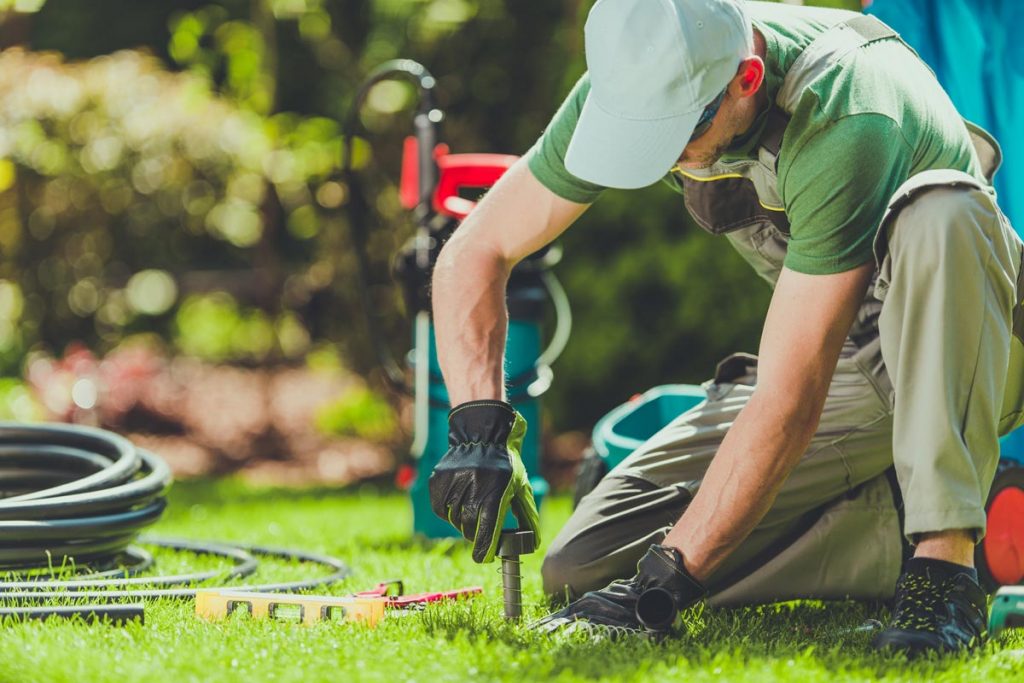
Use the shovel to mark the physical locations of the central and branch pipes. At the end of every branch line or according to your sprinkler system layout, flag or distinctly mark the heads.
During digging, ensure that the ditch is at least 10-15 inches deep to protect it from climatic conditions. Dig properly without affecting any underground cables or existing water pipelines.
Now, install your piping system starting from the water source nozzle. Starting with the mainline until the branch line, ensure you use proper connectors, tees, elbows, and other attachments whenever and wherever required.
Connect the main pipeline to the timer, backflow preventer, and zone valves. Clean the pipelines with water before you fix the sprinkler heads.
Now, install the risers, which aid in connection with the branch pipes to the sprinkler heads. Attach these risers to the branch pipes by threading them properly. Now, attach the sprinkler heads. Depending upon the head’s type, they should be installed about 5-10 inches deep in the soil.
Inspection and Looking for Faults:
Run your sprinkler system and observe the sprinkler head functions. If there is any fault in either the direction of rotation of the sprinkler head, then either replace them or try to tight fit them.
Look for any potential leakages, and if found any of them, then fix the damage or part which was causing the leakage. In the worst scenario, you may have to replace it.
Check whether all the valves, timer, and backflow preventer work or not. If not, then look for the potential fault and try to fit them again or replace them. Try and fill up any holes or trenches which may have been left open.
Once you are done with the inspection, you can congratulate yourself on your sprinkler system!


[…] If you don’t have the time to water your lawn as much as it needs, you might find installing a sprinkler system to be an easier way to do […]