
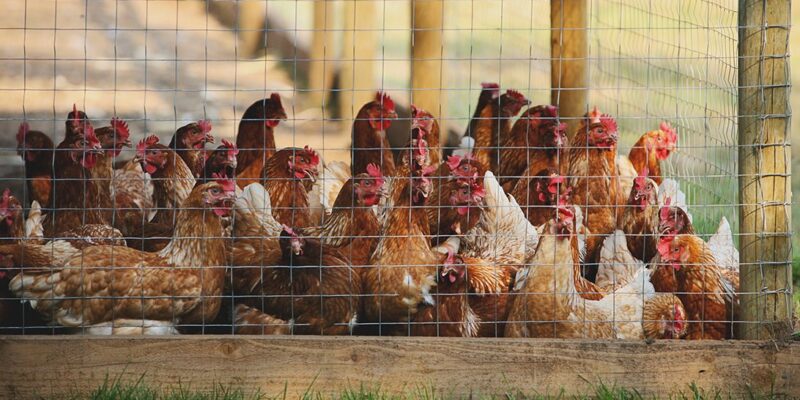
If you want to keep your chicken coop clean, it is important for the health and happiness of your chickens. One big part of this is controlling chicken poop. Chicken poop may not be pleasant to deal with, but it’s a natural part of raising chickens. We’ll find a simple and effective way to manage chicken poop in your coop.
Chicken poop can build up quickly, and if left unchecked, it can result in a smelly and unsanitary coop. We’ll see some important things, such as setting up the right bedding, ensuring proper ventilation, and using poop trays to simplify cleanup.
You don’t need any professional; you can easily follow these steps. Let’s begin to make cleaner and happier coops for both you and your chicken coops.
How Do You Control Chicken Poop
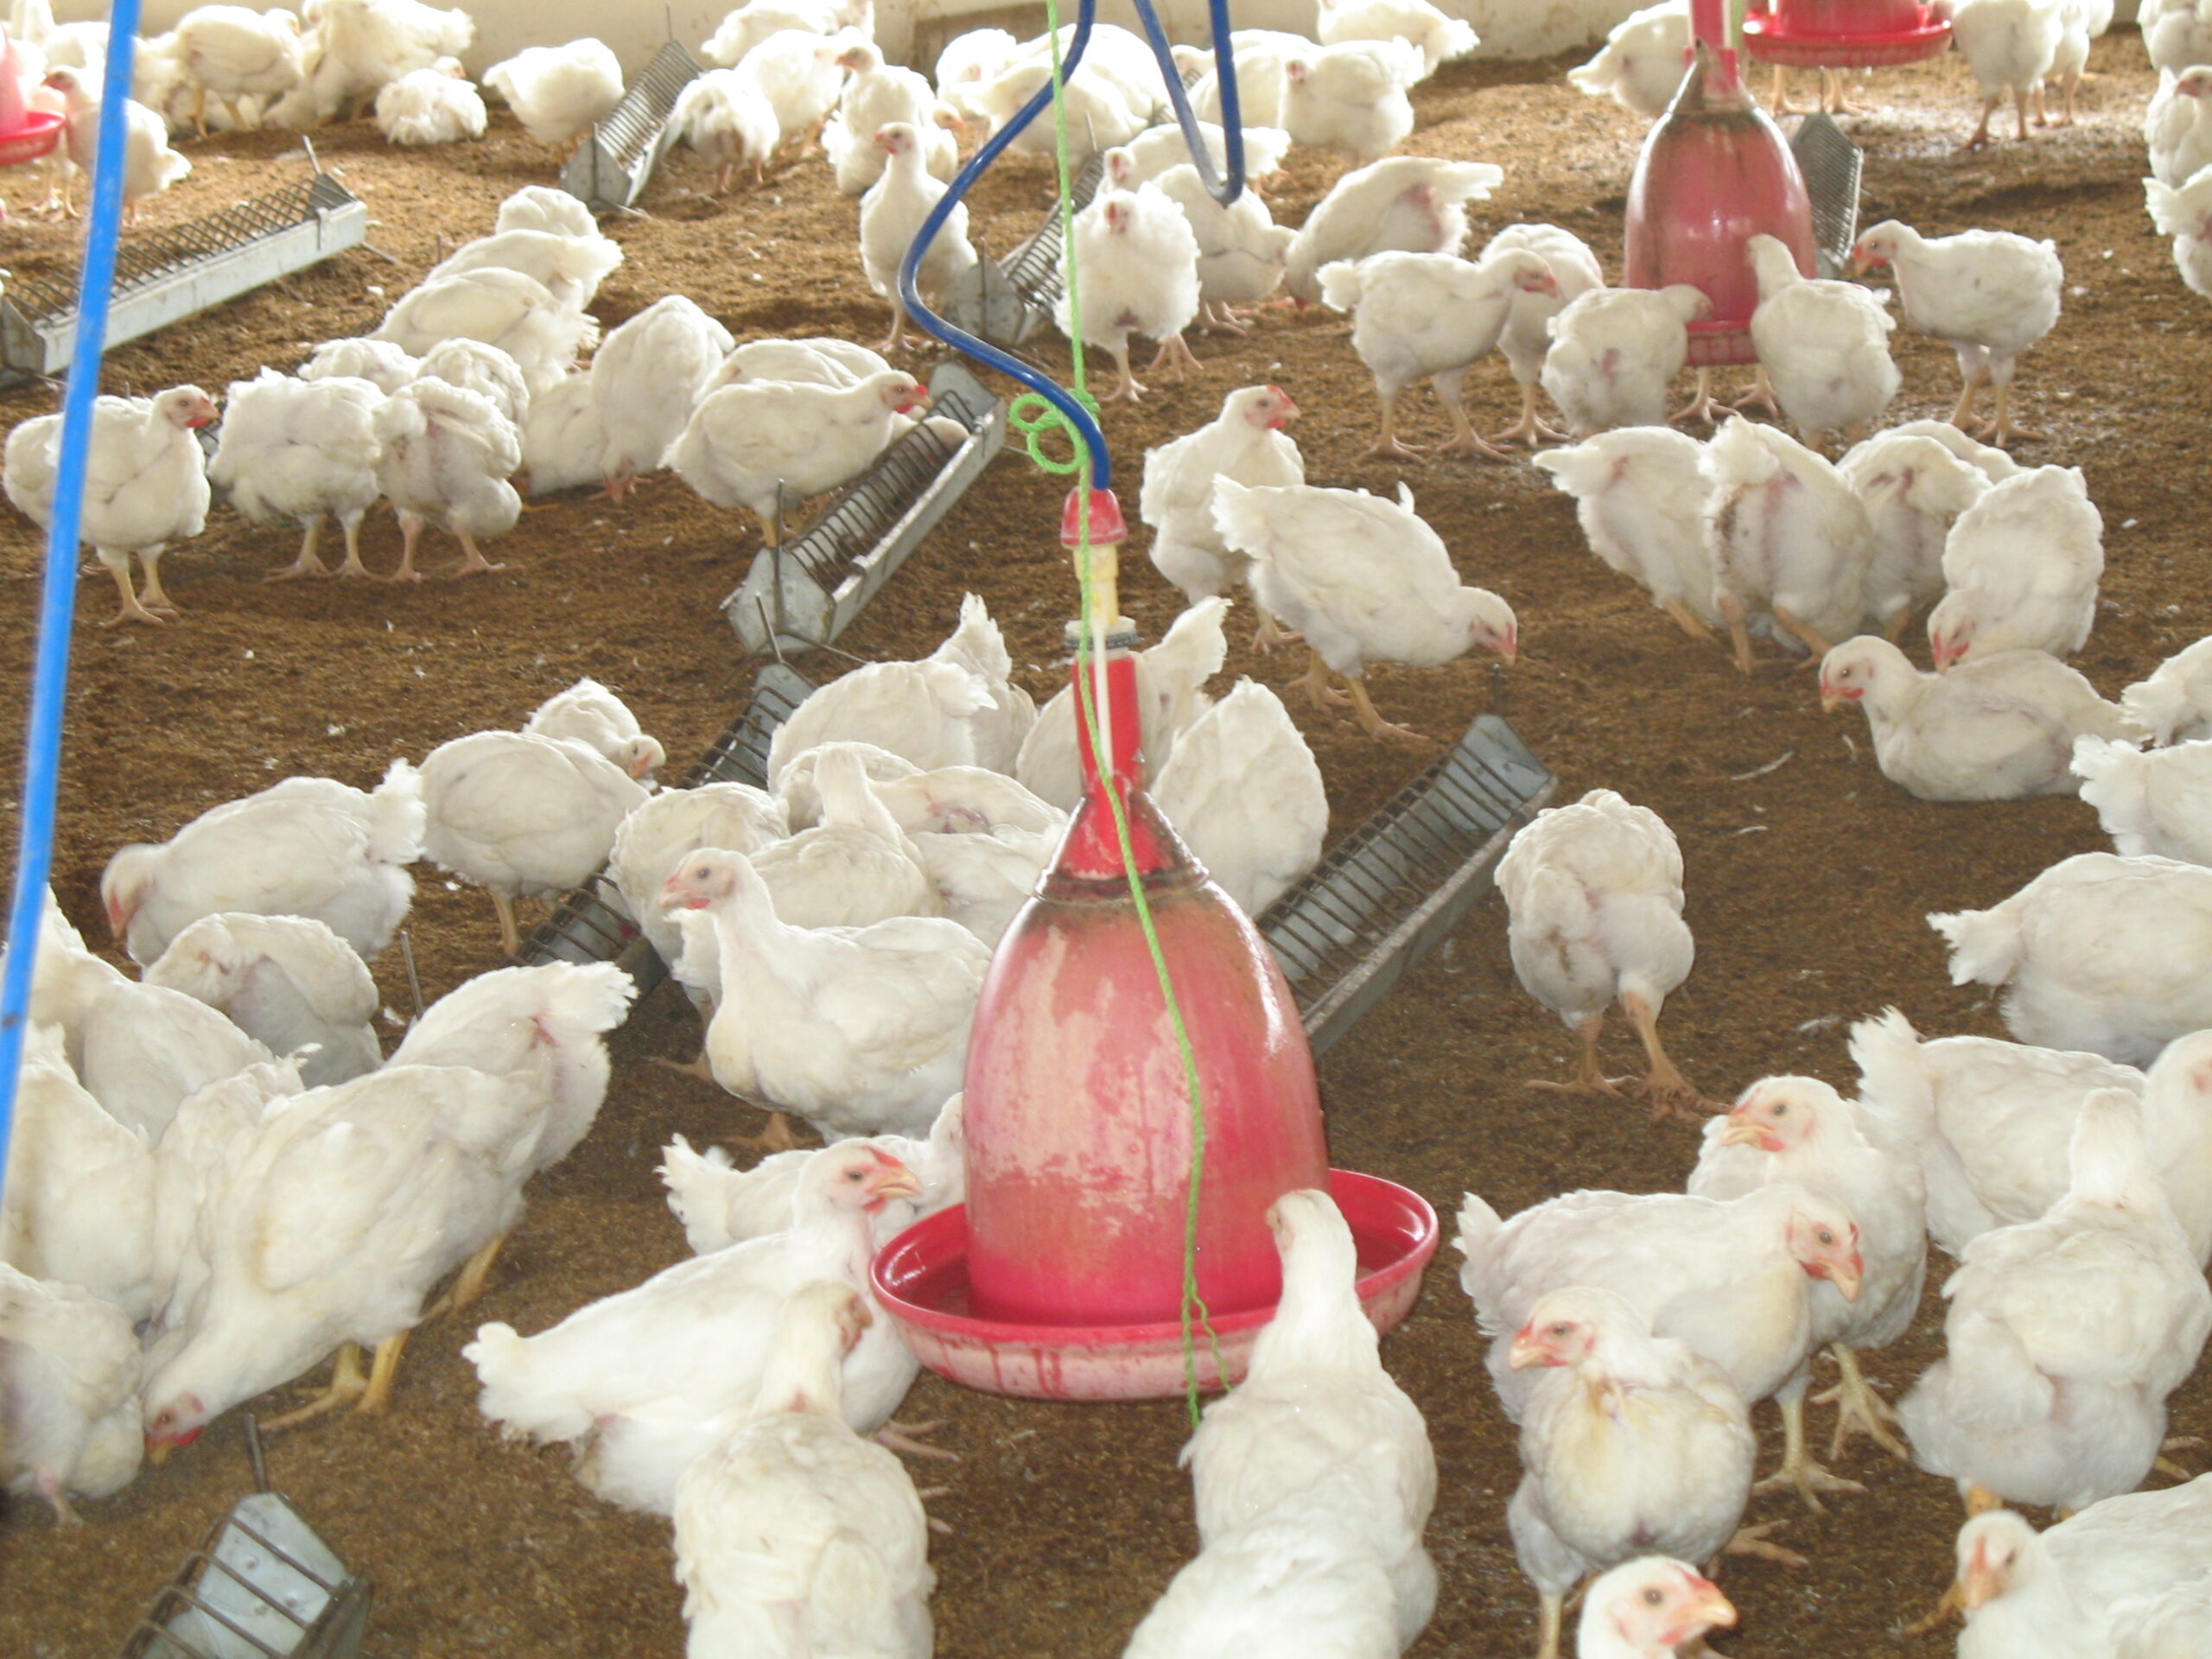
Controlling chicken poop in a coop is crucial for maintaining a clean and healthy environment for your feathered friends. We have some easy-to-follow methods to help you keep your chicken coop clean and odor-free. You can use the deep Litter Method, Ventilation Method, Use of Dropping Boards, or Trays Method. But we will mainly talk about the deep litter method because it is far easier than other methods.
What is the Deep Litter Method?

The Deep Litter Method is a commonly used technique by chicken keepers to manage chicken poop in a coop effectively. It’s a simple and efficient way to keep your chicken’s home clean and free from bad smells. With the Deep Litter Method and small chicken coop plans, you let chicken droppings, bedding material, and other natural stuff build up in the coop over time. Instead of cleaning up waste every day, as you do with regular coop cleaning, this method lets the waste pile up in a controlled way.
Requirements of The Deep Litter Method
1. Adequate Bedding
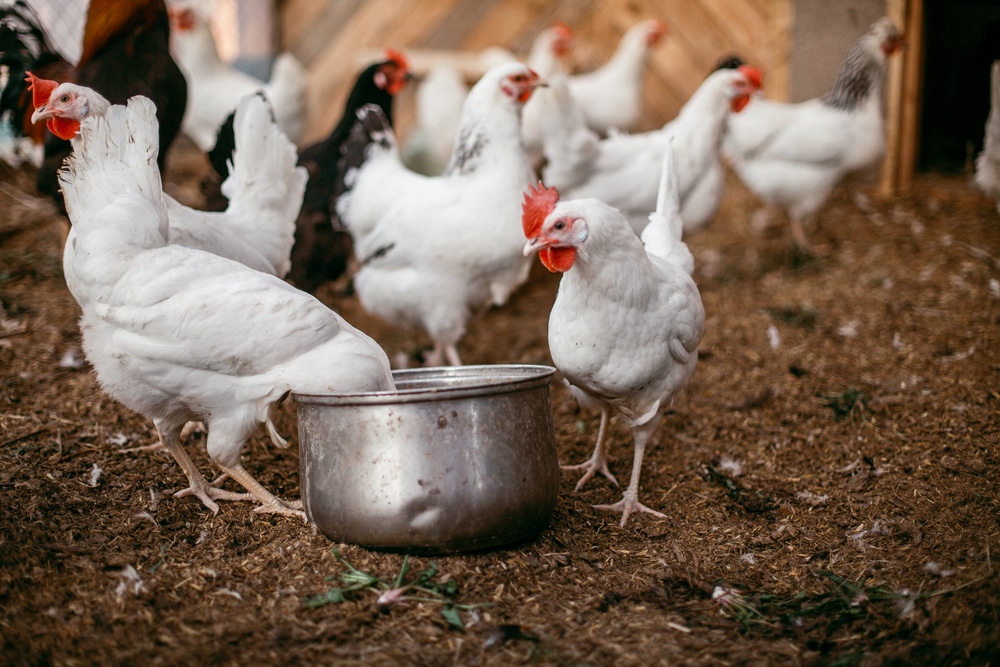
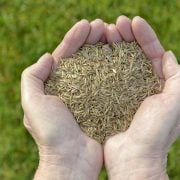
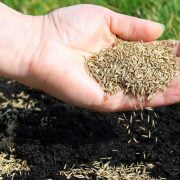
To get started with the Deep Litter Method, you need enough comfy bedding for your chickens. You can use straw, wood shavings, or hay. This bedding makes a soft floor for the chickens to move around and soak up their poop.
2. Regular Stirring
To avoid bad smells and help things break down nicely, it’s important to mix or turn the litter often. This helps air get in and spreads tiny creatures that help break down the waste.
3. Maintaining Depth
Aim for a litter depth of about 6 to 8 inches. This depth keeps the bird area clean by covering the waste well, which means it won’t smell bad, and the birds will be healthier.
4. Regular Cleaning of Dropping Boards
While litter collects waste, it’s important to regularly clean the trays or boards under the roosting bars in the coop. This helps eliminate concentrated droppings and lessens the work for the deep litter.
How to Use the Deep Litter Method
1. Choose the Right Litter Material
To start with the deep litter method for your chicken coop, choose a natural and absorbent bedding material. Good options are straw, wood shavings, or dried leaves. These materials soak up moisture and bad smells well, making a warm space for your chickens. Don’t use sand or sawdust because they might not absorb well enough.
2. Regularly Add Fresh Bedding
To keep your chicken coop clean, you should regularly put new bedding on top of the old bedding. Doing this helps prevent bad smells and keeps things from getting too wet. You can add more bedding every few weeks or whenever it looks like it needs it, depending on how many chickens you have and how big the coop is. You don’t want to put in so much bedding that it becomes hard to manage, but you also don’t want so little that it can’t soak up moisture properly. Finding the right amount is important.
3. Give Your Chickens Time to Work
The deep litter method isn’t only about keeping things clean; it’s also great for your chickens’ health. Chickens enjoy scratching and pecking, and when they do this, it helps mix fresh air into their bedding, which helps break down the litter. This mixing creates helpful tiny organisms that break down waste and make the chicken coop smell better.
4. Perform Routine Maintenance
Although the deep litter method is meant to make cleaning less, you still need to do some regular upkeep. Every few months, or when it looks dirty, give your chicken coop a good cleaning. Start by removing the dirty top layer of bedding and anything wet or stuck together. Clean and disinfect places like perches, nesting boxes, and feeders to stop harmful germs from growing. After cleaning, put down a new bedding layer to keep using the deep litter method. This step helps keep your chickens’ home clean and safe.
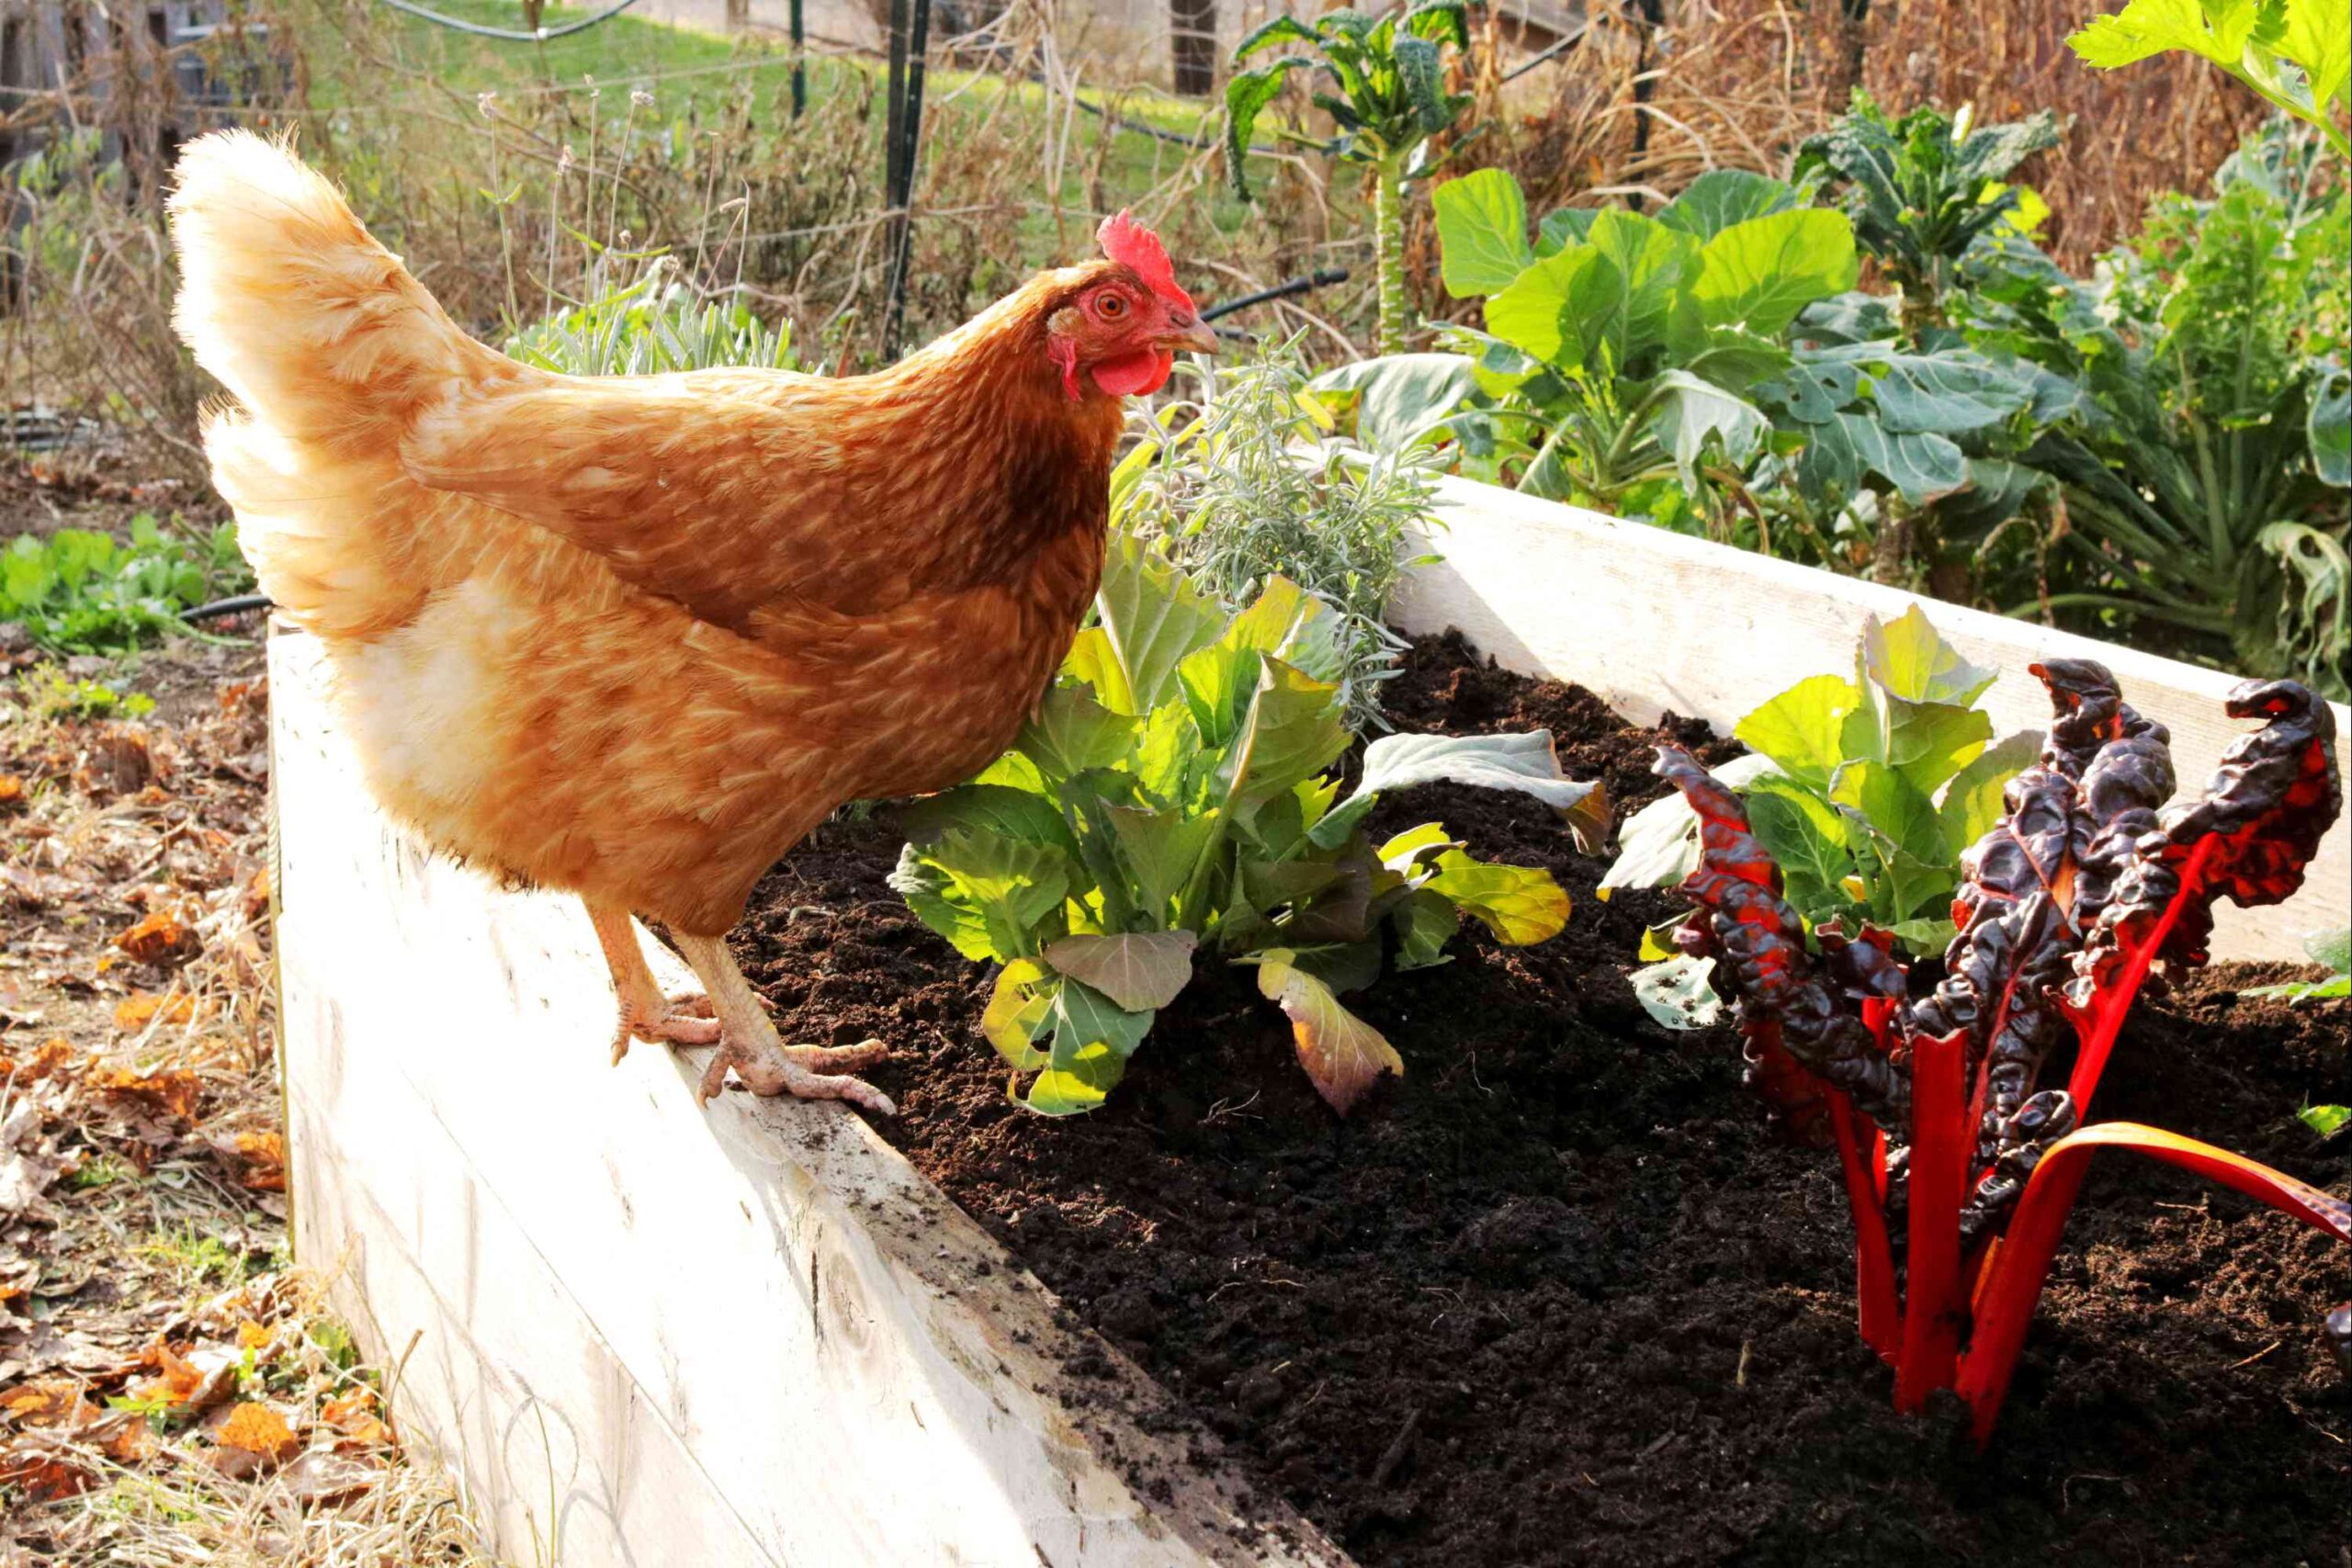
5. Utilize Collected Poop as Valuable Fertilizer
The deep litter method offers a fantastic benefit: You can reuse the bedding and chicken droppings as a valuable fertilizer. As time passes, the bedding and waste break down and become nutrient-rich compost. This compost is fantastic for your garden or crops because it has important nutrients such as nitrogen, phosphorus, and potassium that help plants grow and improve the soil. Just make sure the composting process is finished, which might take a few months, before using it in your garden. This eco-friendly method doesn’t just reduce waste but also gives you a useful way to improve your soil.
Conclusion
Taking care of chicken poop may not sound exciting, but it’s super important when you’re raising chickens. To keep things clean, regularly clean the chicken coop by removing the poop and any dirty bedding. Make sure to replace the bedding when it looks dirty. Good ventilation is key to keeping the coop dry and avoiding bad odors.
Provide clean and comfy nesting boxes for your egg-laying hens because happy hens lay healthier eggs. You can use chicken poop as great fertilizer for your garden through composting. Monitor your chicken poop since changes can show their health status.
By following these simple steps, you’ll maintain a clean and healthy chicken coop, and your chickens will reward you with fresh eggs and happy clucks.
Be sure to check out these other posts for more fascinating insights:


Comments