
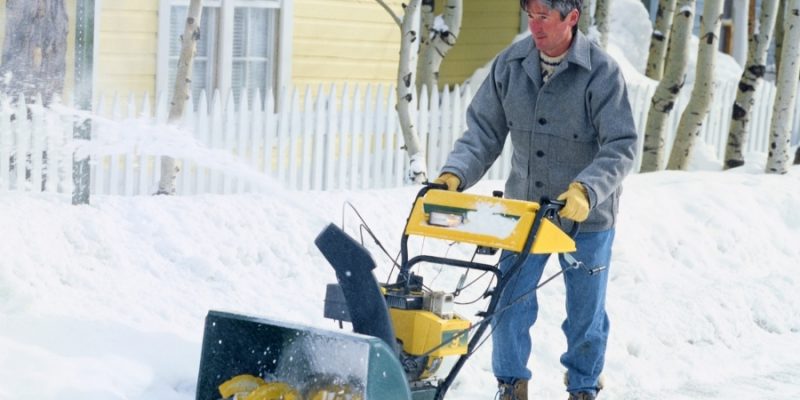
The last thing you would expect on a chilly winter night is the snowblower in your room, getting stuck, and not heating the room properly.
Any day, a better option would be to unpack your tools and do a quick check-up of your snowblower right before winter sets in.
But there are possibilities that you get caught up in work, and you forget checking up on it, and suddenly, your blower is not blowing.
This happens most of the time because the auger is not turning, which means it needs a snowblower belt to replace.
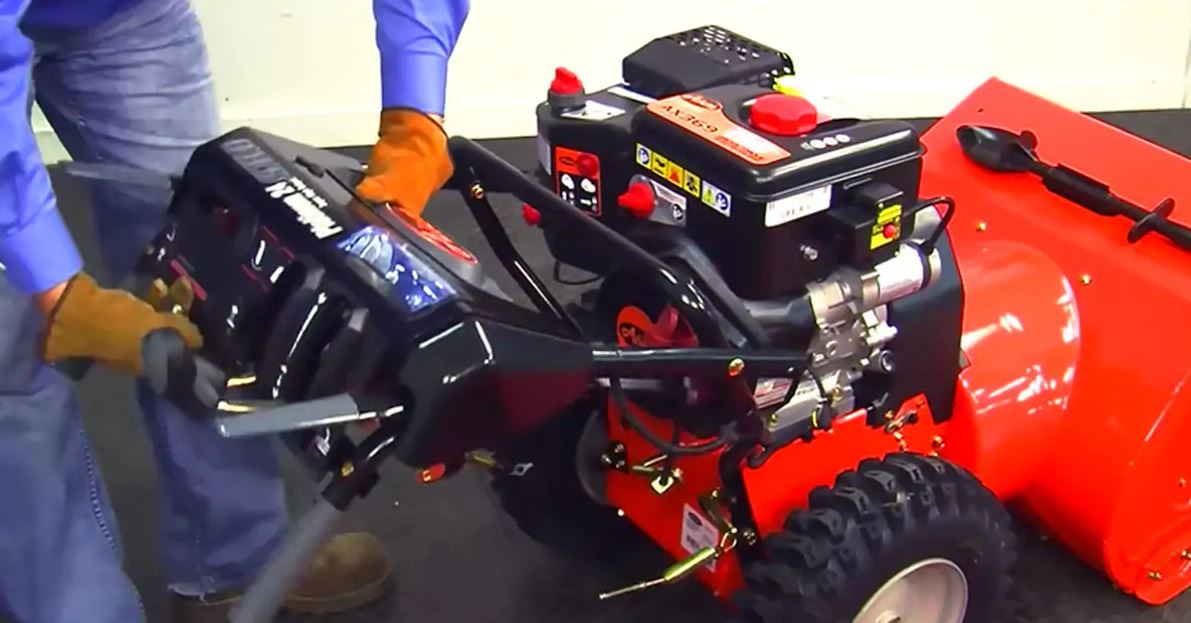
Almost all snow blowers, electric or gas versions have at least a single belt like troy bilt snowblower this is just to name a few. If you want your model to last long, make sure that replacing these belts is occasionally incorporated into your to-do-list.
The best part is you can do it without much effort, and a simple tutorial would be enough for you to figure out the whole process. Also, the tutorials are more or less similar for all designs and models.
How Do You Know When Is the Right Time to Get Your Tools Out?
Like any other electrical equipment, even your snowblower needs a regular maintenance schedule and not just once s year before winters otherwise you have to spend a lot on your snow blower pricing.
And inspection here means not just the belt but also the pulleys and idlers. But most of the time, the troublemaker is the belt, so it needs special attention.
And if you do not give it so, do not be surprised when you hear squealing sounds from your snowblower next winter. Look for any cracks, fraying, or even splitting.
What Are the Tools You Should Keep Handy?
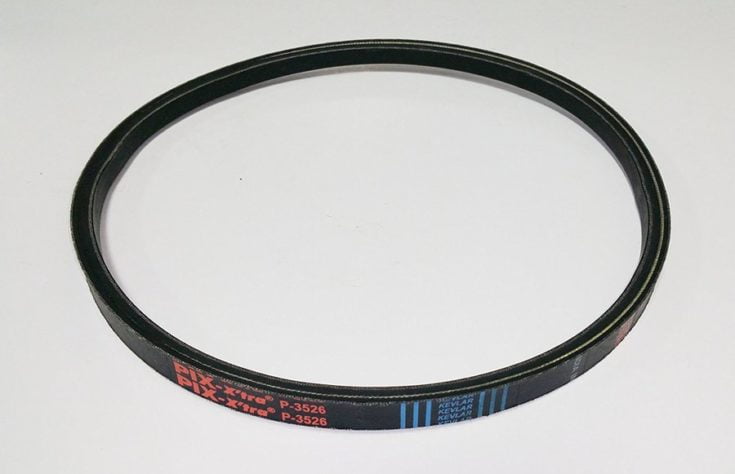
A New Belt
Always purchase belts of the appropriate size designed for the model and size of your blower.
[amazon box=”B01EA0NV10″]Socket Set and Ratchet
Depending on your snowblower model, you will require a ratchet for getting access through the belt cover.
[amazon box=”B08PVW4H86″]Adjustable wrench
Always keep handy belt retainer bars and tension rollers so that you can loosen the old belt easily.
[amazon box=”B07RGV2VK1″]Philips Head Screwdriver
You might require removing bolts or loosen the self-tapping screws of your snowblower, and a screwdriver is of great help.
[amazon box=”B07H3QV9QW”]Work Glasses and Gloves
Snowblower belt replacement is mechanical work, so taking proper safety precautions is a must so that there is no damage to your eyes or hand.
[amazon box=”B081F9D21N”]Container for Screws and Bolts
Replacing a belt will involve handling a lot of cover and small parts, and there are chances you might misplace them. It would help if you always had a container ready to store them.
[amazon box=”B003P2UOCO”]How Much Time You Will Have to Spare from A Busy Weekday for This?
Honestly, replacing the snowblower belt is nothing so challenging or time-consuming. If you are already familiar with all these tools and the know-how to use them well, 45 minutes to an hour is more than enough.
Do not be a messy mechanic! Have your tools ready beforehand so that your workflow doesn’t get disrupted again and again. Also, keep your manual or tutorial video handy so that you can refer them again and again whenever you are stuck.
Now that you are well aware of all the prep you need for changing your snowblower belt, let us jump into the process:
If Your Snow Blower Is A Gas Operated One, Siphon Out All the Gas First and In Case of An Electric One Remove Batteries

Whether your gas-operated snow blower is a dual or single, or even a triple-staged blower, it will always be a two-stroke engine that will operate it. Unleaded gasoline drives these parts, which must be first siphoned out.
But make sure the engine is cool enough before you start working on snowblower belt replacement. In case of an electric blower, unplug it and remove batteries. If you are working on your blower, you must tip it first.
So, you should make sure the gas tank is empty. If not, any kind of trickling or spilling of gas can be dangerous and make your work environment nauseated. Also, it is a safety precaution that you are supposed to follow according to the standard procedure.
The Spark Plug Has to Be Connected
Whenever you are doing any such job that involves a lot of toxic materials such as gas or dangerous such as electricity, your first and foremost concern should be safety.
Always disconnect the spark plug so that you can rest assured that there will not be any discharge of electricity or any power combustion to your blower while you are handling it.
Most of the machines have a push-button start, which means the replacement process has no potential risks.
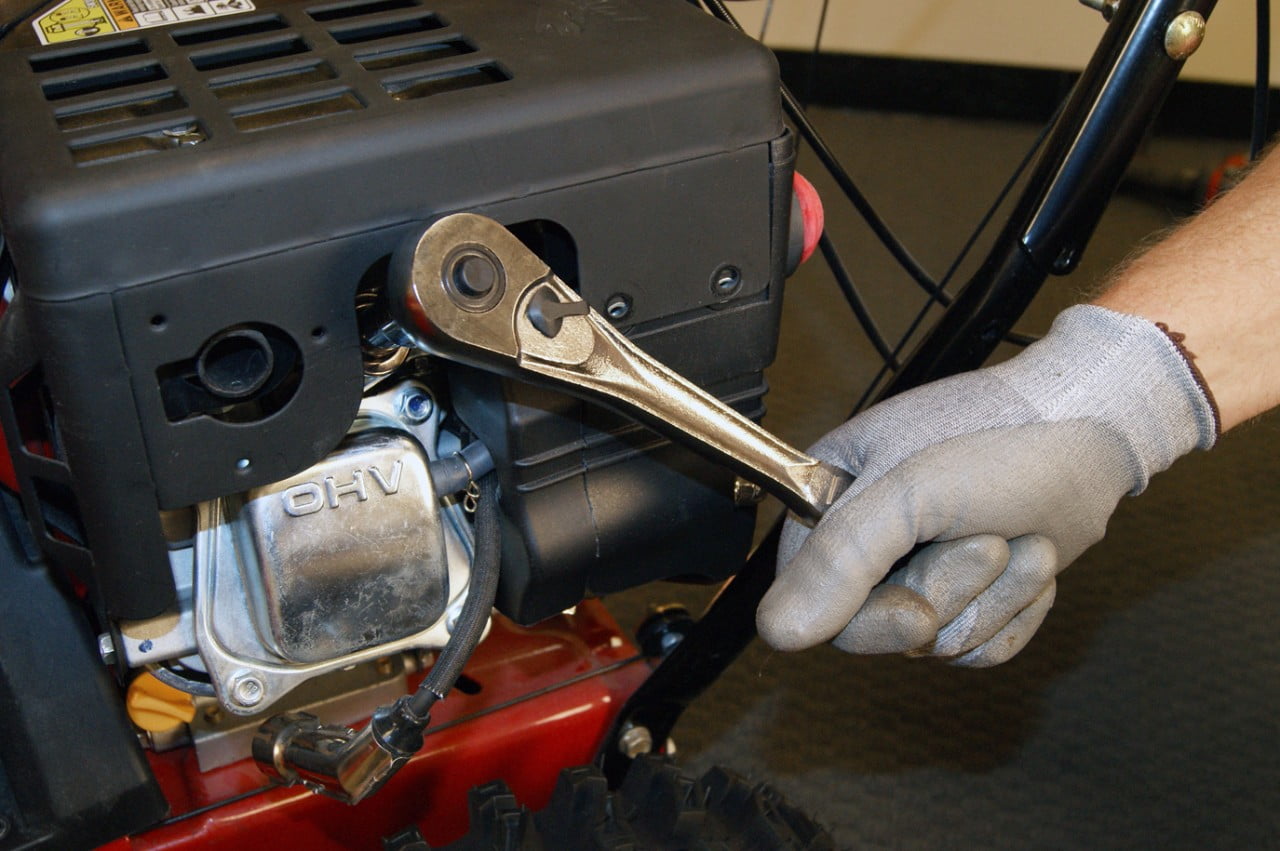
Remove the Belt Cover
To remove the belt cover, you either must use a ratchet set to loosen the screws on it, or you need to unscrew a manually self-tapping screw.
A Philips head screwdriver is exceptionally convenient for performing this function, especially if you are a beginner in snowblower belt replacement.
You must know the specific trick of using it from the manual, depending on your model.
Separate Frame from Auger Housing
Next, you need to remove the auger housing from your snowblower frame under it by slightly tipping the machine forward. Here, again you will need to use your screwdriver to unscrew some more bolts or screws. Once you do this, remove the housing so that the belt located below your machine is exposed.
Take Pictures on Your Phone That Displays the Setting of Your Belt
Now, this is a step that might not seem necessary but trust us; it is. You will later applaud yourself for this one.
Please take a quick picture of your blower’s belt portion that clearly shows how it has been placed. This will avoid confusion later when you are trying to place the new belt correctly.
Settings are the essential thing that must be focused upon while performing snowblower belt replacements.
Any error, and you will curse yourself later for your bad DIY skill. But all you must do is be a little more cautious and not skip this step.
And brownie points if you have not lost the user manual of your snowblower yet. Keep it handy during the DIY so that you can easily refer to the diagram.
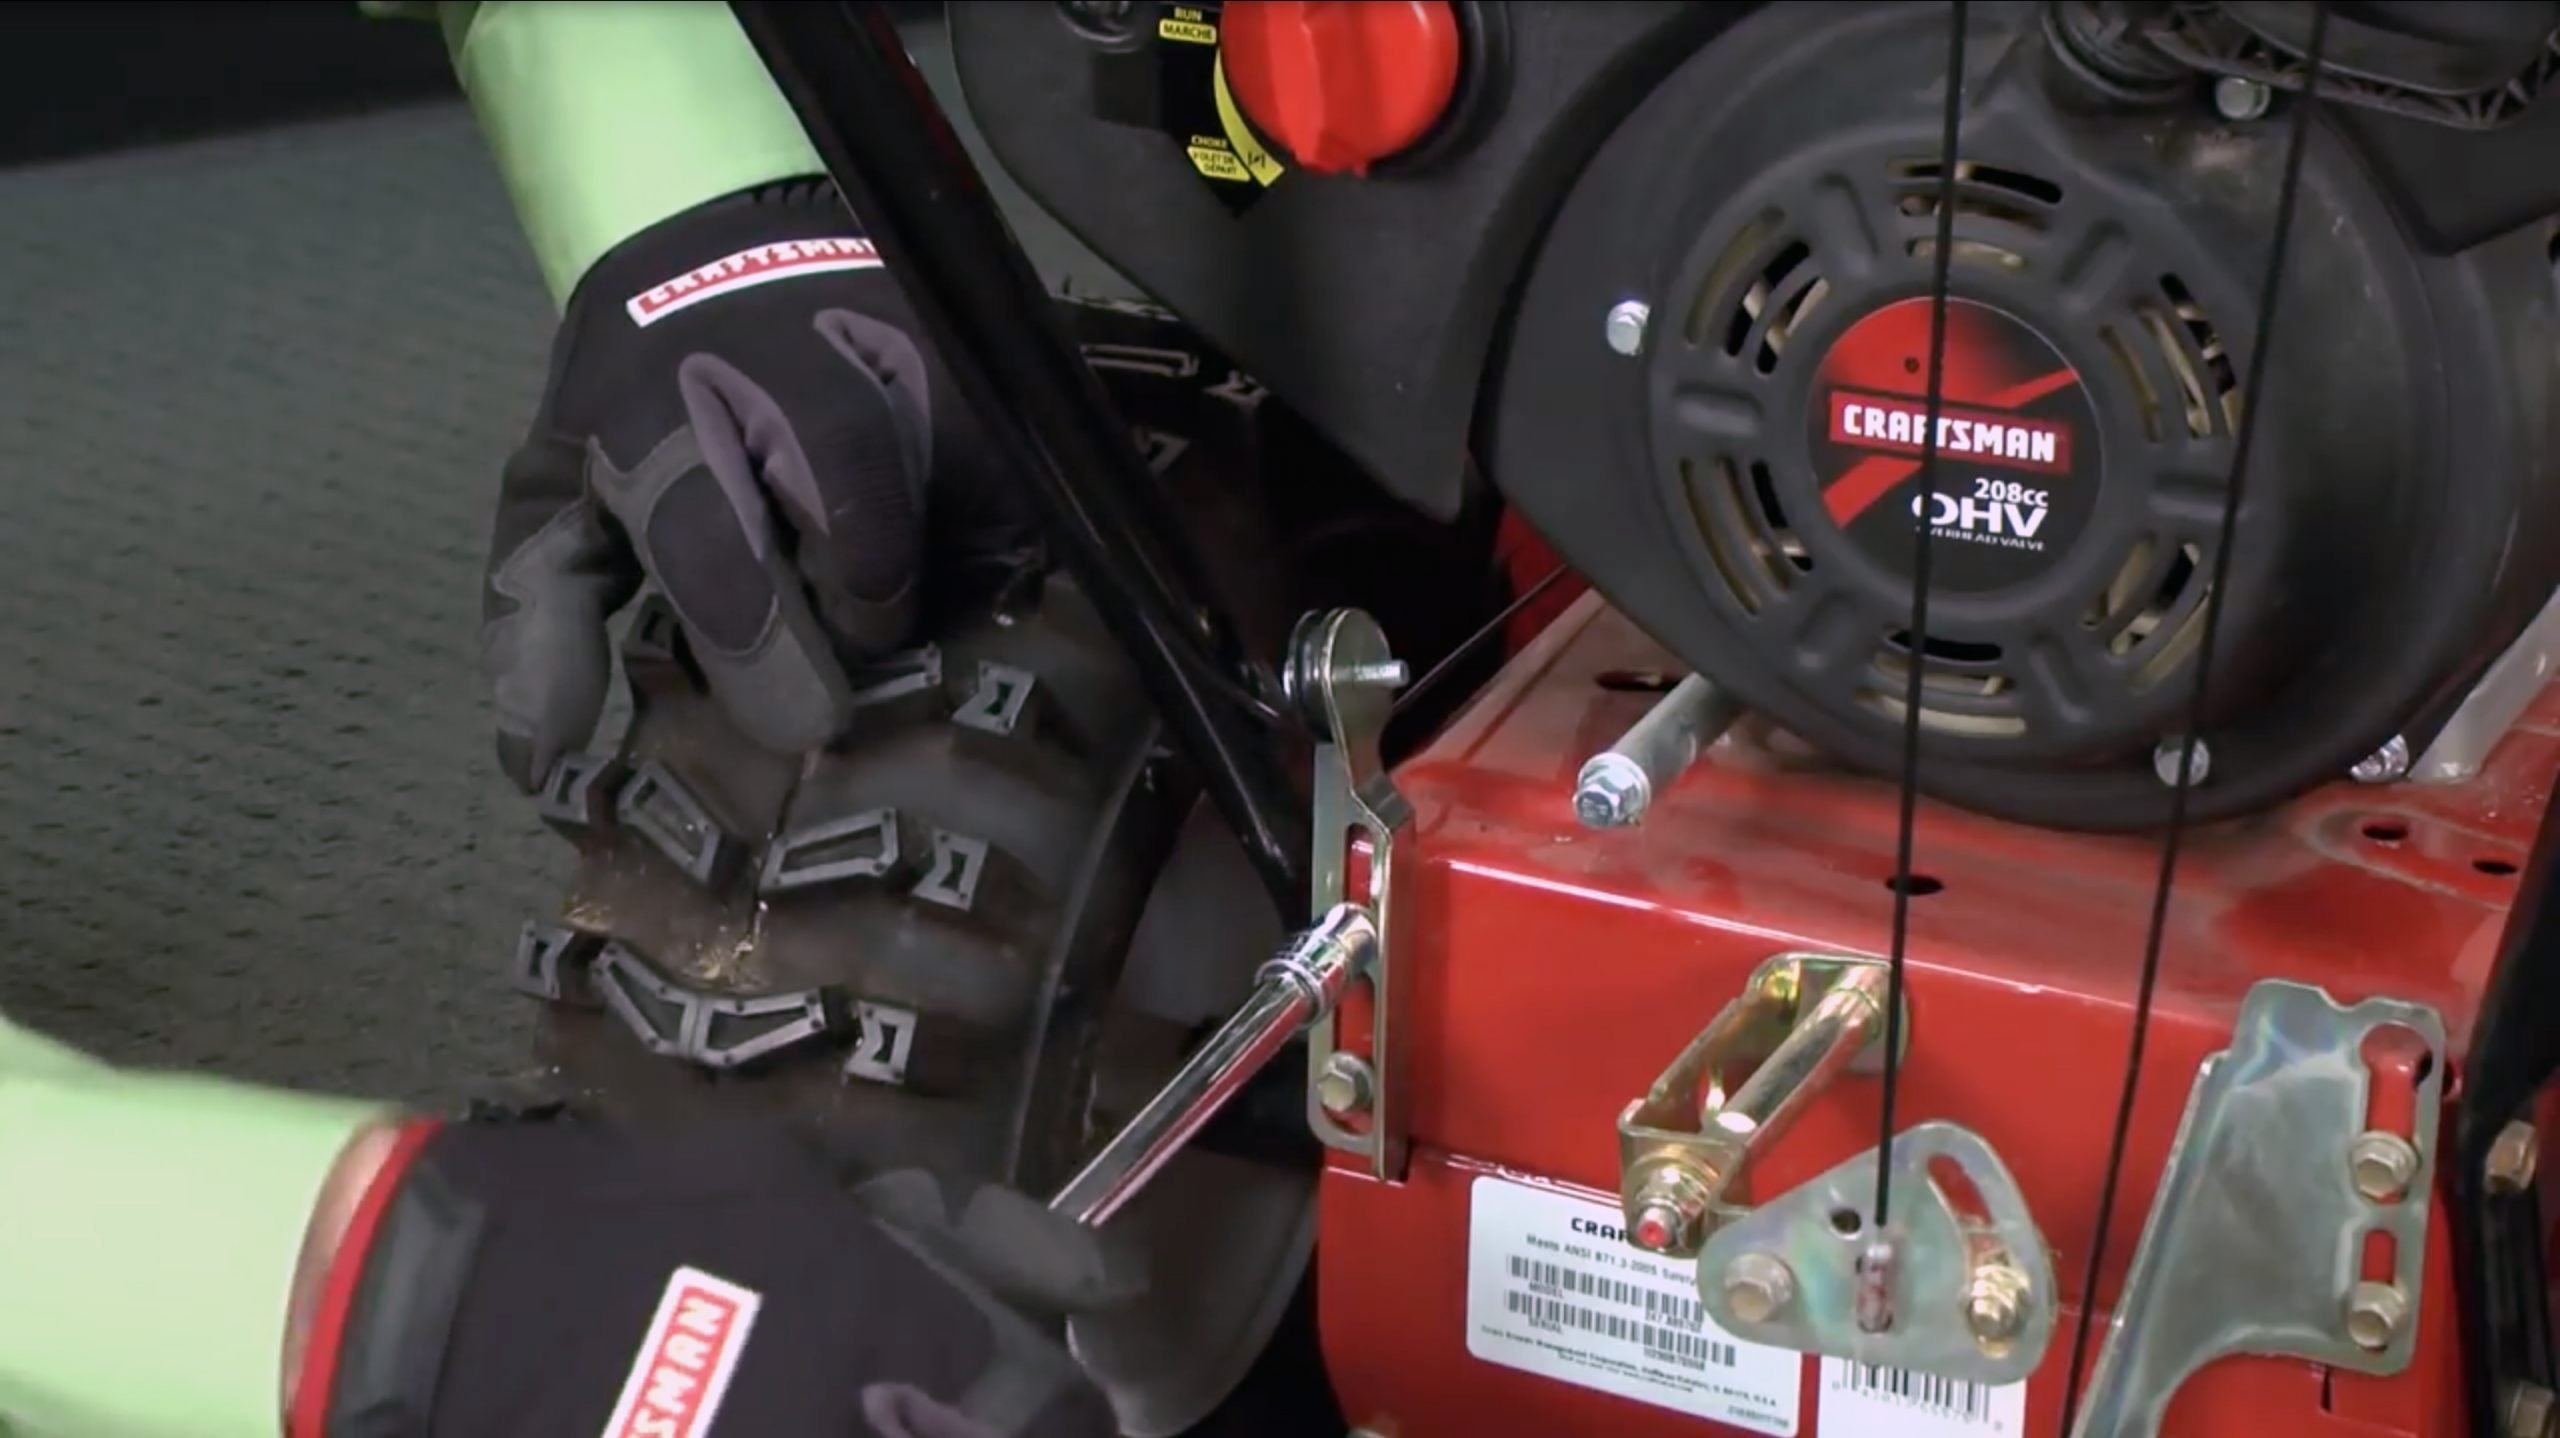
Slack of The Belt Tension
Do you not want to apply force to stretch and pull the belt off manually? You can instead apply different techniques to release the tension in the belt and make it slack. You can either try unhooking the idler spring or prying back the tension rollers, or you can even loosen the tension mechanism—the fastest way to unhook the idler spring.
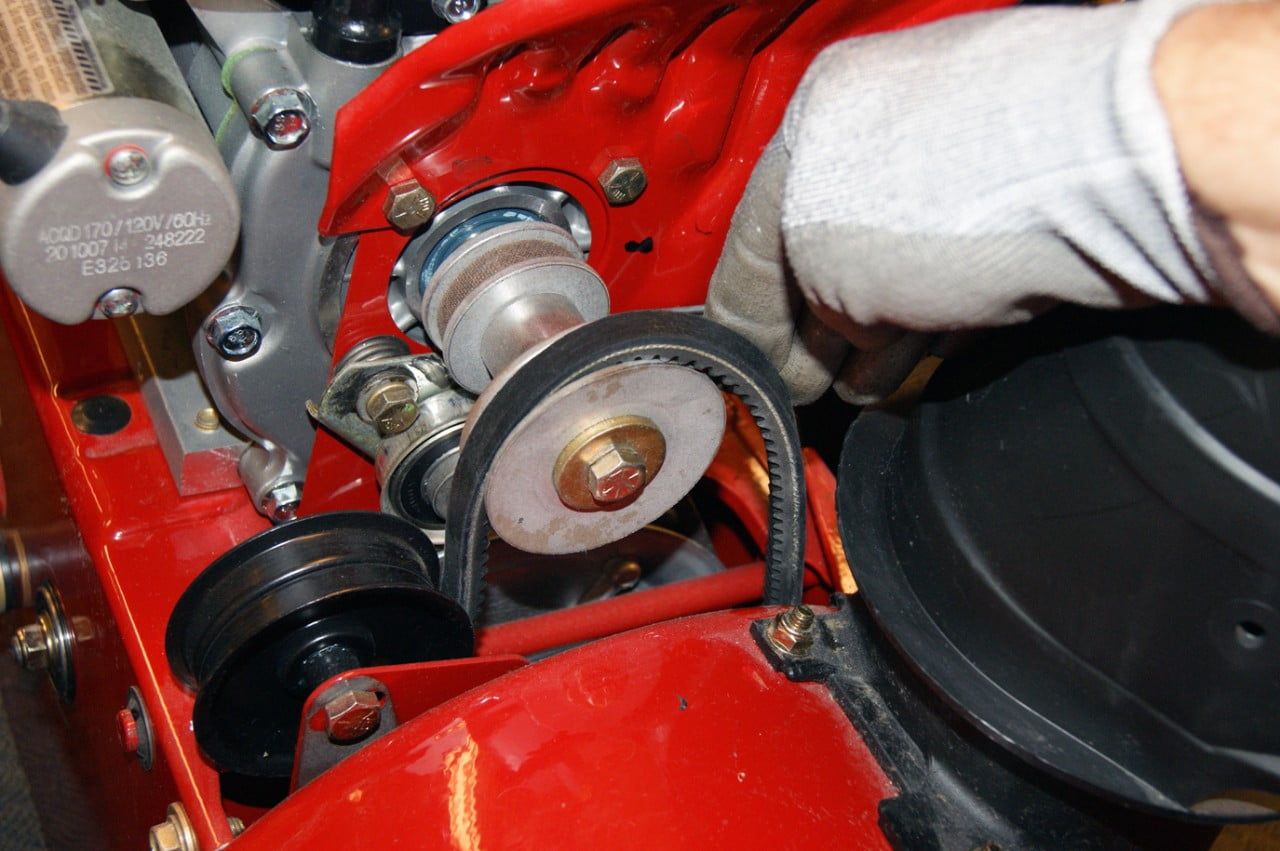
Remove the Belts
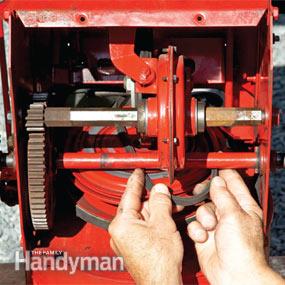
Once the tension is released, you need to twist the old belt to a right angle by rolling your fingers below it and pulling it loose.
Do not do this mindlessly. And instead, pay attention to the details while you do this. Notice how the belt was set to attach the new belt exactly later.
There are chances that there is a belt stop bolt near the idler pulley if you have specific selective models of the snowblower.
You can also remove this so that the belt easily comes off. Do not forget to place it back in its position after doing the snowblower belt replacement.
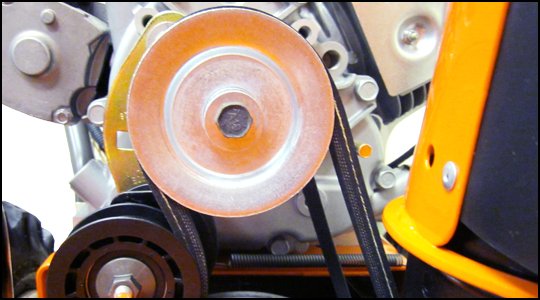
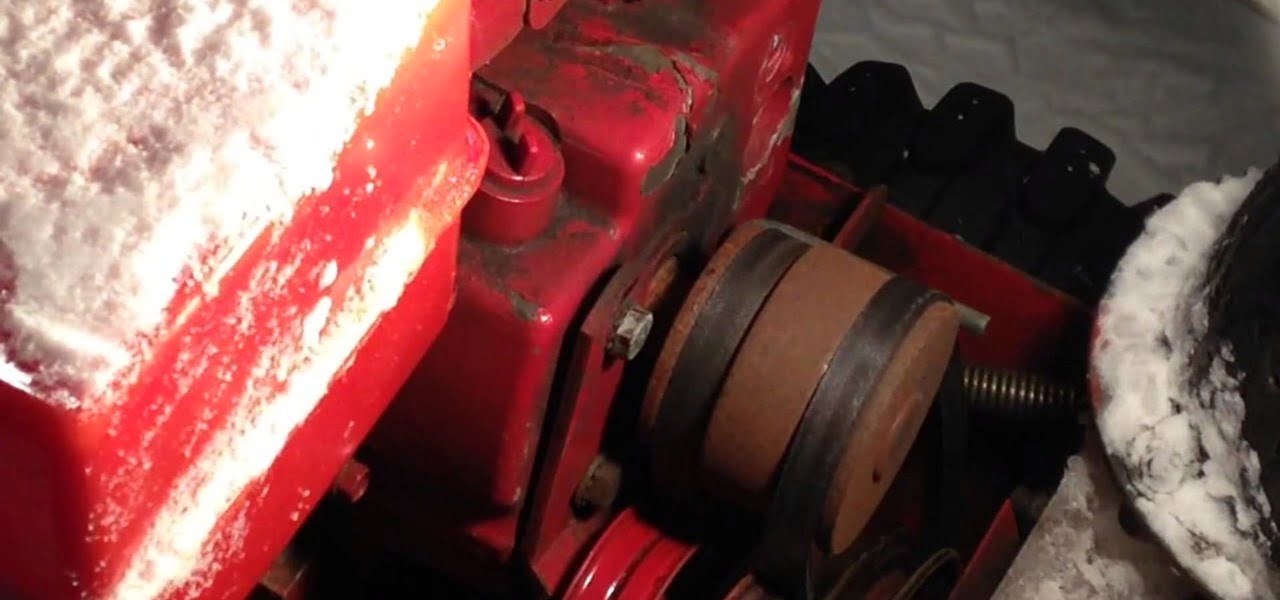
Check and Clean Rollers
Once you remove the belt, make sure you clean the tensioning rollers and the pulleys thoroughly to clean any dirt or dust collected on the surface.
This will make your snow blower last longer and make the surface smooth and clean to install your new belt.
Replace Belts
Do not hurry! Carefully look at the picture you clicked before and ensure that the belt is set correctly on the rollers and the placement is correct.
Take a lot of care while doing this. If the placement is wrong, you will notice that the belt is not sliding smoothly enough to its place, and the fitting is not proper.
Before you re-attach the idler spring or re-tighten the tension mechanism or rollers, cross-check the positioning again and again with the picture for a perfect snowblower belt replacement.
Put Back Your Machine, Add Gas and Connect It to The Spark Plug
Finally, re-attach the auger housing again and tighten all bolts and screws. Put back the belt cover in place and connect the spark plug to it.
Re-fill back the gas in case of a gas-operated snowblower, put back the batteries, and plug it back in case of an electrically operated one.
We hope you found this DIY belt replacement convenient and straightforward. This will help you, in the long run, to always keep your snowblower efficient.


Comments