
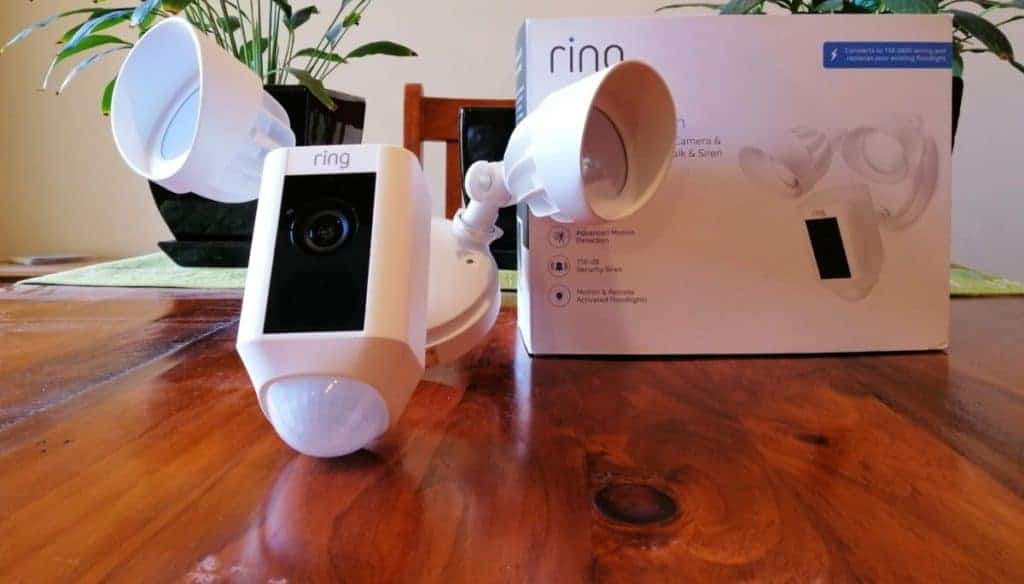
A ring floodlight cam is a motion-activated camera meant for security purposes that is designed with in-built floodlights, an alarm, and a two-way audio system.
This enables the users to monitor security footage in real time and allows people to speak to anyone from anywhere within the premises. It replaces wired floodlights and establishes a connection to standard junction boxes.
Installing a ring floodlight cam without an existing wiring can be tricky for someone inexperienced. This blog will help you start by providing the necessary understanding about installing a floodlight security camera.
What Should You Know Before Installing the Camera?
When you are about to begin, you need to find out if you are comfortable with any of these below-mentioned factors.
- Comfortability with high-volt work: You must work with a high-volt current supply to install a floodlight camera.
- An electrician by your side: Contact an electrician with a license to undertake such work.
- Familiarise yourself with local norms: Do not forget to check your local building norms and wiring codes. You will need to know all this to complete the process.
- Turn off the power supply: From the breaker box, turn off the power supply to the floodlight circuit. The breaker must be connected to it, and ensure you complete this step without doubt. Choose a circuit tester to turn off the power and test the metal junction box.
In the next step, we will tell you what we plan to have by our side if we happen to create the floodlight camera setting.
List of Materials Required for Building the Floodlight Camera
Here is everything you will need to build the floodlight camera for yourself.
- 25 ft. Romex 14/2 gauge wire
- Sigma 4-inch round junction box 1
- 1/2 inch UF adapter
- A single pull switch and cover
- Staples for wire
- Wire nuts
- Blue plastic junction box for switch
Steps to Install Ring Floodlight Cam without An Existing Wiring
There are three steps for creating and installing a ring floodlight cam and without using existing wiring.
1. Select the Location
Choose a location of your preference for placing the new floodlight camera.
It would be best to make the bolts loose; then, you must rotate the floodlight out of the way as the packaged floodlight sees it upside down on the fixture. Remove any existing floodlights by going to the junction box.
Earlier placed floodlight cams need to be removed, and if any bracket is attached, you can also remove it when disconnecting them.
2. Drilling Comes Next
You can drill a hole in the wall and hang it from there, but you need to carry out the drilling, which means you need a drilling machine and some nails for your aid.
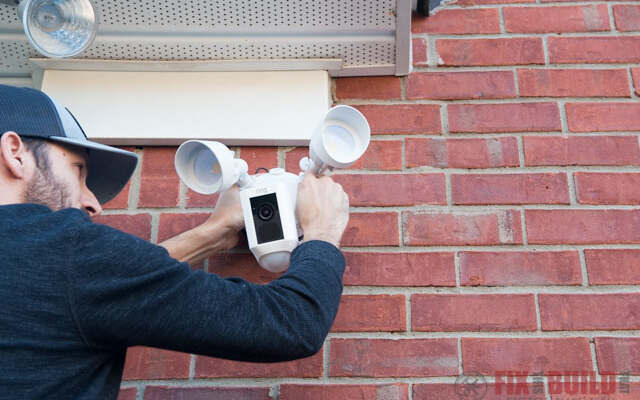
3. Start the Connection
Join the power cable and then add the mounting plate on the exterior. Keep both the posts in a level position with the ground and pull the wires out through the middle bracket. Next, bring and attach the floodlight camera to it.
Using two screws, attach the floodlight camera and hook one end of the mounting hook into the mounting hole. Place the other end into another hole within the bracket.
Connect or join the copper ground wire to the green ground wire and the existing ground wire into the junction box. With the help of the wire nut, connect the white neutral wire from the camera to the neutral wire within the junction box.
Connect the black hot wire from the junction box to the camera one.
If the colors of the wires don’t match, you will need to ensure you understand the colors before joining them together.
4. Add an Electrical Box
For the electrical box, place it beside the home’s exterior setting. Connect it to your GFCI outlet box or circuit breaker.
5. Connect the Wires
Run the wires from the outside to the inside and connect it with as many walls as you need. Once completed, unhook the camera from the post and stuff all the wires through the middle bracket. By pressing the mounting posts with the camera holes, you can align them.
6. Create the connections
Connect every part of the installation using the wire nuts and seal them by heat shrinking them. Secure the nuts and then make the light adjustment knobs loose. Set the lights at any desired angle by locking the collars correctly.
Start the power at the breaker box and go ahead and test the connection.
Interested in learning more? Check out our previous blog, where we’ve covered the intricacies of ring spotlight vs floodlight in detail!
Concluding Thoughts
The camera will start talking when the lights turn on after turning on the power. It will tell you that it’s now in the setup mode. For Android and iOS, the camera will use the ring devices like the one used by the video doorbells.
It can be managed from the PC and also using the web console. You must subscribe to their plans to view, share, and save the events recorded through their instant alerts or live video streaming options. Basic plan starts at $3.00 a month and $30.00 a year.
Their Protect Plan is double the basic plan. Check which works for you and go for it.


Comments