
Did you ever imagine that one day you will be able to grow plants in your house without soil? Many people love gardens and greenery and would like to have a small space of their own nature’s feast on their property.
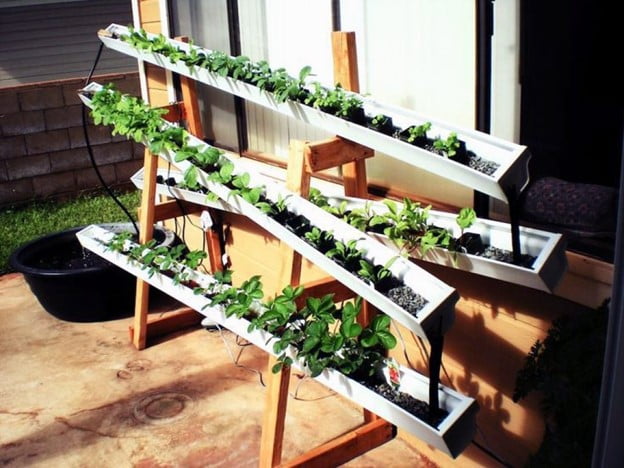
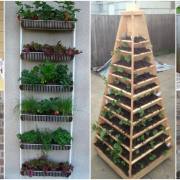
But urban lifestyle, along with its privileges, also brings small properties which do not leave any space to accommodate a beautiful garden. That is where hydroponic towers and DIY tower gardens come into play.
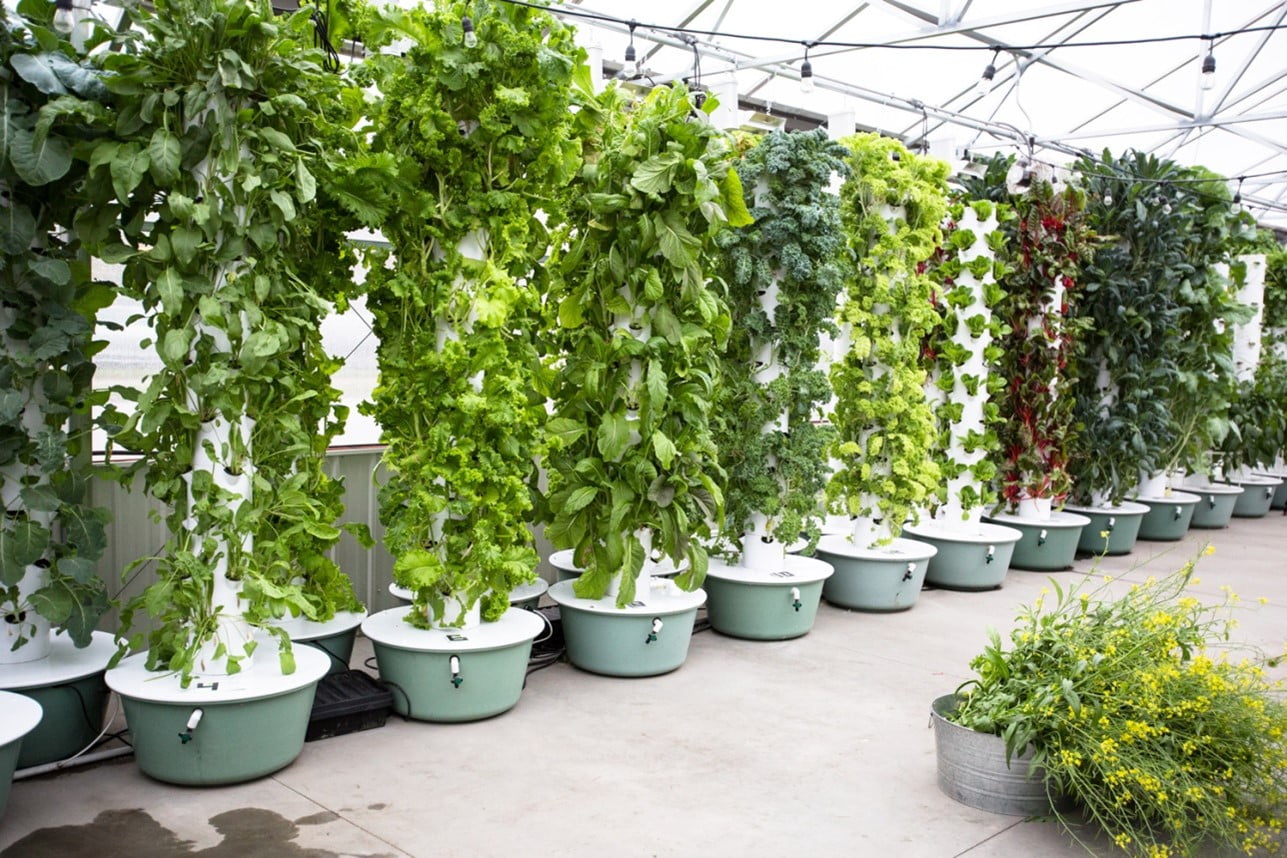
With hydroponic towers, you can grow plants in your place without requiring soil or a plot. These plants will be growing out of towers and receive their nutrition from water. Sounds amazing, right? However, as amazing as it sounds, the cost of getting a hydroponic tower built by a professional is extremely high.
But today, we are going to teach you how you can make your own DIY garden tower and fulfill your lifelong dream of having a small space for your tiny green plants in your house without burning a hole in your pocket.
What Is the Best Hydroponic System to Start with?
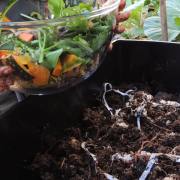
If you are looking for the best hydroponic system to start with, then deep-water culture is an amazing option for you. In this, the roots of the plants are immersed in nutrient-filled water, which replaces the need for soil.
For the DIY tower garden in your home, you can go for opaque containers or buckets. The deposit system remains in the water for as long as your plants live, which means it replenishes the lost oxygen absorbed by the roots. So that your plants continue to thrive.
What Are the Plants That Can Be Grown in Hydroponics System?
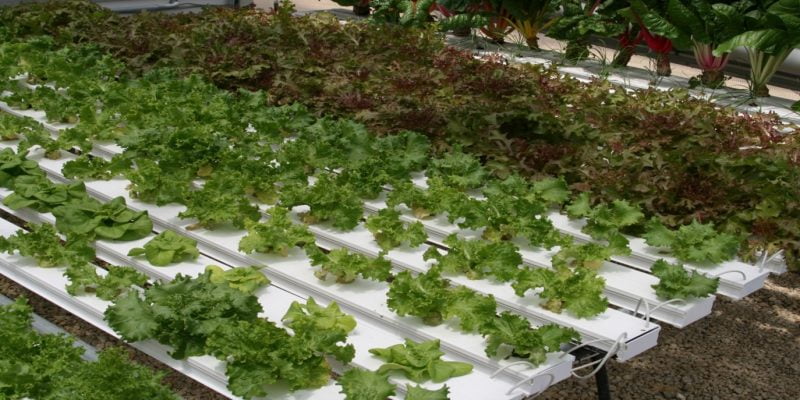
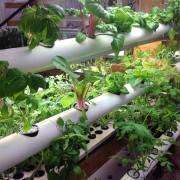
Quite different from traditional growing plants, DIY tower gardens are not suitable for every kind of plant. The best options of plants to grow in a DIY tower garden include Basil, Parsley, Kale, and Lettuce.
The reason behind this is that water does not provide rigid support to the plants, unlike soil. So, if you are planting top-heavy plants like tomatoes, then there are chances that the roots will be dislocated owing to the weight and pressure coming from the upper side of the plant. In these cases, you will need to support the plant to ensure that it can grow properly.
However, with plants like Lettuce, Kale, Parsley, and Basil, you do not have to worry about providing support. These plants weigh less which helps them float on the water without support.
How To Make Hydroponic Systems at Home?
As we promised in the beginning, today we will discuss how you can make these towers by yourself. So that you can save the extra cost of hiring a professional to do it.
Materials That You Will Require:
- Storage containers or buckets for the plant
- Net pots
- Hard water liquid nutrients
- pH meter
- pH down
- Air pump with air stones
- Measuring beaker
- Pipette
- Hole saw with Arbor.
- Drill
Steps To Build a Hydroponic Tower at Home?
1. Finding A Suitable Container for The System
DIY garden towers need a suitable container. It is better to opt for a deep storage container or a bucket because the deeper the container is, the fewer nutrient fluctuations. Deep storage containers also ensure that the pH level remains intact, and you do not have to top the water frequently.
Also, make sure that whatever container you choose should be opaque so that no sunlight can pass through it. If you see sunlight passing through the water, there are high chances of algae growing in the water.
2. Drill Holes Through the Lid of The Container
As you know, the plants will be growing in net pots. These net pots have enough holes so that the roots can pass and grow through them. But along with that, these net pots will also need a place to sit.
Hence the holes on the container’s lid will act as a folder for the net pots. To drill the holes, use a hole saw which is easily available in the market at quite an affordable rate. Make sure that the size of the holes does not exceed the size of the net pots.
3. Assemble the Air Pump
In the next step, you must assemble the air pump. The air pump comes with a check valve so that when it is turned off, it does not suck the water back. First, you need to connect the air stone with the check valve and ensure that the arrow on the check valve is pointing at the air stone. Once this is done, you can connect the check valve to the air pump.
4. Fill Up the Container
Now that all the other things are ready, it is time to fill up the container. Pour in water inside the container, leaving the top couple of inches empty, and fill it up with hydroponic nutrients. Read the instructions carefully that come with the bottle to ensure that you are mixing the nutrients in proper proportion.
Once that is done, check the pH level of the water with the pH meter. Generally, tap water has a pH of 6.5 to 7.5, But most vegetable plants need a slightly acidic medium. To adjust the pH, you can add a little phosphoric acid using a pipette. Remember to wear gloves while you handle the acid.
5. Setting Up the Whole System
The last step is to assemble the whole system. You need to put the air stone in the reservoir and close the lid securely. Place the air pump outside and plug it in. After that, you need to place the plants into the net pot. For this, you can either use Rockwool plugs or simple clay. However, we suggest that choosing a medium that is less likely to make a mess is better.
And that is it! Your DIY tower garden is ready. That is all you must do to get a beautiful place for your tiny green plants at home without a plot. We hope this article was helpful and easy to understand, and for any further queries, reach out to us in the comment section below.


Comments