
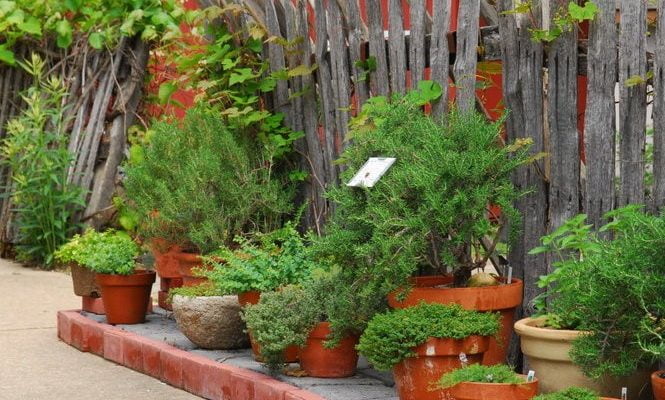
Every garden lover has a different kind of love for Planters. Most of us purchase many planters once we see any need for them. People who love pots in their gardens do love to collect different types of pots for their gardens.
However, once they start getting old, we tuck them somewhere in the garden and forget about it. We think to use them in the future for any purpose, but we forget about the old ones and purchase new ones once we see new deals.
But what if we tell you that we can still use those old pots by modifying them? Yes, those old, cracked, and unusable pots can be used in a better way without spending any money on purchasing the new ones.
So, please sit back and relax and keep your wallet away as we are not going to spend money again on purchasing pots for our garden. Instead, we will reuse the old and cracked pots that we have tucked somewhere in the garden.
In this article, we will discuss some techniques and creativity that will make our old pots new, and we will be able to use them shortly. So, keep everything away and start following what we are going to discuss.
Clay Cracks?
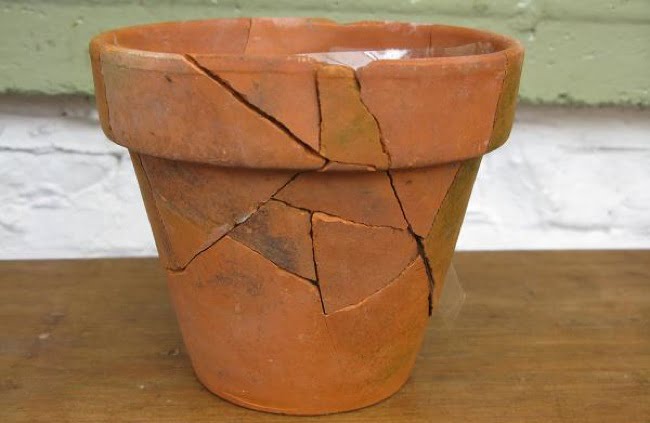
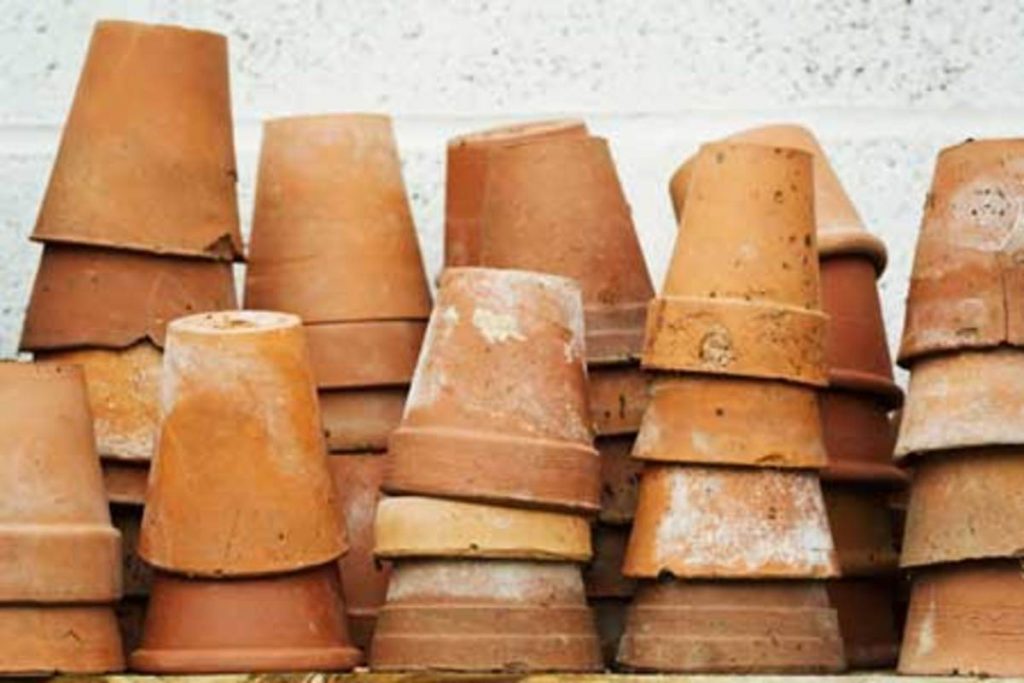
So, your old pots have cracks because you have dropped it in the garden, and it thuds onto the ground, leaving crack marks everywhere on the pot. Now, you think you will not be able to use them, and you would purchase a new one.
If the pot has been cracked from several places, but still all the parts are together, it can be fixed in no time.
All the things you will need to fix the cracked pot can be found at any hardware store. But, we will suggest first check your garage as there are such items that you may find in your garage, and you will not be needed to purchase anything new.
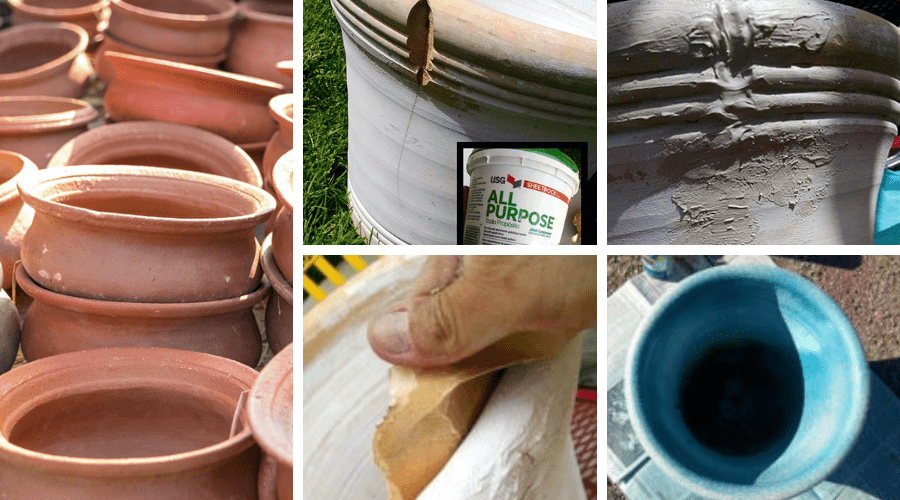
You have to find an all-purpose joint compound, spray paint, fine-grained sandpaper, and a textured spray.
Step 1: Sand off the Area Around the Crack
The first and foremost step is to clean around the cracked part with fine sandpaper till the area gets cleaned, and there will be no scratches left.
Once the area gets cleaned, lay off the dust particles that are present on the pot. Now start filling in the vacant part.
This will allow an excellent bond to be created between the parts of the pot. Do this properly to make sure the rough edges disappear.
Step 2: Fill in the Cracks
Now comes the part of the joint compound. Use the joint compound with your fingers to fill in the crack correctly. Make sure you do not leave any gap in between.
You will have to make sure that the bond between the parts should be tightened as it is the central part of the pot, and if you do not make it right, it will not be set correctly.
Do spread the joint compound above or under the cracked area so that all the weak bonds get connected. This stuff dries very quickly, so spread more of it and all over the area and leave it for a few hours.
Do not worry about the pot’s look right then because it will look very smash and dirty but leave it for some hours, and then it will gain the perfect texture.
We will suggest leaving the filling for at least 24 hours. Once the filling gets dried properly and starts getting shrinking, you can go for your next move.
Step 3: Sand Off Rough Edges
The next thing that you should do is remove the rough edges around the cracks on the pot. This will help you to color the pot again if there will be no rough edges. The cranky edges look ugly, and it will be complicated to color the pot again.
Take fine sandpaper and run it around the rough edges. It will lay off the cranky edges leaving the smooth surface behind that will be perfect for coloring.
Make sure to sand off the surface till it becomes smooth. Run the sandpaper on raised edges and small ridges and ripples created on the pot.
This will help make the pot’s surface clean, and it will be easy for you to paint the pot according to you. You can also use your hands to give a final touch to the pot and making the pot ready for texturizing.
Step 4: Paint and Texturize
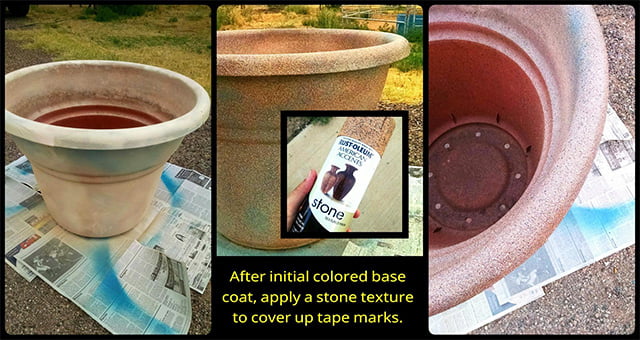
Now comes the most waited and exciting part, painting and texturizing. In this method, all you need to do is take spray paint and spread it all over the pot. You can choose to mix several spray paints to give the pot a pleasant and gorgeous texture.
It is all up to you how you want to decorate the planter. You can also decorate the planter to draw something cultural or western according to your choice, to make it a little bit fashionable.
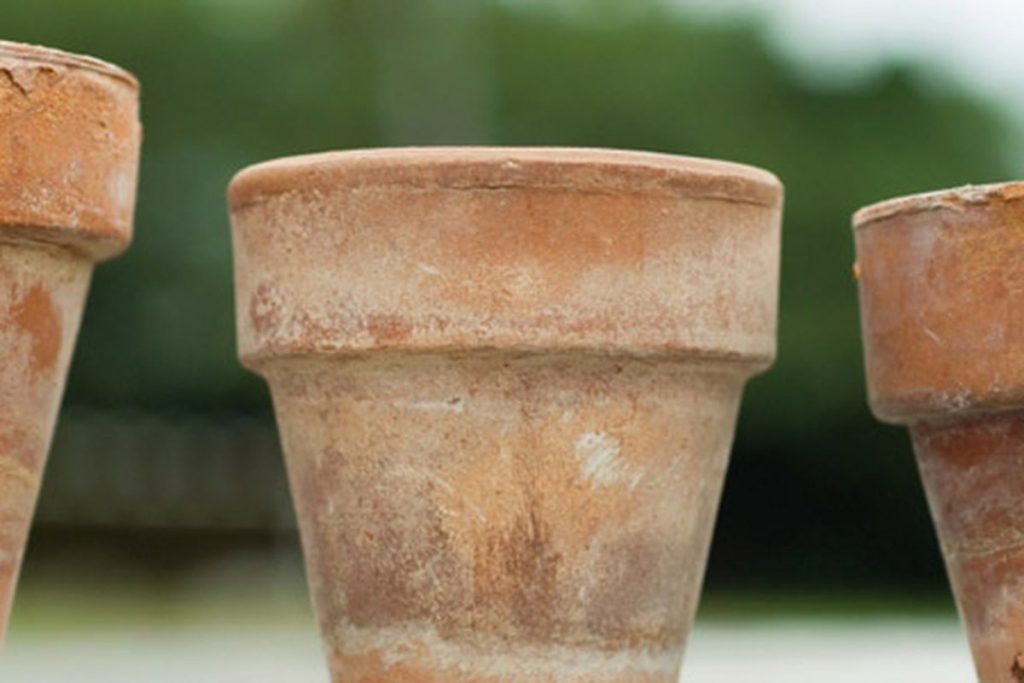
Rotting Terra Cotta?
The terra cotta planters last long until you crash them into pieces. However, if you keep them for an extended period, they will start decaying, and the looks will fade away. They will lose their shine and texture also.
So, if you have a terra cotta planter in your garden, you can think of giving them a fresh look. You will be needed fine sandpaper, spray paints, and medium-grained sandpaper to give their old and shining look.
Step 1: Remove Rot
The first and foremost thing that you will need to do is remove the crumbling clay of the planter. For this, you can use any screwdriver and your hands to cut the edges and remove the crumbling clay.
Give a gentle hand over to the planter to remove the rough patches and remove only those edges that are eager to be removed. Do not apply too much pressure on the edges as it can damage the whole planter.
By following this step, you will remove all the cranky rough edges from the planter, and it will be easier to apply the paint on them.
Step 2: Sand down
Start using the medium-grained sandpaper and the fine-grit sandpaper simultaneously on the planter. This will help you to paint the planter if there will be no cranky edges. The rough patches look old, and it will be a difficult task to repaint the planter.
Take a and medium-fine sandpaper and scratch the whole surface. It will remove the cranky patches and rough edges, making the surface smooth for you to color them.
Make sure to sand off the surface till it becomes smooth. Run the sandpaper on raised edges and small ridges and ripples created on the pot.
This will help make the pot’s surface clean, and it will be easy for you to paint the pot according to you. You can also use your hands to give a final touch to the pot and making the pot ready for texturizing.
Step 3: Fill in the Cracks
Now, you will have to use joint compounds. Use the joint compound with your hands to fill in the crack of the old planter correctly. Make sure you do it properly. You will have to tighten the bond between them to be easy for them to restructure their tensile strength.
Do spread the joint compound above or under the cracked area so that all the weak bonds get connected. Although this stuff dries very quickly, make sure you leave it for at least 24 hours so that it can gain its original strength. So, fill in the cracks correctly, and it will be easier to apply paint and texturize the planters.
Step 4: Paint and Texturize
Now the most critical and creative part is painting and texturizing. In this part, you will be needed to paint and explore your creativity on the planter.
It is all up to you how you choose to design the planter. You can also decorate the planter to draw something cultural or western according to your choice, to make it a little bit fashionable.
Painting and texturing the planter is considered the most crucial part because it is the way to show your creativity, and it is the final touch that one gives to the old and cranky planters.
This is the only way to show how extraordinary your skills are and how magnificently you can turn a cranky old pot into a new one. So, take out spray paints and start discovering your skills on the planter.


Comments