
Is there anything left on your garage gate ideas or garage floor to want?? We were there, and it turned out to be the best solution. And we have done it to save money and manage the process entirely. However, how can a garage floor be sealed? Which sealer is the best? For expert advice and professional services, visit batonrougeconcretecontractors.com. Have your questions together and get ready for straightforward answers!
The problem with Sealing concrete tutorials and guides is that they are too ambiguous, there are no product reviews unless they are an ad. Before we seal our way, we have read several such tutorials. This article is here to fill out the niche and support us with the garage floor.
TYPES OF FLOOR SEALER FOR YOUR CONCRETE GARAGE:
Floor seals are classified into two broad categories: topical and penetrating.
Topical sealers: Topical sealers are attached to the surface of the concrete to construct a protective layer. In certain cases, what you need is a garage that sees light to moderate traffic.
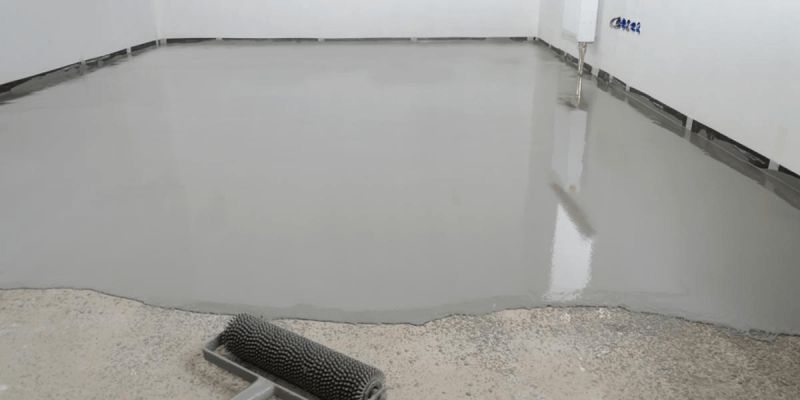
- Acrylic:
The cheapest form of top-quality garage floor sealant is acrylic, which can be applied using a pump sprayer or roller. Two coats are recommended for best safety, and one day after application, you can drive on the floor. You will get a wet, almost shiny look from this concrete sealant, but you will need to re-apply every 18 to 24 months for maximum performance. Also, you might want to choose acrylic sealant with added UV protection as lower-end goods may be yellow over time.
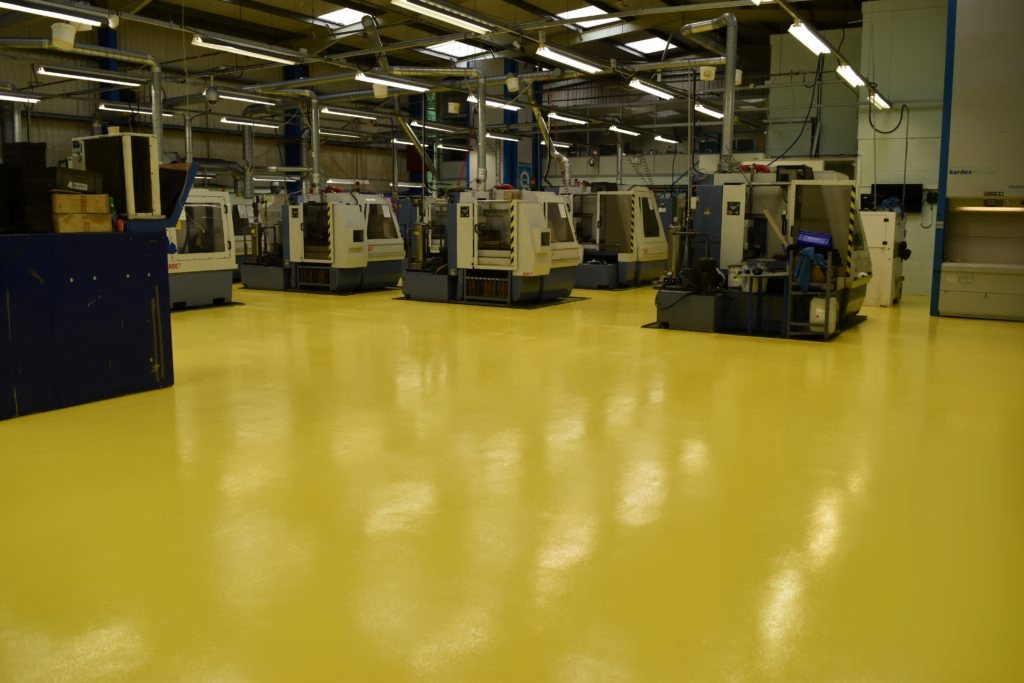
- Epoxy:
According to epoxy flooring Naples epoxy is stronger than acrylic and creates a tight bond to your concrete garage floor, but it is time-sensitive to use. You must allocate enough time to complete the whole project, rather than attempt to do it in bits. Epoxy floors are resistant to abrasion and will not be harmed by water, oil, or other automotive fluids. However, you can need a slip-resistant coating, since the epoxy is very smooth when applied. Some choices involve granite chips or metal chips. Both clear-coat and colored epoxy sealants are available and can last many years if properly applied.
- Polyurethane:
As the least common topical sealant, polyurethane is more costly than epoxy and demands the use of a primer for effective bonding performance. Expect higher durability and a longer life cycle than acrylic or epoxy, with built-in UV resistance.
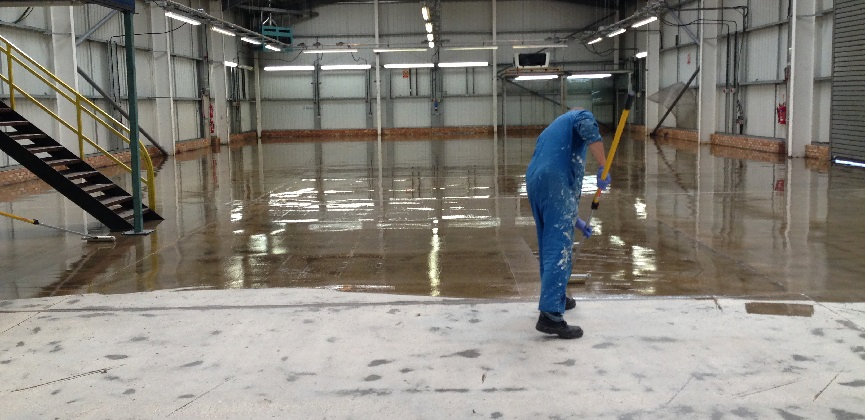
Penetrating sealers: these types of concrete sealers bind to the free lime in the top layer of the concrete to form calcium silicate and avoid any liquid from passing through, shielding the floor from oil and gasoline leakage. The most popular form used during garage floors is silicone-based, which needs just one coat and can be sprayed using a pump sprayer.
HOW TO SEAL A GARAGE FLOOR:- STEP BY STEP GUIDE
It seems very simple like you just need to apply a sealant, right? That is partly real, but we know some information that will help you obtain the best outcome that will last for years. Take this step-by-step to do it all perfectly. However, Sealing concrete tutorial provides the exact process of getting things done in a proper manner.
Step1: Select a form of sealant:
The first three make a film on the surface, blocking all the pores. They offer a shiny, wet look to the surface. The results look better and are easy to clean, you can just wash them off. However, if you want to use epoxy, polyurethane, or acrylic sealants, you need to plan your floor with severe care, cleaning every tiny stain. Even the slightest piece of debris could ruin your job. Such covers can also be slippery, so choose them at your judgment.
Silane/siloxane (Penetrating sealers) solutions do not contain a protective film. They reach the floor and interact with it to establish hydrophobic formulae. If applied to every inch of the floor, it will efficiently withstand water, salt, and other hazardous toxins. It does not change colors or offer a shiny floor to your garage, though.
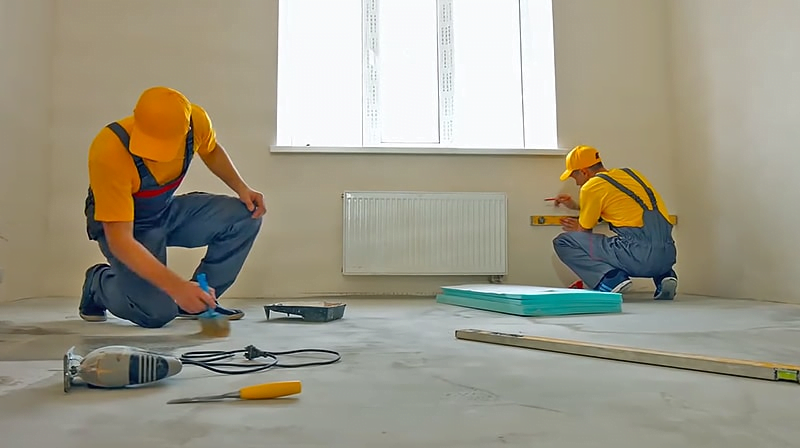
Step-2: Clean and Repair the road:
Take this measure seriously, because the consistency of your cleaning is equivalent to good grip and satisfactory performance.
- Sweep the dirt and the debris or remove it with a leaf blower. It is better to do this a few times to get rid of as much dust as possible.
- Scrub every single stain off with a cleaner. Use mineral spirits or trisodium phosphates. There are special pre-painting cleaners that work well with oil stains. Be sure to clear all of the oil stains from the floor. Even an old, seemingly unsafe stain can jeopardize the whole process. Oil is not going to allow a good grip between the surface and your sealant.
- Use paper towels to eliminate extra moisture and cleaner residues. If you are using a drying cleanser, skip this step.
Wait 24 hours for the floor to dry up completely. You may need to give it more time, it is best not to hurry here.
Step-3: Mix and apply Sealent:
Before you do something, read the manufacturer’s directions on the box. You need to observe them strictly, even if they contradict your knowledge of floor sealing. Different brands have their strategies to achieve the best outcome. Check for information on:
- Floor state appropriate for use.
- Temperature and humidity of the room.
- Conditions of the weather.
- Instructions for mixing (optional).
- Security protocols, please.
Here’s how to apply the solution:
- Pour some of them into a painting tray.
- Dip the brush, roll, or pad in the tray.
- Paint a graph, note the edges and corners.
- Paint another line beside you and continue until you are finished.
- Add more sealant when you need a complete, even layer.
- Do the second layer as shown in the manufacturer’s instructions.
TIPS FOR APPLYING THE SEALANT:
![5 Best Concrete Sealers [2021 Professional Review] ☆ That Painter](https://www.organizewithsandy.com/wp-content/uploads/2021/02/5-best-concrete-sealers-2021-professional-review.png)
- Suitably ventilate your garage. The product we have tested has minimal odor, but it is still there and can make you dizzy.
- Never miss directions or safety precautions. Not only does the outcome depend on them, but also your health and effort.
- Use a hand brush on the corners and edges of your garage to spread the product evenly.
- Divide the room into 4 parts of your mind and deal on one part at a time, always leaving a way out so that you do not have to walk over a freshly sealed board.
CONCLUSION:
As you can see, sealing the garage floor is not too difficult if you have a high-quality sealant, handy tools, and a simple guide. Of course, if you do not have any experience at all, it is advisable to communicate with a professional for the best result. But if you want to save money and do something yourself, that is your chance. We all keep our heavy machines like best zero turn mowers, cars in garage which affects floorings when moving therefore, it is our duty to keep the floors in optimal condition. We have done our utmost to include all the information in this article. How did you like that?
If you find this article interesting and useful, please share it with your mates! Let us make a life together easier.


Comments