
Balloons are the most favorable toys for kids, and they spend hours playing water balloon drop games.
In this guide, we will discuss the step-by-step guide to create your own Water Balloon Launcher.
You can easily create it by following all the steps carefully. All the material required can be easily purchased from hardware stores or available online.
In this guide, we have used high-strength surgical tubing which only costs $18 and is very affordable too.
Steps By Step Guide to Build a Water Balloon Slingshot
Materials Required:
- A Duct Tape
- 8-inch length of ½” vinyl tubing
- 6 foot of latex rubber surgical tubing
All these materials can be easily available in the hardware store, or you can purchase them online too.
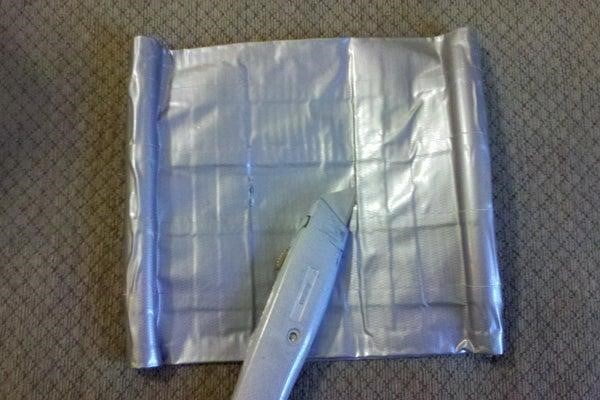
Step 1. Creating a Pouch Layout

Firstly, you have to attach all the five pieces of duct together and fold them from top and bottom about ½” to create them. Now, you must take two long processes of tape and fold over one edge to create another hem. Now, you must place both the pieces facing toward each other and about 3 inches apart.
Step 2. Add Tubing Channels
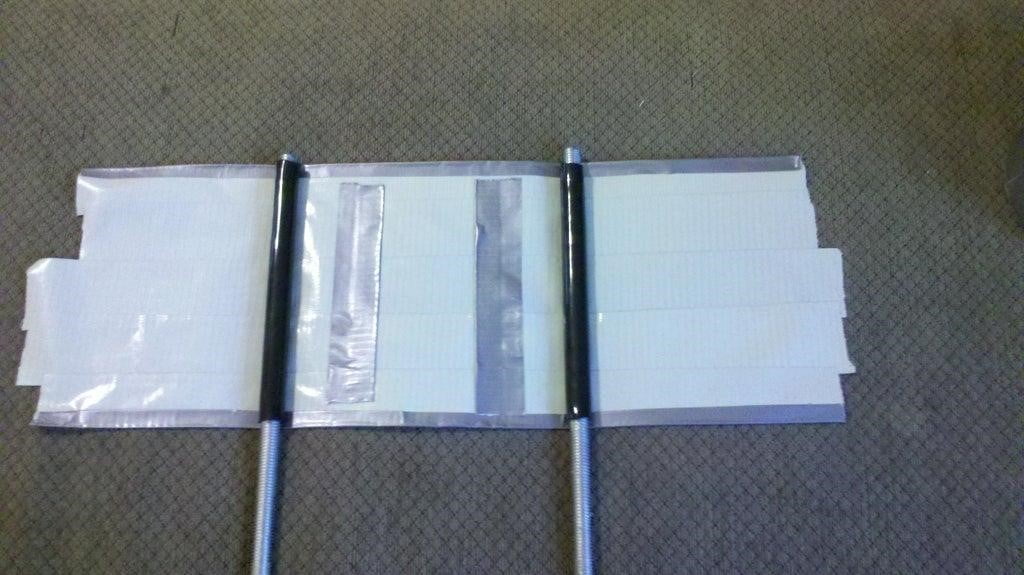
Now you have to add two 8” long pieces of tubing about 8 inches apart. To hold them tightly, you must fold the end of five prices of tape over the vinyl tubing and then adhere them back on themselves.
Step 3. Creating the Handle
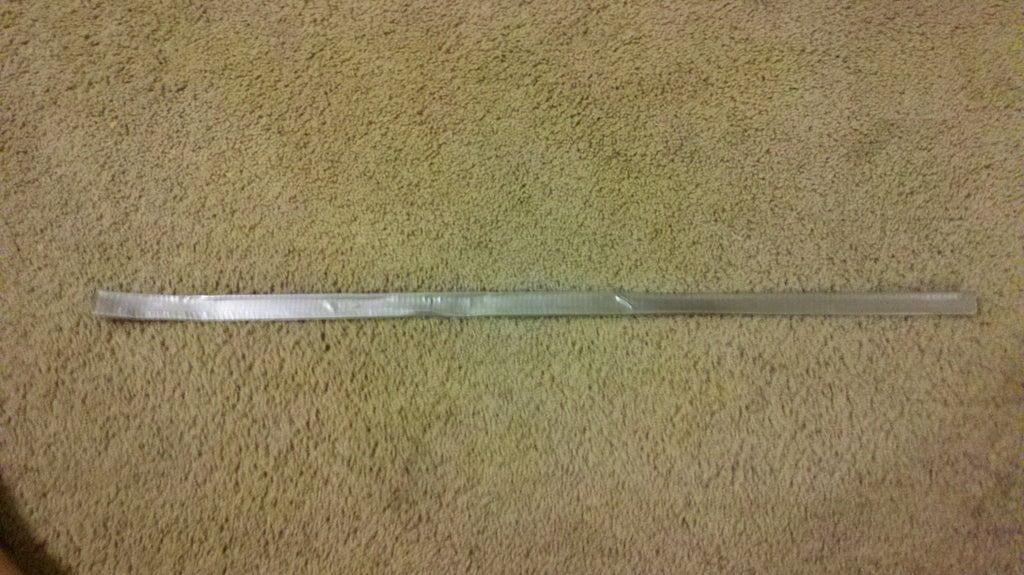
To create the handle, you must attach two pieces of tape about 22” long and then fold them into a ½” wide strip.
Step 4. Inserting the Handle
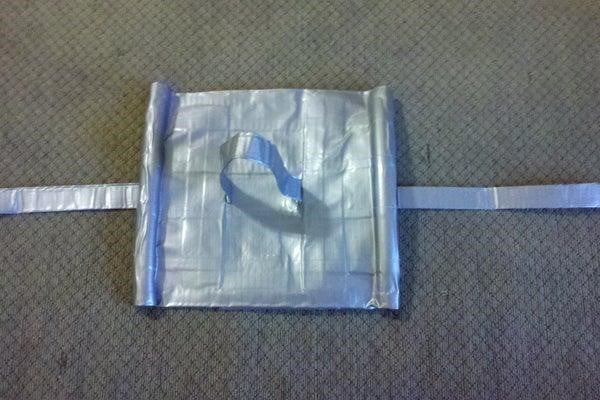
To insert the handle, you must cut two small slits about 3 inches apart in the middle of your pouch. Now, insert the handle carefully through these slits and leave a loop sticking up which would be big enough to fit your hand into.
Step 5. Securing the Handle
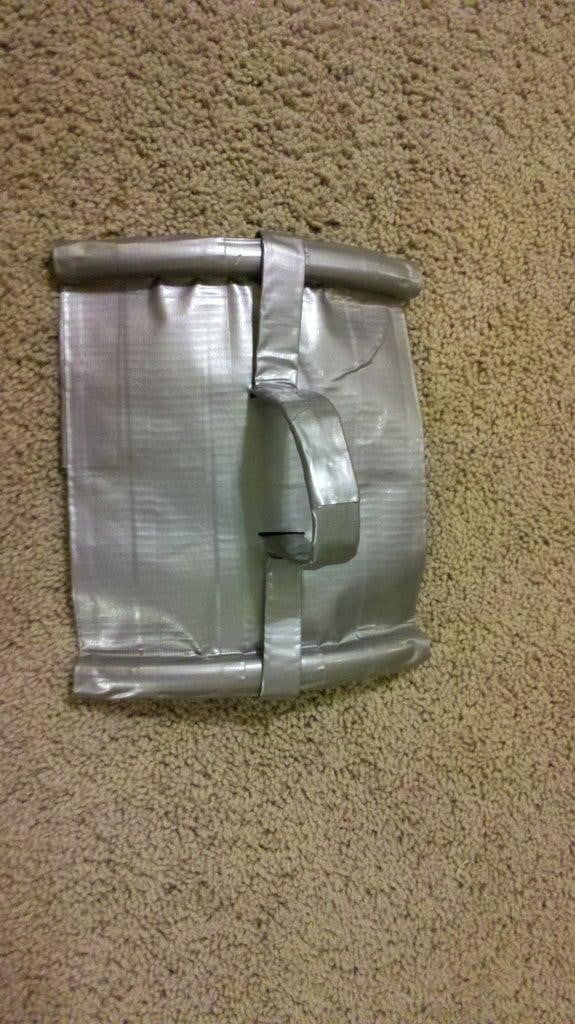
To make the handle more secure, it is recommended to wrap the hands of the handle around the pooch and wrap the overlapped portions of the handle together by using tape.
Step 6. Attach Surgical Tube

Insert the surgical tube through vinyl tubing channels and tie each of them with a square knot.
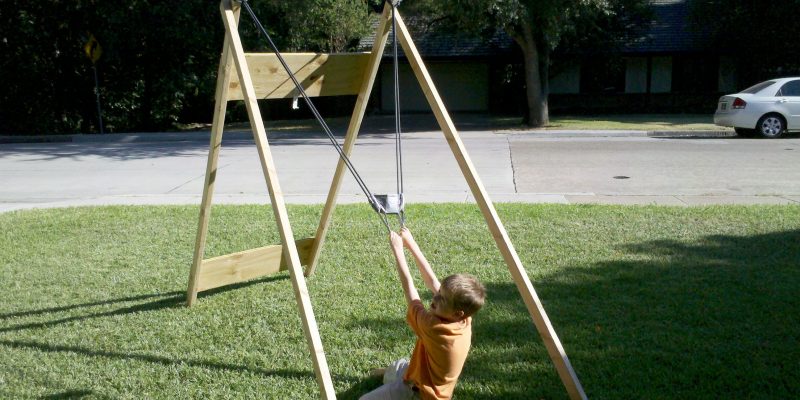
Now, you are done with creating a Water Balloon Launcher which requires three men to launch a water balloon. But, if you want to do it all alone, you can attach it to the Water Balloon Launchpad.
Creating a Water Balloon Launchpad
Materials Required:
- 2”x3”x8’ boards (lumberyard or fence rails)
- 12”x36”x3/4” pieces of plywood
- 5” deck screws
- 3” deck screws
- Drill Machine
Step 7. Connecting the Legs
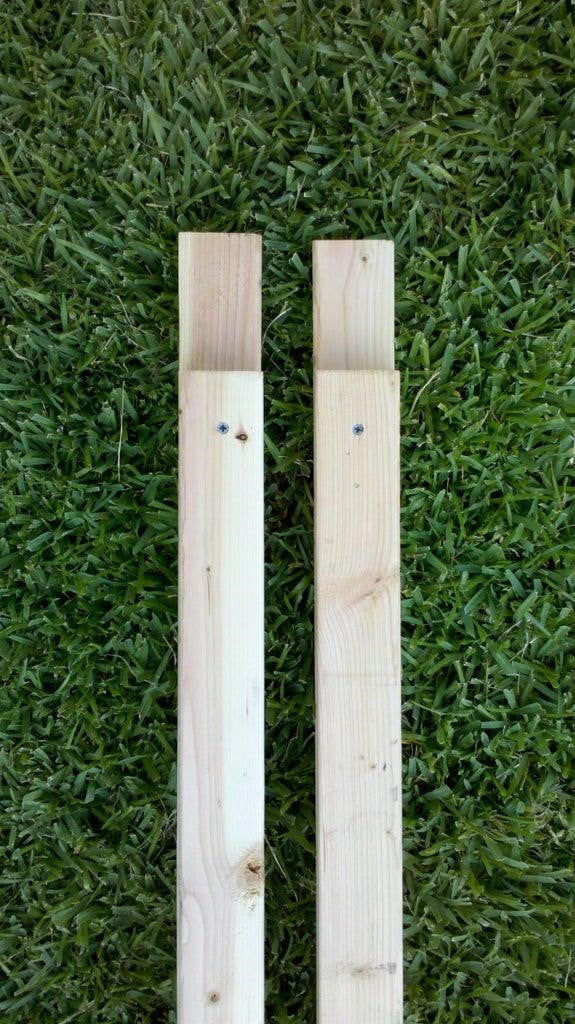
Firstly, you must connect the legs by placing the 2×3 piece on the top of another 2×3 with an end offset by 4 inches. Then, screw them together with a 3” screw.
Step 8: Attaching the Cross Braces
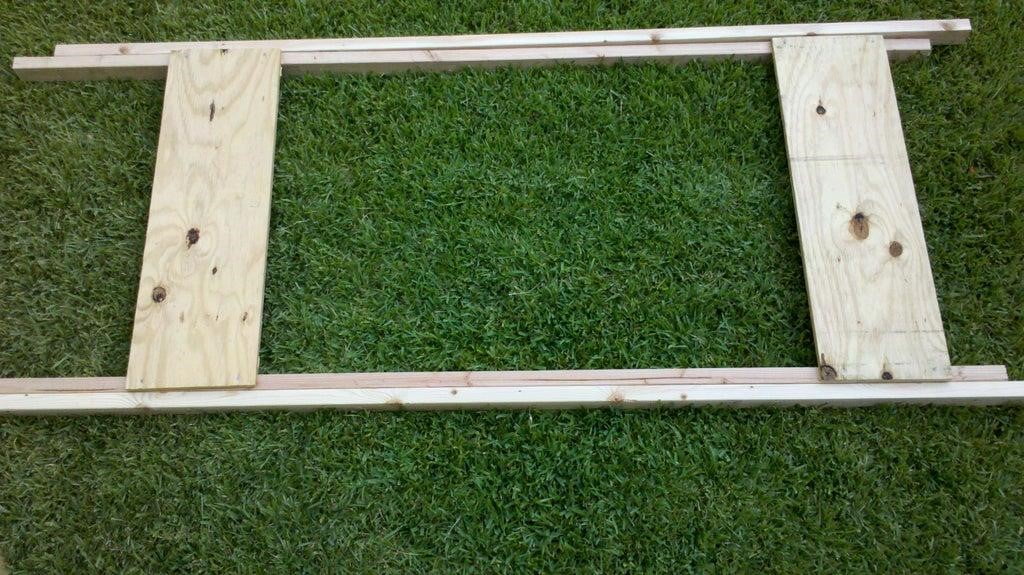
Attach the first 12×36 pieces of plywood 12 inches away from the legs with the help of 4 1.5” screws. Repeat the same process again for the other side.
Step 9: Attaching the Launcher

Now, you must attach the launcher which you have created on the top of the legs of the Water balloon launch pad.
Now, you are all ready to bomb away from the Water Balloons.
Conclusion
Now, you have the complete idea of creating your own DIY Water Balloon launcher. It is not a tough process; you just must follow all the steps carefully.
You must be very careful while attaching the handle into the pouch as it is a very risky process when compared to others.
This is all about this guide, we hope you find it helpful. If you have any queries or questions related to the guide, you can directly ask us by commenting down below. We will be very happy to solve all your queries.


Comments