
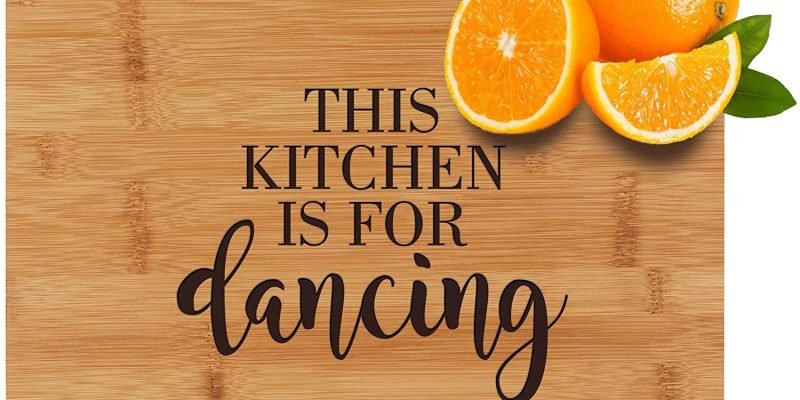
Considering the woodworking, there are plenty of options to go for. You can choose any wooden project, and you are good to go. Whether it is a table, chair, or cutting board, you name it, and it can all be done with a handful of tools and a bit of hard work.
But what comes after that is the credit. We all have made something out of that spare wood kept in our garage or outside in the backyard. But only a few of us have ever given a thought about making it our own by signing it or engraving our name on it. This is because we do not put much of our thinking into it. We think that this is for brands only. However, it is not valid.
You can put your signature on anything you make. It just takes a few simple and easy to follow steps to get it done with perfection.
Therefore, we have come up with some ideas and methods you can use to sign your woodworking projects.
Here, we have taken cutting boards as an example, and in the following segments, you will learn how to sign cutting boards. So, let’s get started.
Methods of Signing Cutting Boards
There are many methods to carve out your name, initials or anything you want to be carved on your cutting board. You will learn about some of the most accessible and most well-known methods of signing a cutting board or any other woodworking project.
Branding Iron
This one is the most familiar tool for those who do sign their woodworking projects putting behind the electric gates, and if you ask anyone, it will probably be the most preferred tool for you. So, how does it works?
Well, you just have to buy a branding iron with your name or brand on it. Most probably, you will get the electric one as it is what’s in demand right now.
All you will need is your cutting board, a branding iron, and a few scrap pieces.
Once you have these, plug in your branding iron to let it warm and pretty well heated. While the branding iron is on the plug, quickly pick up the spot where you want to sign your cutting board. Prefer signing your cutting board before you are finished working on it because signing after finishing will ruin your cutting board and make it look unpleasant.
After picking up your spot, get your branding iron, use it on a scrap piece first, and observe your result. Then, if satisfied, proceeds to the cutting board and let your sign shine on your cutting board.
Make sure you are safe and using all the safety measures as you are dealing with a red hot iron that is very dangerous for you. Also, do not overburn your sign, as it will blacken your cutting board which may not look good on your cutting board.
A Medallion
This one is a bit tricky as it requires proper maths and calculations. So, bring your little mathematician out of you.
A medallion is a shaped decorative medal with your name or sign engraved on it. You can get it online and even offline as they are pretty easy to get. You just have to pick a shape and then hand over your preferred sign, and they will do the rest of the work for you.
Using a medallion on your signing board will require proper attention and patience as you have to embed your medallion on your cutting board. So, note down the precise dimension of your medallion and take the wood out of your cutting board of that same dimension.
Pick out your spot and cover with paper or masking tape. Next, use the Forstner bit to drill down to the exact depth as required. Once done with drilling, use clear epoxy or any wooden glue to fix your medallion in it.
Engraving Tool
If you are more of a DIYer, you will love this one from making snow sculptures to anything of the same genre. You do not have to depend on anyone to make your signature. All you need is an engraving tool, and let your creativity do the rest of your work.
You can find your preferred spot on your cutting board and then use the engraving tool to engrave your signature on it.
This will take a lot of time and patience as the engraving signature will be small for a cutting board. So, be attentive while engraving your cutting board. It is better to practice on a spare wood first and then on your cutting board. Try different shapes, sizes, and fonts and once you are clear with your signature, engrave it on your cutting board.
Permanent Marker
Simplest yet very artistic. A permanent marker is the easiest option if you are in a hurry or want to sign your cutting board quickly.
You will need a permanent marker and some signature ideas, and Tada! You will be doing it easier and quicker than the other methods.
You can use any color of your choice, but the black color is preferred over others as it gives a classy vibe to your work. You can use any font you want, and you can write one-liners, your quote or anything around your signature.
Once done with the marker, coat your signature with a clear wood finish to give it a finishing touch. However, if it fades out your signature, sand it off and try signing your cutting board after putting a thin coat of clear wood finish and after that, apply another coat of clear wood finish. It will be like sandwiching your signature with a clear wood finish.
Wrapping it Up
Now you know the methods to sign your cutting board, go and let your sign shine on your cutting board. These methods are not just limited to the cutting board, and you can use them on any of your woodworking projects. You just need to be more creative with each woodworking project of yours. Each of them is best on its own, and similarly, each one has some flaws.
Branding iron will stay like forever while having a risk of burning out the boundary of your wood. The medallion can be a stylish option to go for but requires proper care while glueing it as it may come out if not appropriately fixed. An engraving tool is something to be mastered of before you start using it. It requires precision in handling. A permanent marker may be one of the easiest methods, but you should take care of it as it is prone to fade out.
Therefore, be attentive and consider the tips before signing your woodworking projects.


Comments