
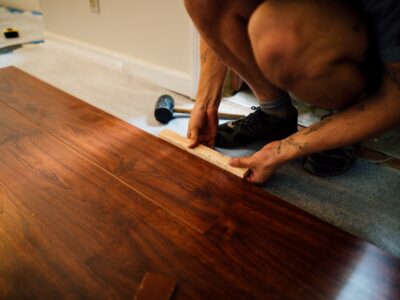
A beautifully polished wooden floor not only looks good but ensures your hardwood stays in tip top condition and an asset to your home. And the key to keeping your floor looking great, despite those daily knocks and family use, is to know how to polish it the right way.
With a bit of effort, your polished floor will keep on looking like new. We take you through the process, with our seven top tips on how to polish a floor properly.
- Determine your floor’s finish
Knowing the type of finish on your floor is going to ensure you don’t polish the wrong type of covering as some floors can only be waxed. If you floor has a penetrating finish – such as shellack or lacquer – it cannot be polished with a water-based polish, whereas a hard surface can be. To be sure, use a sharp knife to scrape a tiny amount of the finish – if the finish is smudged on the knife but not clean, it most likely has a penetrating finish and should only be polished with wax. However, if the scraping is clear, then it will have a hard Polyurethane finish and should be safe to polished with a water-based product.
- Prep the floor
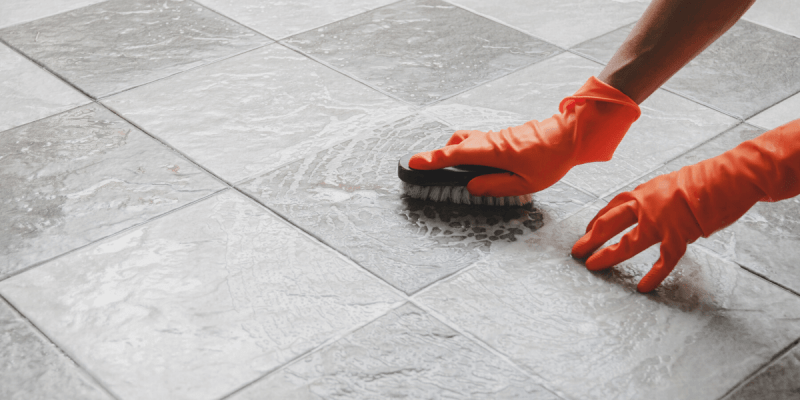
Now you know your floor is safe to polish, you need to get the room ready and this starts with clearing as much of your furniture out as possible. Once the room is empty, you need to thoroughly clean the floor to ensure it is free of any dust or dirt that can interfere with the application of the polish especially when you are dealing with enclosed deck. Vacuum or sweep the floor before using a wood floor cleaner to mop any remaining dirt up. Alternatively, use a homemade solution of dish soap and warm water to cut through any stubborn grime. After giving the floor a final light mop with clean water, wipe the floor with a soft, clean towel, buffing as you go, and leave to thoroughly dry. If you also have wooden fence gate then don’t forget them as well.
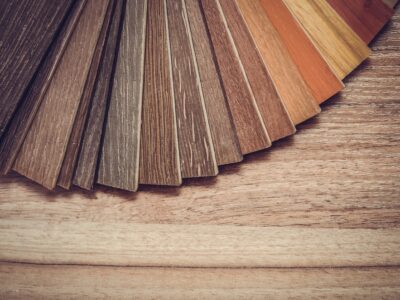
- Choose the right polish
Knowing your floor’s finish means you will use the correct polish. There are two kinds –wax or liquid polish. Water-based or urethane polish can be used on floors with a polyurethane finish, whereas you will need to use a wax-based polish on all other floors. Liquid wax is easier to apply and will give a lovely luster, but a paste wax will give a gorgeous deep shine as well as protect the wood but will take a bit more effort to apply.
Whichever type of polish you choose, always read the instructions as well as do a patch test before you start so you can be sure you are using the product safely.
- Apply the polish
Depending on its specific instructions, you can either apply the polish directly to the floor or apply it to a cloth or find and use the best floor polisher first, following the grain of the wood. Opt for a thin layer of polish as this will dry quicker, and you can always apply a second coat if needed.
Adopting a ‘feathering’ technique as you polish, wiping or polishing in a semi-circle, with the feathering strokes overlapping will also give you a lovely, streak-free finish. A good tip on applying floor polish is to work from an interior corner outward, covering smaller sections at a time so you can control the amount of polish you use. Once you have covered the lengths of the room, continue to polish inwards to the center, finishing by the doorway so you can leave the room without stepping on all your hard work.
- Allow the floor to dry
It is essential that the polish is allowed to dry completely – it will need at least six-eight hours to stop feeling sticky, and around a day to be completely dry. To avoid any accidents, block off the door to the room with a chair and keep children and any pets away from the room for a full 24 hours.
- Don’t rush to restore your furniture
To protect your newly polished floor, it is important that you don’t rush to bring all your furniture back into the room. Ideally you need to wait at least a full day before you move all your furniture and belongings back into the room. And when you do, take care not to drag or slide heavy furniture across the floor, otherwise you could scrape your newly polished surface.
- Maintain that shine and finish
After all your polishing hard work, you will want to maintain that ‘just like new’ look for as long as you can, and we have a few final tips on how to help keep your floor gorgeous and shining.
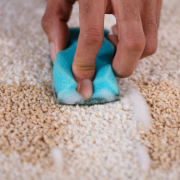
Strategically placed rugs – by the door entries, the kitchen sink, along any heavy traffic areas in a hallway – can help to prevent muck and dirt being walked into the flooring. Maintaining a regular cleaning routine, including daily vacuuming and a monthly deep clean, can also make all the difference, just make sure you use the right cleaning products that won’t dull that brilliant shine. And for long-term care and protection, repeating the polish two to three times a year will help to keep your stunning wooden floors looking like new.
For more top advice on keeping your home well-maintained, clean and clutter-free, check out our other easy-to-use guides on Unclutter.


Comments