
Are you thinking of buying a new security camera for your backyard?
Well, we have got you covered. These questions obviously pop up when choosing the best security camera, and nowadays, stores are full of varieties.
Today, we will be covering the buzz of the time: the ‘Ring’ brand owned by Amazon. Want to know them a little better?
Read along with us as we dive deep into their drawback-solving issue: supporting the battery life with an all-time solar panel.
Let’s Understand the Products a Little
We are talking about the widely celebrated brand ‘Ring.’
Still, you must know what we are talking about so that you don’t get confused while picking up the right products from their overflowing seas of stocks.
1. Ring Spotlight Cam Battery
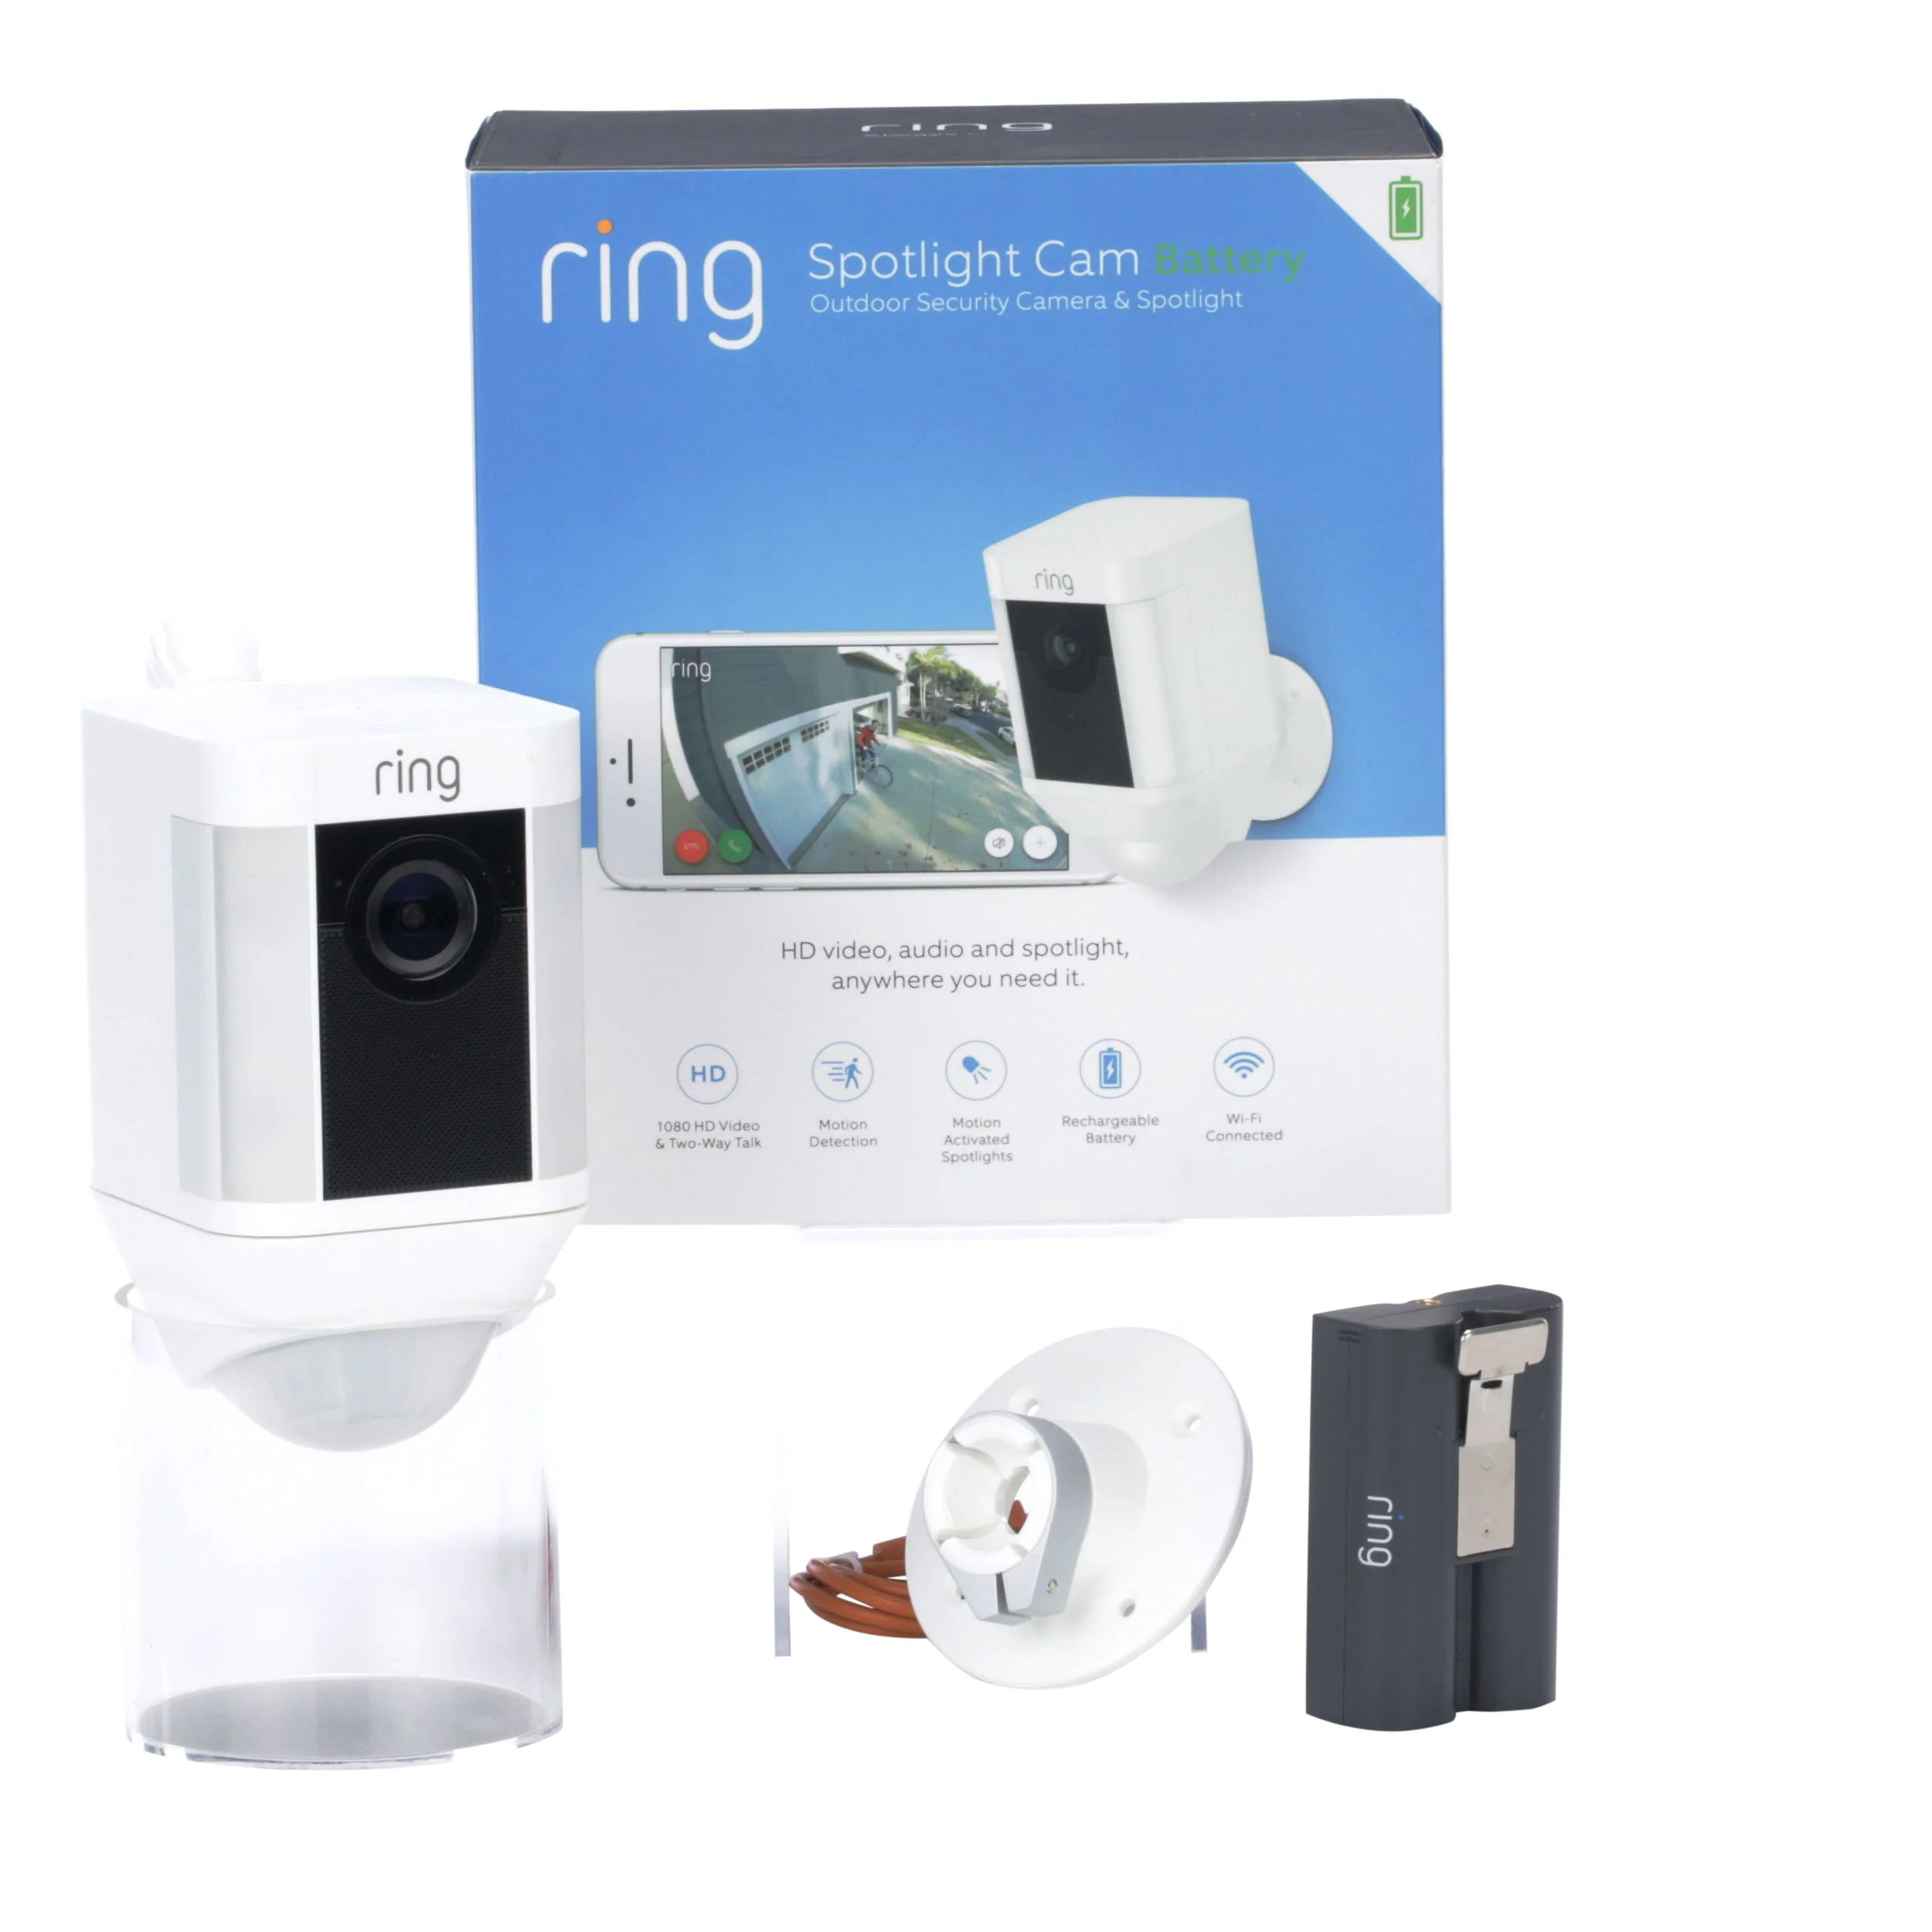
New in the market and already the talk of the town, these lightweight and feature-focused security cameras are way too economical and affordable.
Powered by rechargeable batteries, they are Alexa incorporated with a display output 1080P and multiple focus and motion features.
With personal detection and a wire-free connection, this camera has everything one desires in modern-day technology.
Its only drawback is its battery life, and while Amazon claims that they last for six to twelve months, users have said otherwise. Therefore, Ring is back with another innovation: the solar panel.
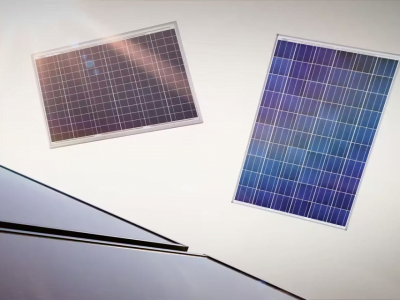
2. Ring Solar Panel (2nd Generation) (USB-C)
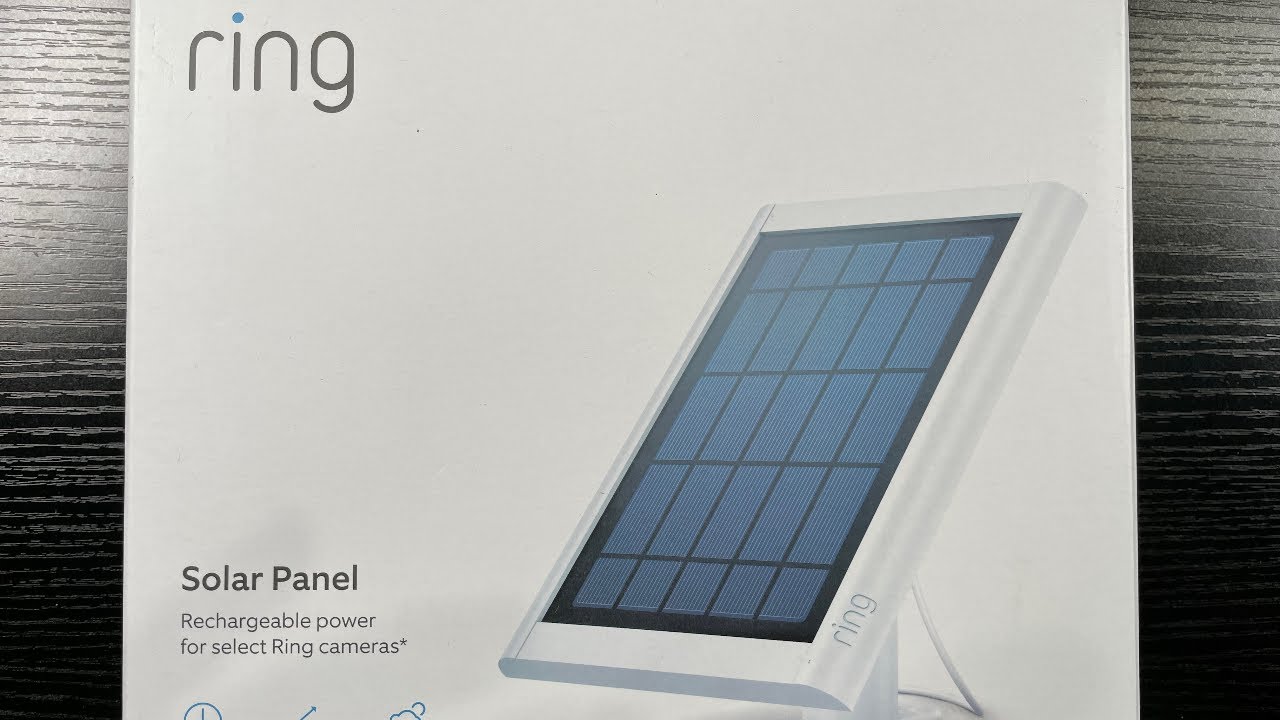
Ring has always been innovative with its product, and looking at the drawbacks of Spotlight Cam Battery, they are back with more permanent solutions.
The Solar Panels by Ring come in many variants, but here, we have taken the most reviewed and Spotlight Cam compatible Ring Solar Panel (2nd Generation) (USB-C), which is ahead of the time.
The product is light and sized around 21×17 cm, with a 2m USB-C cable that can be easily connected to devices at a distance, requiring minimal sunlight of around 2-3 hours at max.
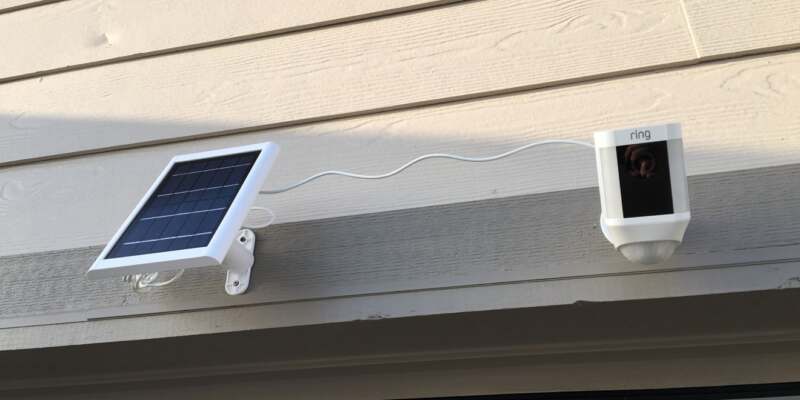
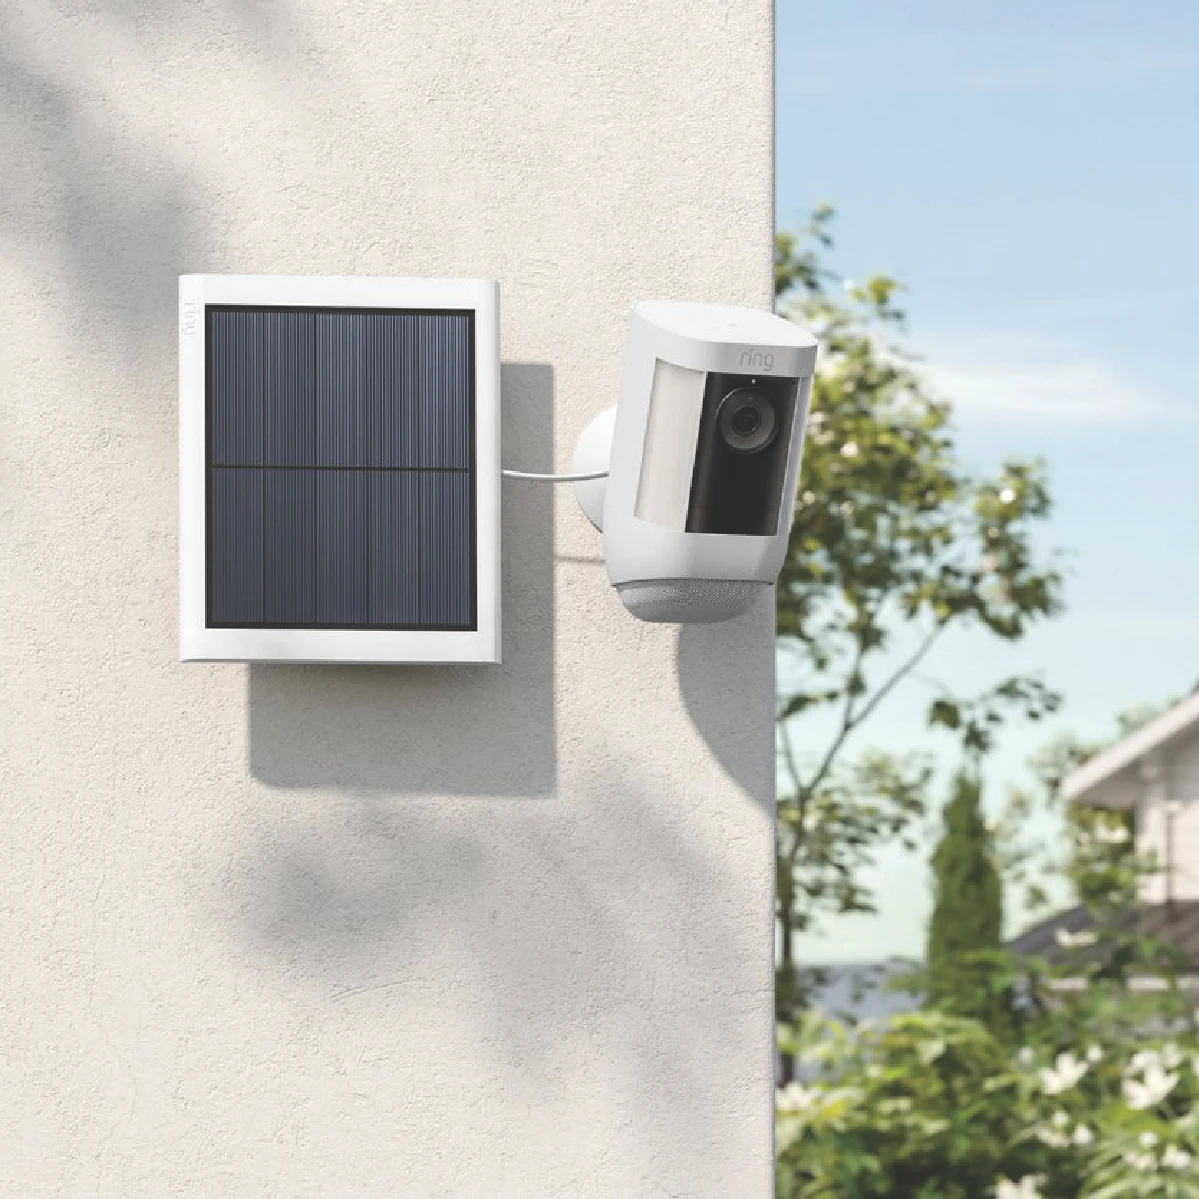
How Do You Connect the Ring Solar Panel to The Ring Spotlight Cam?
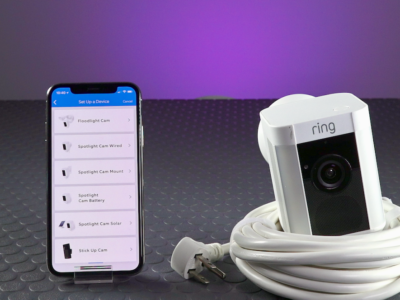
Let’s connect the solar panel with the spotlight cam. But before doing anything, install and log in to the Ring app, which is the priority and key to every other function.
Step 1: Picking the Right Location
Your solar panel needs a minimum of two to three hours of direct sunlight; therefore, choose the appropriate location from where it can receive ample sunlight. Our recommendation is to pick a place near the porch or balconies.
Step 2: Designating the Solar Panel Region
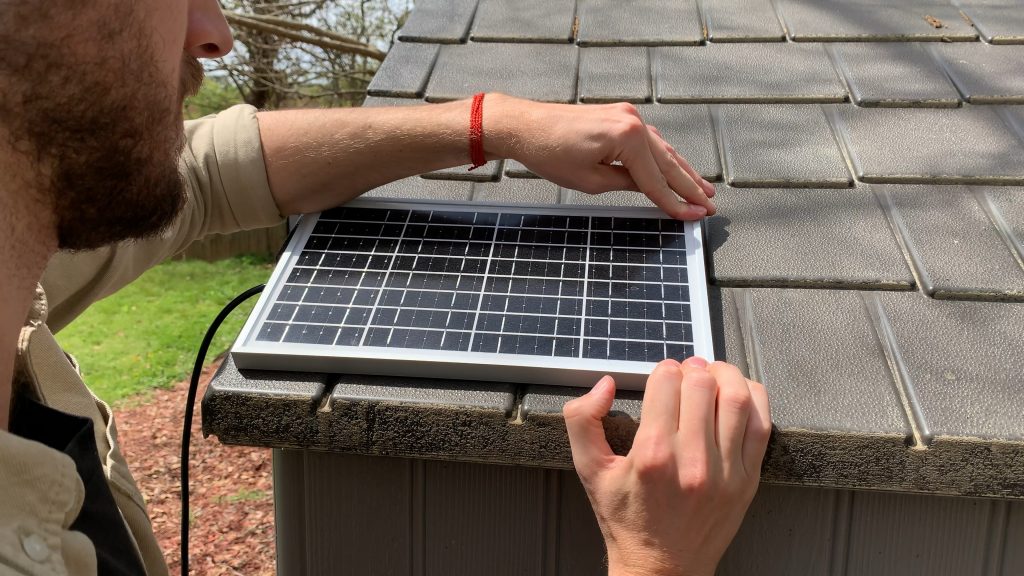
Lining up the panel is most important; of course, you can not do it by holding the device at all times. Therefore, take the mounting arm as a stencil and mark the screw holes on the surface using a lead pencil.
Step 3: Drilling and Fixing
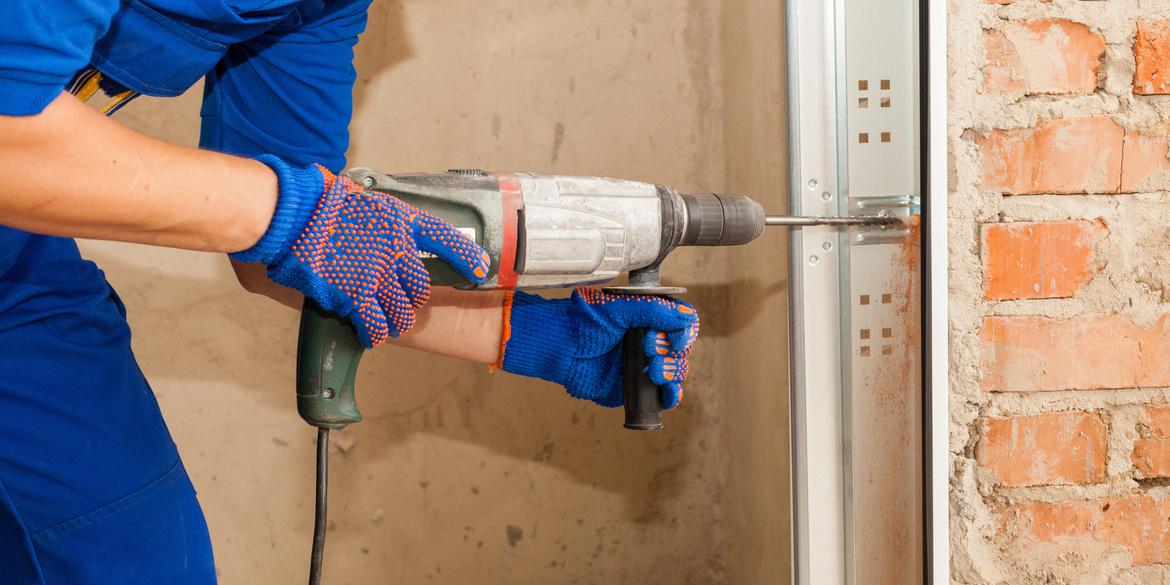
It’s time to drill in the holes and put in the screws. But it highly depends on where you are fixing the solar panel, and thus, conditions apply:
- Drilling is not recommended if the surface is made of wood or vinyl. Rather, you can use the screws provided in the Ring Solar Panel box.
- If the surface is made up of stucco, concrete, brick, etc., you must put in the plastic anchors first (they, too, are provided in the box) using a hammer to fix them in place.
Step 4: Placing the Mounting Arm
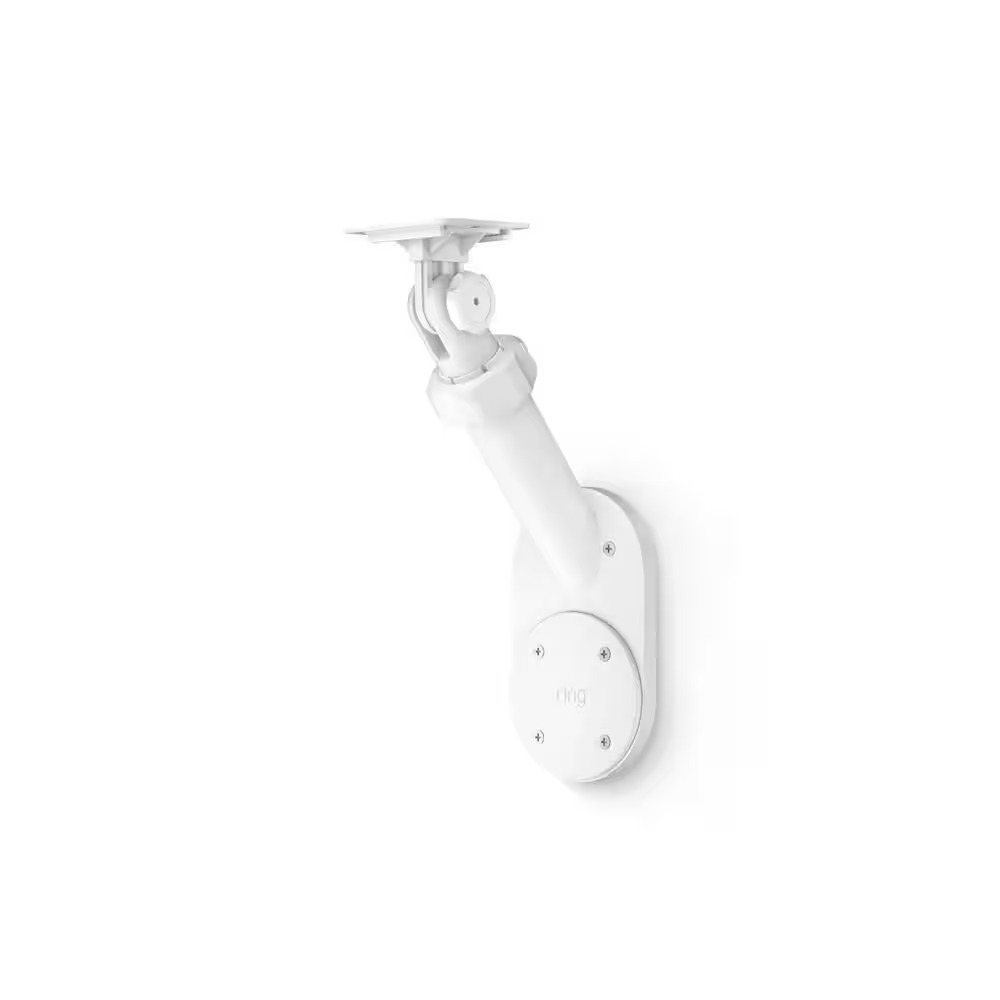
It’s time to fix the mounting arm. This can easily be done using the screws provided. Tighten them until they are fixed on the surface.
Step 5: Setting Up the Solar Panel
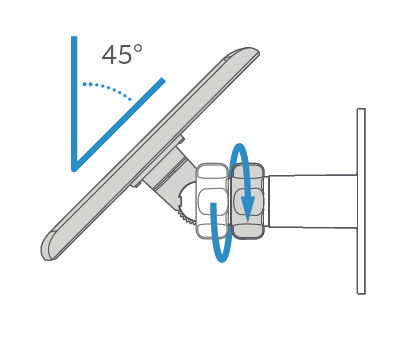
Now, all you have to do is place the solar panel into the mounting arm. Make sure it is perfectly placed. If you wish to adjust the panel’s position, loosen up the adjustment screw on the mounting arm, direct the solar panel to the maximum sunlight-receiving angle, and re-tighten the screw to the fullest.
Step 6: Removing the Weatherproofing Plate from the Spotlight Cam
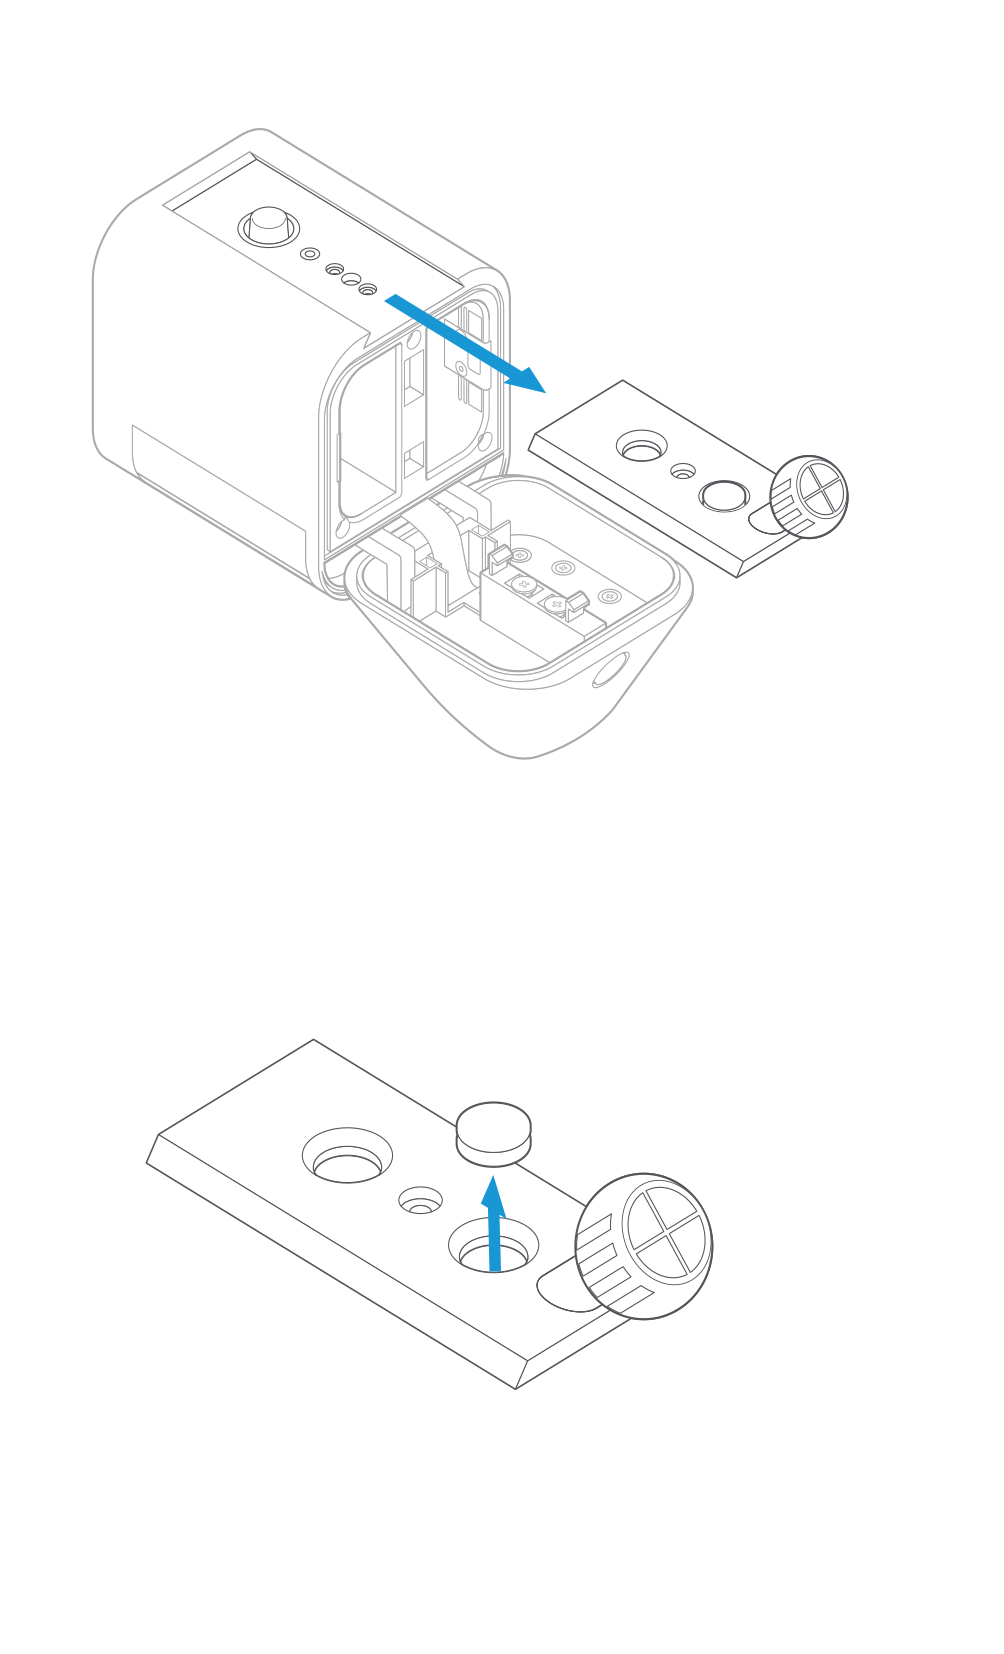
To connect your Ring Spotlight Cam to the Ring Spotlight Solar Panel, remove the weatherproofing plate from it first. You can do it by following the mentioned steps:
- Press the battery button at the bottom to open the battery compartment.
- Now, you will find a button at the back of the spotlight cam. Press it. Doing so lets you slide out the mounting plate from its position.
- When the mounting plate is accessible, you will find a rubber weatherproofing plug. Pop it and remove it out of its hole.
- Now, place the mounting plate back in its place. You can do this simply by sliding it in the back of the Spotlight Cam until it is in position (producing a click sound).
Step 7: Connecting the Solar Panel to the Spotlight Cam
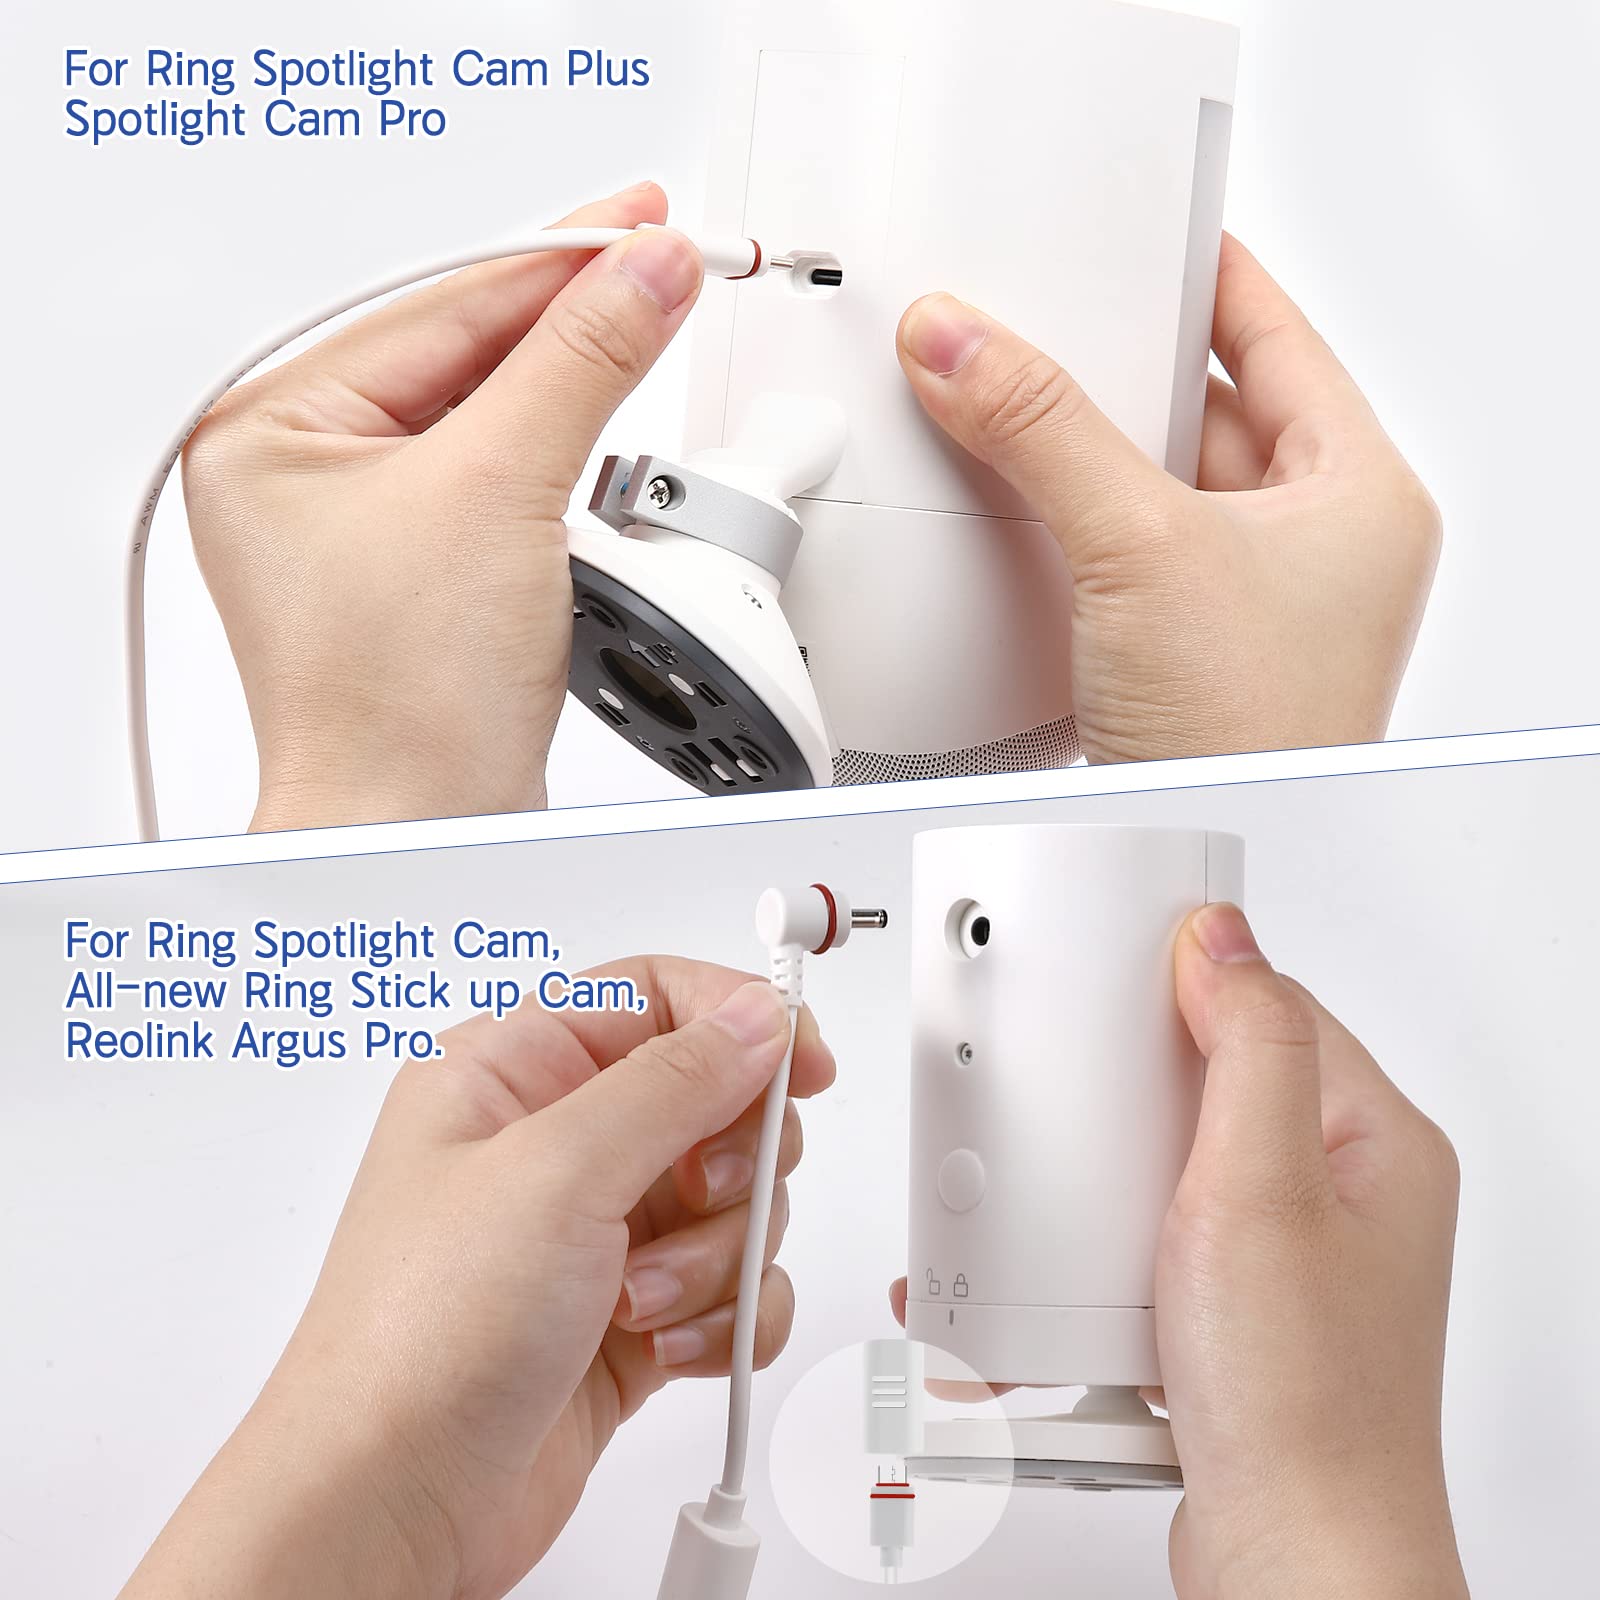
And it is almost done. Connect the USB-C cable from the Solar Panel to the power connector in the Spotlight Cam.
Once done, remove the central plug. Now, plug the snap ring barrel charging cable into the Spotlight Cam’s Power Connector.
Mount and place the Spotlight Cam in the bracket and adjust the desired angle.
Interested in learning more? Check out our previous blog, where we’ve covered the intricacies of ring spotlight vs floodlight in detail!
Wrapping Up
And it is done. Your Ring Solar Panel is successfully connected to your Spotlight Camera. Now you can have all the charging without worrying about the battery drainage and tapping continuously over the power saving button on the app.
This Solar Panel might seem bulky, but it is a plus investment and can power charge any device with a C port, including almost all the Ring products.
Get one for yourself and try it out. They have excellent return policies, so you are never at a loss. For us, it rendered a 100% result, and let’s see how it works for you.


Comments